

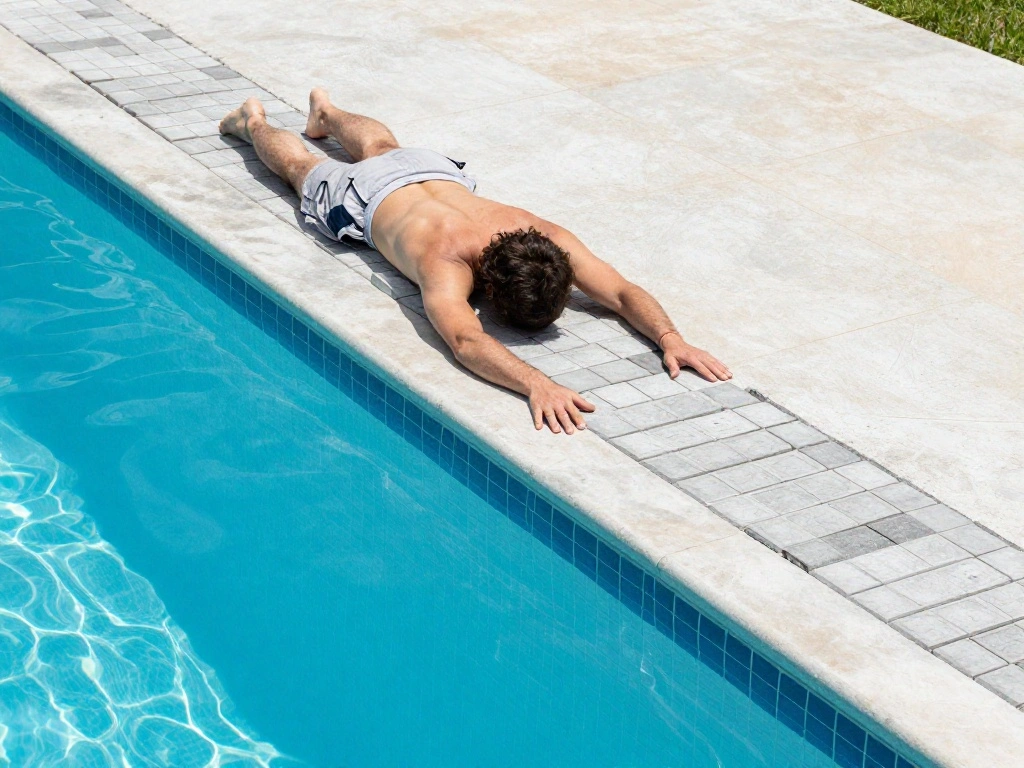
Imagine transforming your backyard into a stunning oasis with a pool, a space for relaxation and fun that you can enjoy all summer long. The urgency for creating such a haven grows as summer approaches, with rising temperatures making outdoor spaces more appealing. This guide provides a practical solution to help you build your own DIY backyard oasis.
In this comprehensive guide, you will learn how to plan, design, and construct a pool in your backyard. By following each step, you will accomplish not only the installation of a pool but also the creation of a peaceful retreat for family and friends. Expect to gather essential materials, understand vital techniques, and make thoughtful design choices.
This project requires an intermediate skill level and an estimated 12-15 hours of work over several days. With commitment and the right tools, you can achieve a beautiful pool area that enhances your home’s outdoor space. Get ready to dive in and create your personal paradise!
TL;DR Summary
- Transform your backyard into a stunning oasis with a DIY pool.
- Follow 8 detailed steps to successfully construct your pool.
- Gather essential materials beforehand for a smooth process.
- Embrace intermediate skills and allocate 12-15 hours for completion.
Prerequisites/Materials Needed
- Pool Kit: Choose a kit appropriate for your desired pool size.
- Excavation Tools: Shovel, pickaxe, and wheelbarrow.
- Installation Tools: Level, measuring tape, and stakes.
- Plumbing Supplies: PVC pipes, fittings, and a pump.
- Decking Materials: Pavers or wood for surrounding deck.
- Safety Equipment: Gloves, goggles, and first-aid kit.
Recommended Products

HIGH-HEAT PERFORMANCE - SwimEasy solar pool heaters capture more heat from the sun with superior absorber technology. They also enable water to move effectively through the collector by removing flow barriers with its specially crafted over-molded header. These features combine to give SwimEasy solar pool heater panels extreme heating capabilities!
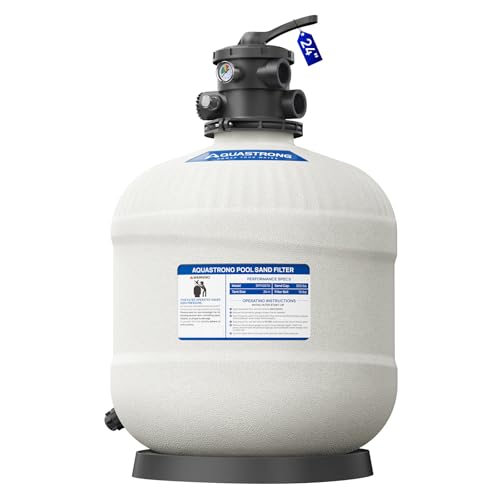
High-Efficiency Flow & User-Friendly Monitoring: Featuring a wide 1.5" internal main pipe, this pool sand filter ensures powerful flow and consistent deep-bed filtration performance for crystal clear water. The integrated bottom drain simplifies sand filter maintenance and winterizing, while the clear viewing window and built-in pressure gauge provide convenient visual inspection and real-time system monitoring

Product Type: Outdoor Living Supplies
Skill Level & Time Estimate
Skill Level: intermediate
Total time estimate: 12-15 hours, broken down as follows:
- Planning and materials gathering: 2-3 hours
- Excavation: 4-5 hours
- Installation: 5-6 hours
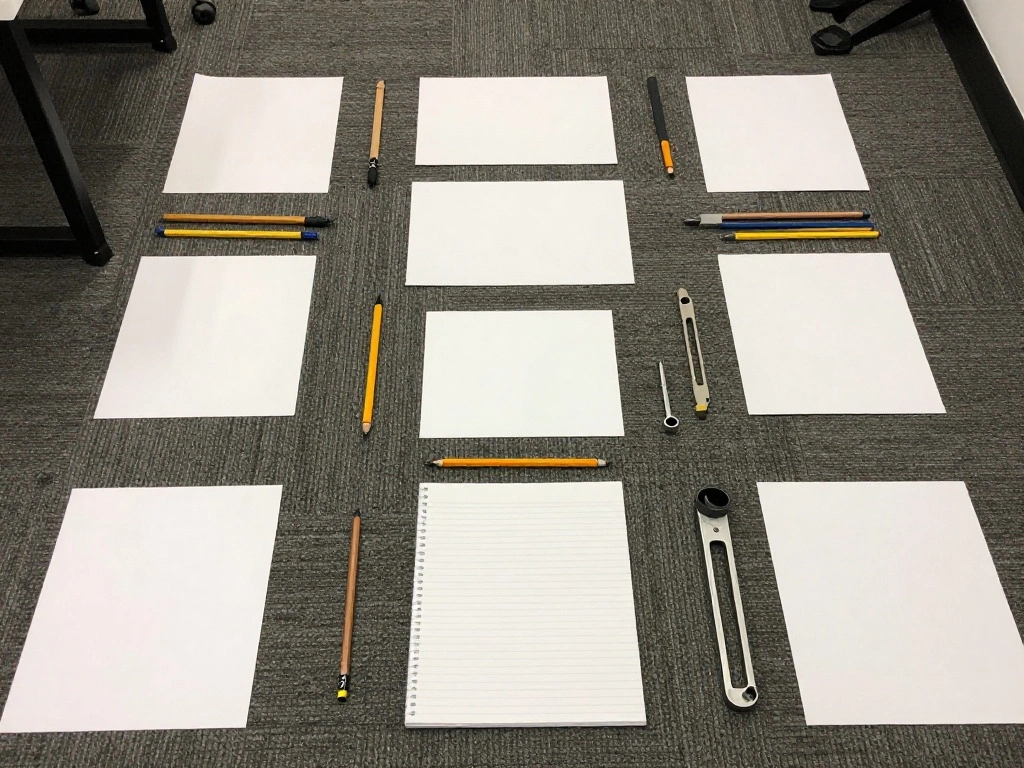
Step 1: Plan Your Pool Design
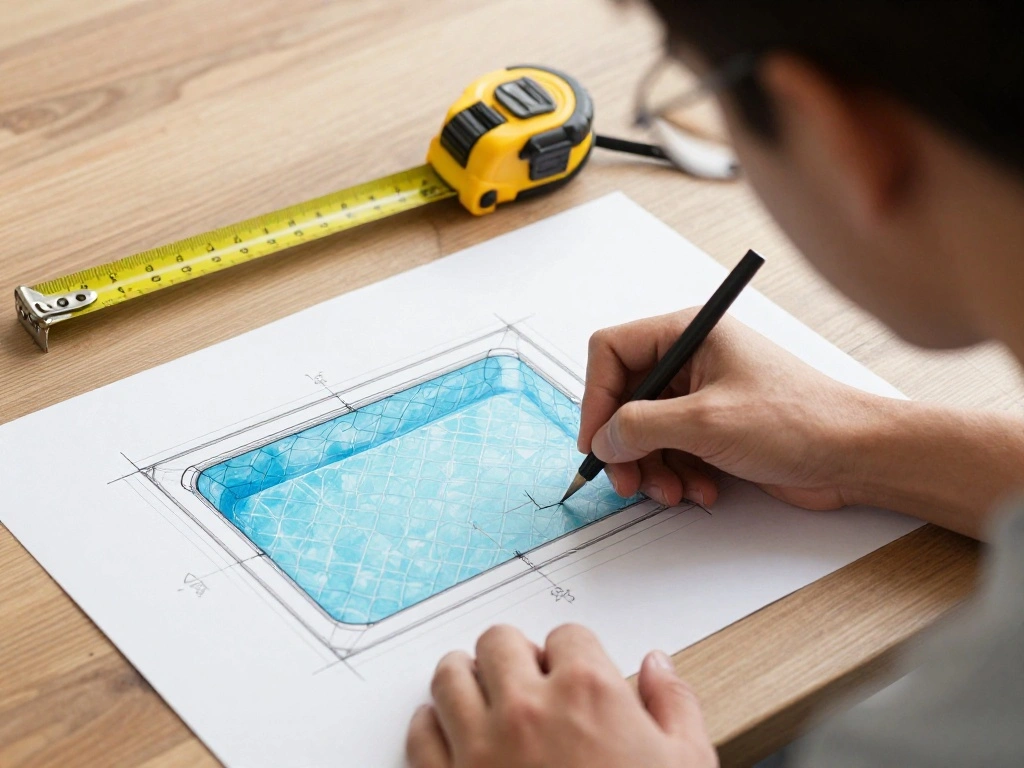
Start by planning your pool design, considering your space, budget, and desired features. Follow these sub-steps:
- Determine the size and shape of your pool based on your yard’s layout.
- Sketch a layout, including decking, landscaping, and access points.
- Research local regulations regarding pool installations.
Warning: Ensure you comply with zoning laws and obtain necessary permits before starting construction. Why this matters: Proper planning prevents costly changes and ensures safety. Estimated time for this step: 2 hours.
Step 2: Gather Materials and Tools
Next, gather all the necessary materials and tools for construction. Follow these sub-steps:
- Purchase the pool kit, ensuring it includes all essential components.
- Collect excavation tools like shovels and wheelbarrows.
- Gather installation tools, including levels and measuring tapes.
Pro Tip: Create a checklist to ensure you don’t miss any materials. Why this matters: Having everything ready will streamline the construction process. Estimated time for this step: 1 hour.
Step 3: Mark the Pool Area
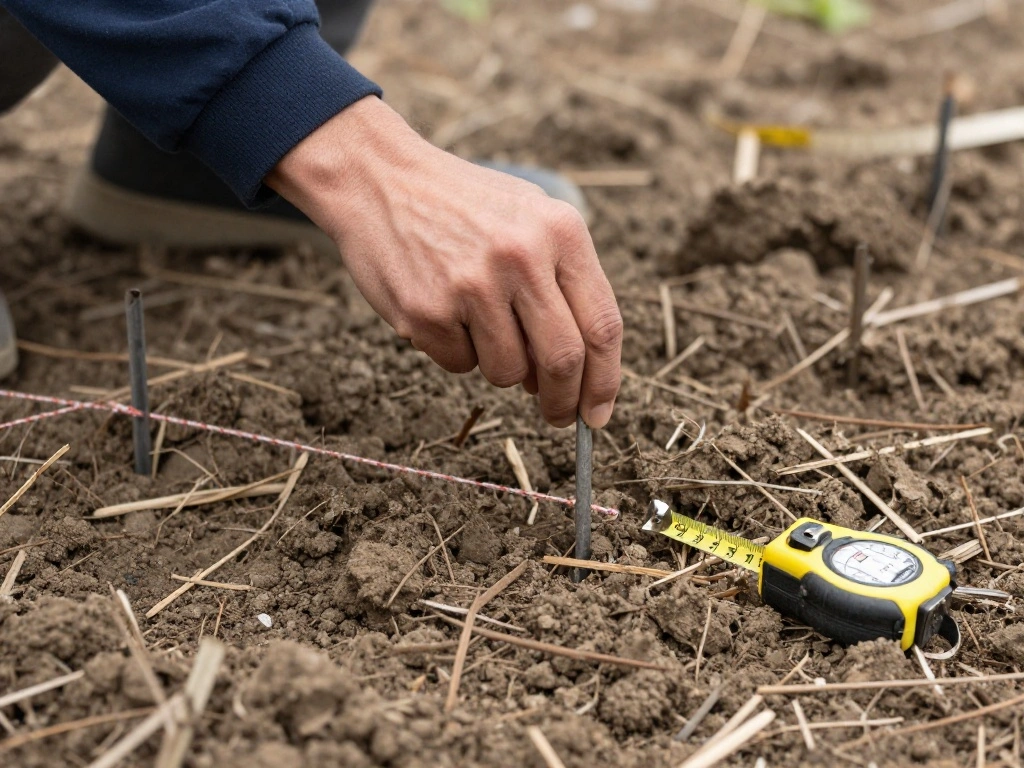
Mark the area where you will excavate for the pool. Follow these sub-steps:
- Use stakes to outline the pool shape based on your design.
- Connect the stakes with string for a clear boundary.
- Double-check measurements to ensure accuracy.
Warning: Accurate marking is crucial to avoid excavation mistakes. Why this matters: A precise outline ensures the pool fits well in the designated area. Estimated time for this step: 1 hour.
Step 4: Excavate the Pool Site
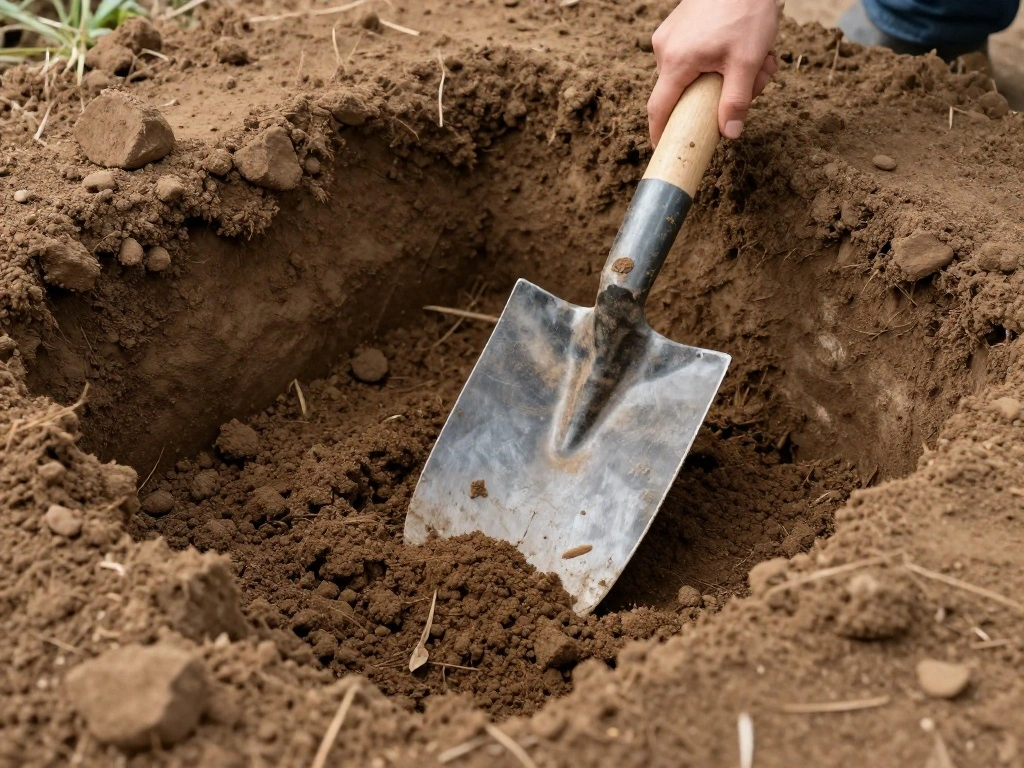
Proceed to excavate the marked area for your pool. Follow these sub-steps:
- Use a shovel to dig out the outlined area, removing soil carefully.
- Ensure the depth matches your pool kit specifications.
- Level the bottom of the excavation for stability.
Pro Tip: Consider renting a small excavator for larger pools to save time and effort. Why this matters: Proper excavation is essential for a stable and safe pool foundation. Estimated time for this step: 4-5 hours.
Recommended Products

9 PCS ARCHAEOLOGICAL EXCAVATION SET: Includes 9 toy tools, like hammer, chisel, brus. Help the kid dig the dino block, gem block more easily.

Completeation Kit: The Digging Tools set includes all essential tools for excavation, such as a hammer, brush, chisel, providing a comprehensive and engaging digging experience Size:11.00X2.20X0.80cm/4.32X0.86X0.31in(brush) Size:11.00X3.00X1.50cm/4.32X1.18X0.59in(hammer) Size:9.50X1.00X1.00cm/3.73X0.39X0.39in(chisel)

Portable and Easy to Store: The compact size of each tool makes this dig tool set portable.Each lightweight tool in this kids digging tools set is designed for small hands, making it easy for children to explore and dig wherever they go./Size(wood hammer):14.00X4.00X2.00cm/5.50X1.57X0.79in
Step 5: Install the Pool Kit
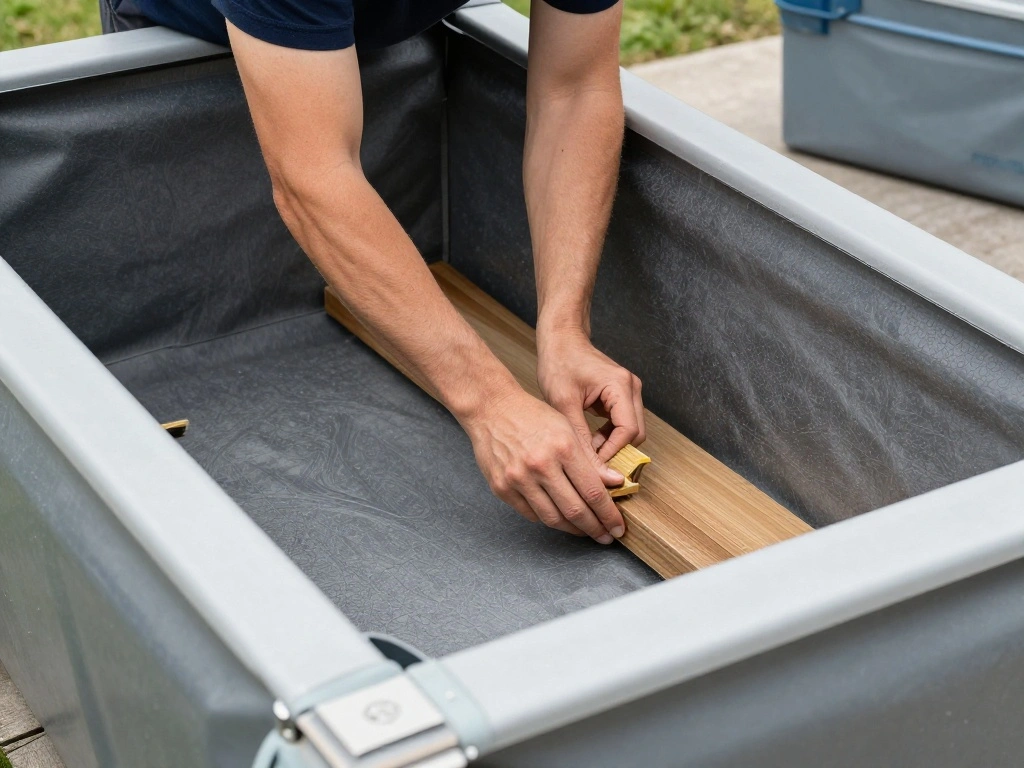
Now, it’s time to install the pool kit according to the manufacturer’s instructions. Follow these sub-steps:
- Assemble the walls and base according to the provided guidelines.
- Secure the components together, ensuring they are level.
- Connect any plumbing as required by the pool design.
Warning: Follow instructions carefully to avoid structural issues. Why this matters: A well-installed pool kit ensures longevity and safety. Estimated time for this step: 3-4 hours.
Recommended Products

Dual-Purpose: use it at the start of the season to get your pool swim-ready or keep your water balanced all season long with a bundled set of essential chemicals at a great value.

【Pool Bonding Kits】 This above ground pool water bonding kit is applicable for use in above ground pools only. Meets Equipotential Bonding: Pool Water Requirements of NEC 680.26. The BWB680AG pool bonding kit is one of the few and the most user friendly products on the market that complies with this code.

Save time and take the guesswork out of measuring chemicals when opening your pool with our pre-measured pool opening kits.
Step 6: Backfill Around the Pool
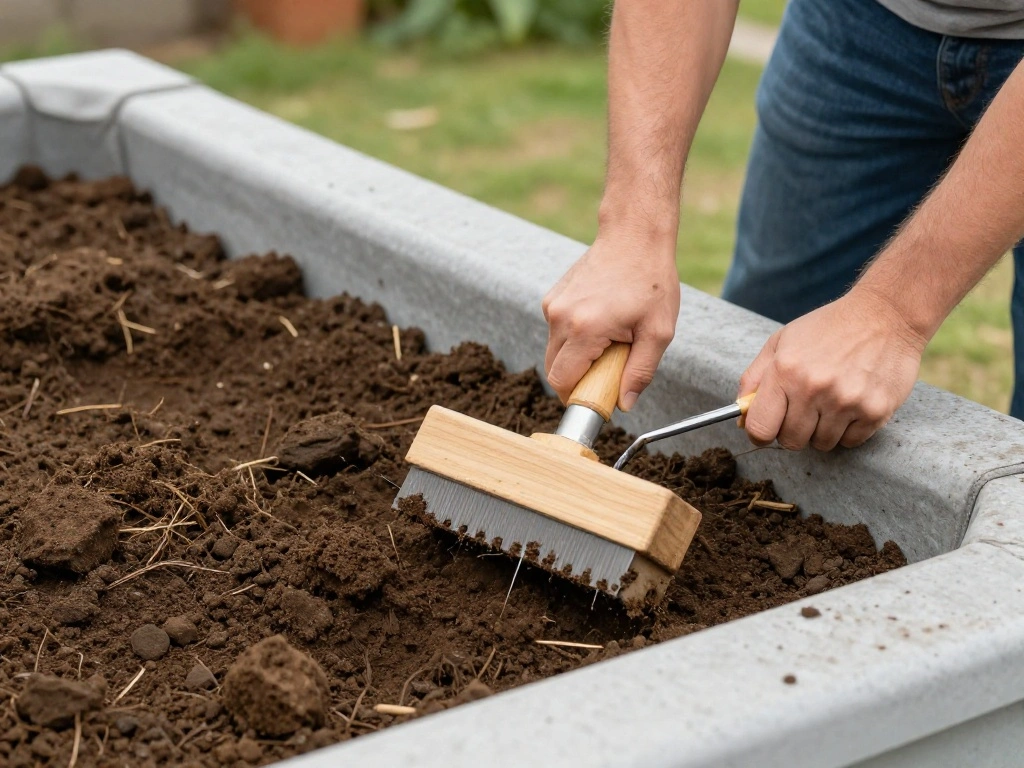
Once the pool kit is installed, backfill around the pool’s perimeter. Follow these sub-steps:
- Carefully add soil around the pool walls, avoiding heavy pressure.
- Compact the soil gradually as you fill to prevent settling.
- Level the backfill to match the surrounding ground.
Pro Tip: Use a tamper to compact soil effectively. Why this matters: Proper backfilling supports the pool structure and prevents later settling. Estimated time for this step: 2 hours.
Step 7: Install Pool Decking
Enhance your pool area by installing decking around the pool. Follow these sub-steps:
- Choose your decking material (pavers, wood, etc.) based on your design.
- Lay out the decking around the pool, ensuring even spacing.
- Secure the decking according to manufacturer instructions.
Warning: Ensure your decking is slip-resistant for safety. Why this matters: A well-constructed deck improves aesthetics and functionality. Estimated time for this step: 2-3 hours.
Step 8: Fill the Pool and Finish Landscaping
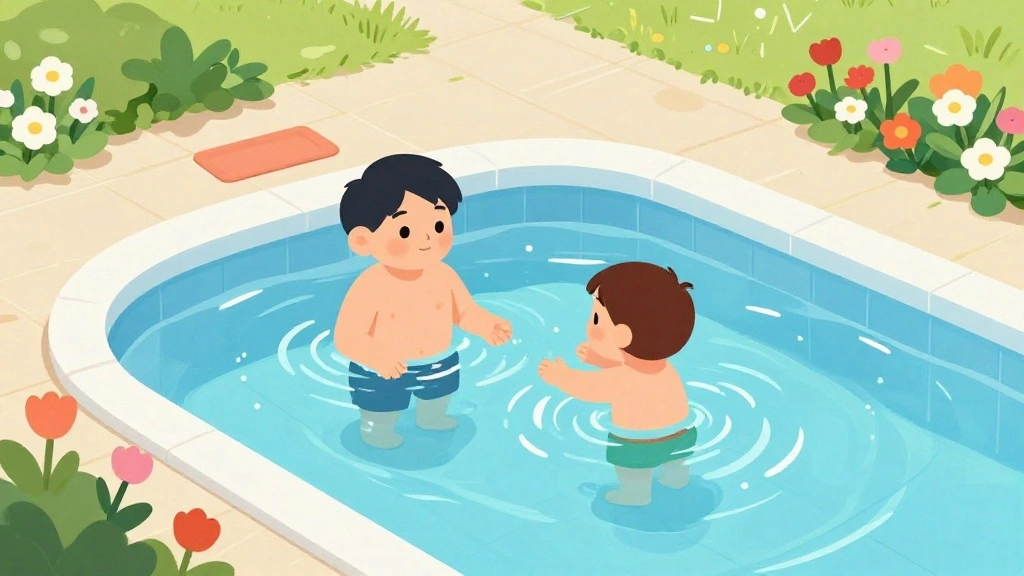
Finally, fill the pool with water and complete your landscaping. Follow these sub-steps:
- Connect a garden hose to fill the pool, monitoring the water level.
- Once filled, treat the water with appropriate chemicals.
- Plant flowers or shrubs around the pool area for a finished look.
Pro Tip: Use a pool cover to retain heat and keep debris out. Why this matters: Proper water treatment ensures a safe swimming environment, while landscaping enhances appeal. Estimated time for this step: 2-3 hours.
Pro Tips
- Consider Solar Heating: Install a solar heater to extend your swimming season.
- Use LED Lighting: Add lights for nighttime ambiance and safety.
- Landscaping for Privacy: Use tall plants or fencing for a more secluded feel.
- Regular Maintenance: Establish a cleaning routine to keep your pool in top condition.
- Explore Pool Accessories: Consider adding floats, toys, or furniture for added enjoyment.
Common Mistakes to Avoid
- Warning: Not checking local regulations can lead to fines or forced removal of your pool.
- Warning: Skipping the leveling process can cause structural problems in the future.
- Warning: Using the wrong type of soil for backfilling can lead to erosion.
Troubleshooting Section
- Problem: Pool water is cloudy.
Solution: Check chemical balance and adjust as necessary. - Problem: Decking feels unstable.
Solution: Re-check the installation and reinforce as needed. - Problem: Pool leaks.
Solution: Inspect seams and fittings for damage and repair accordingly.
Recommended Products
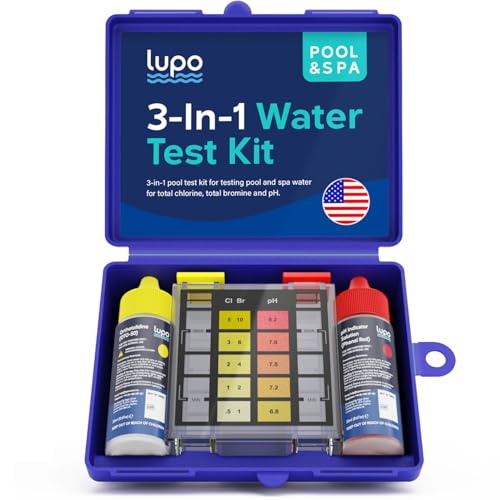
3-IN-1 POOL TESTING KIT: An easy-to-use, accurate pool test kit for testing three essential water quality parameters in residential pools and spas: Total Chlorine, Total Bromine, and pH. Includes enough reagents for 100 tests, helping keep your water safe, clean, balanced, and ready to use anytime.
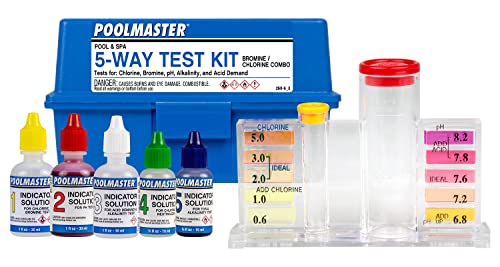
For maintaining proper water chemistry; tests for Chlorine, Bromine, pH, Acid Demand, and Total Alkalinity

Reliable Results In Seconds – Everything you need to test your pool or spa is conveniently packaged in the handy storage case, including a comparator to mix samples, and 8 easy-to-use reagents for 6 common water test parameters for DPD testing: Free & Total Chlorine, Bromine, pH, Acid Demand, and Total Alkalinity.
Variations/Alternative Methods
- Above-Ground Pools: Easier to install, but may not offer the same aesthetic appeal as in-ground pools.
- Inflatable Pools: Quick setup and removal, ideal for temporary use, but less durable.
- Natural Pools: Utilize plants and filtration systems for a more eco-friendly option, though they require more maintenance.
Recommended Products

The Pool Enzyme that Helps with Effortless Pool Opening: AquaDoc's Pool Starter chemical tackles winter's stubborn debris - complementing you pool opening kit for both inground and above-ground pools.

Complete Pool Opening Kit: AquaDoc's Pool Starter Kit for inground and above ground pools eliminates guesswork, saving you valuable time during pool start up. This pool starter kit includes Algaecide, Pool Starter, Water clarifier, Shock, Stain & Scale remover and test strips.

Pool Startup Chemical to Support Your Opening Routine - AquaDoc Pool Opener helps break down debris and organic buildup left behind during winter to support a smoother start to the swimming season. Designed to be used alongside pool starter kits for both above ground and inground pools.
FAQs
- What if I don’t have enough space for a large pool?
Consider a smaller, above-ground pool or a plunge pool for limited spaces. - How long should I wait before using the pool?
After filling and treating the water, wait at least 24 hours before swimming. - Is it safe to swim in a newly filled pool?
Make sure to balance chemicals and ensure the pool is clean before swimming.
Conclusion
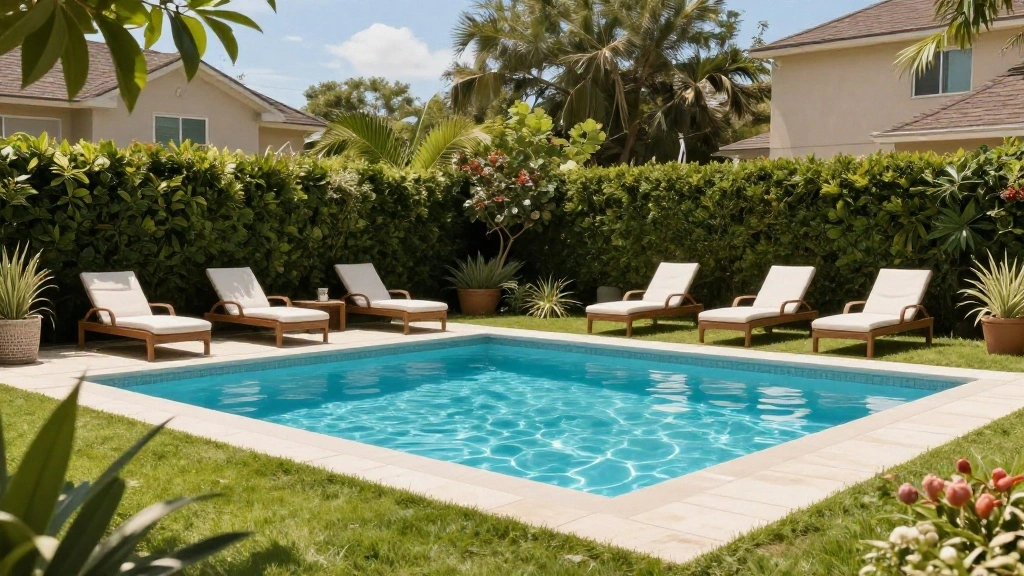
Congratulations! You now have your very own DIY backyard oasis with a pool, a perfect retreat for relaxation and fun. Enjoy your new space and consider enhancing it with furniture or outdoor decor for added comfort.
As you enjoy your pool, remember to stay informed about maintenance and safety practices. Regular upkeep will ensure your oasis remains a beautiful and safe area for years to come. Dive into your new lifestyle and make the most of your backyard!