

Urban living doesn’t mean you have to give up on your dream of a vibrant garden. With bucket gardening, you can transform even the tiniest balcony into a green oasis. These 5-gallon buckets are not just practical; they’re also stylish and versatile, making gardening simple and accessible for everyone. This list covers everything from the basics of container gardening to delightful DIY projects that bring life to small spaces.
Each tip is designed to help you get the most out of your bucket garden while keeping things easy and fun. Let’s jump into these fantastic bucket gardening tips that will have you planting in no time!
1. Choose the Right Buckets
Starting with the right bucket is crucial for your gardening success. Look for food-grade 5-gallon buckets, like the Food-Grade 5-Gallon Bucket, to ensure that they’re safe for planting. Avoid buckets that previously held harmful chemicals to keep your plants healthy. You can find these buckets at home improvement stores or local bakeries that often have them on hand. Besides, don’t forget to choose light-colored buckets if your garden will be in the sun, as they reflect heat better!
If you’re looking to create drainage holes, consider using a tool like the Bucket Drainage Drill Bit. This handy auger drill bit is perfect for creating proper drainage in the bottom of your buckets, which is essential for preventing overwatering and promoting healthy plant growth.
Additionally, to add a personal touch, consider painting or decorating your buckets to match your style. Using something like the Waterproof Paint for Outdoor Use can help you create a unique look. These paints are rich in pigment and designed for outdoor crafts, allowing your buckets to shine in your garden. This small detail can elevate your garden aesthetics immensely!
2. Drill Drainage Holes
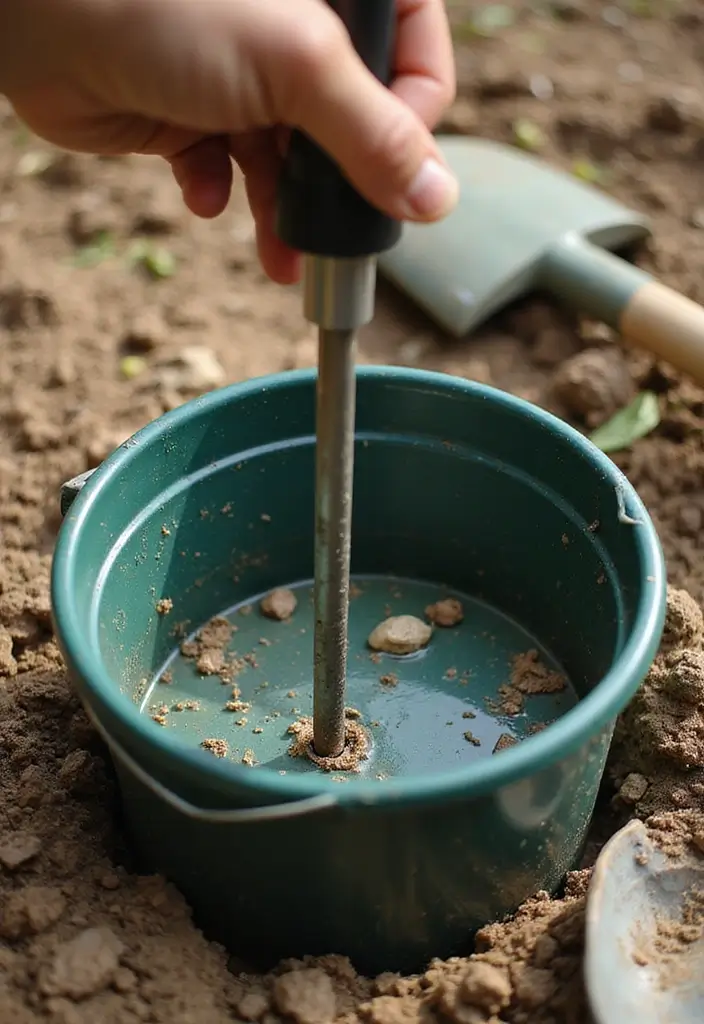
Proper drainage is essential for healthy plants. Without the right holes, you risk overwatering your plants, which can lead to root rot. Grab your drill, like the DEWALT 20V Max cordless drill/driver kit, and create several holes in the bottom of each bucket.
– Importance: This helps excess water escape, allowing roots to breathe and grow stronger.
– Technique: Use a drill bit, such as the DEWALT drill bit set with a 1/4 inch wide bit, and space the holes evenly across the bucket bottom.
Remember, however, not to overdo it; too many holes can lead to soil loss during watering. Just a few strategic holes will do the trick!
– Tip: Place a layer of gravel for drainage, like ZOOFOX small washed gravel, at the bottom to help with drainage while keeping your soil in place.
3. Use Quality Potting Mix
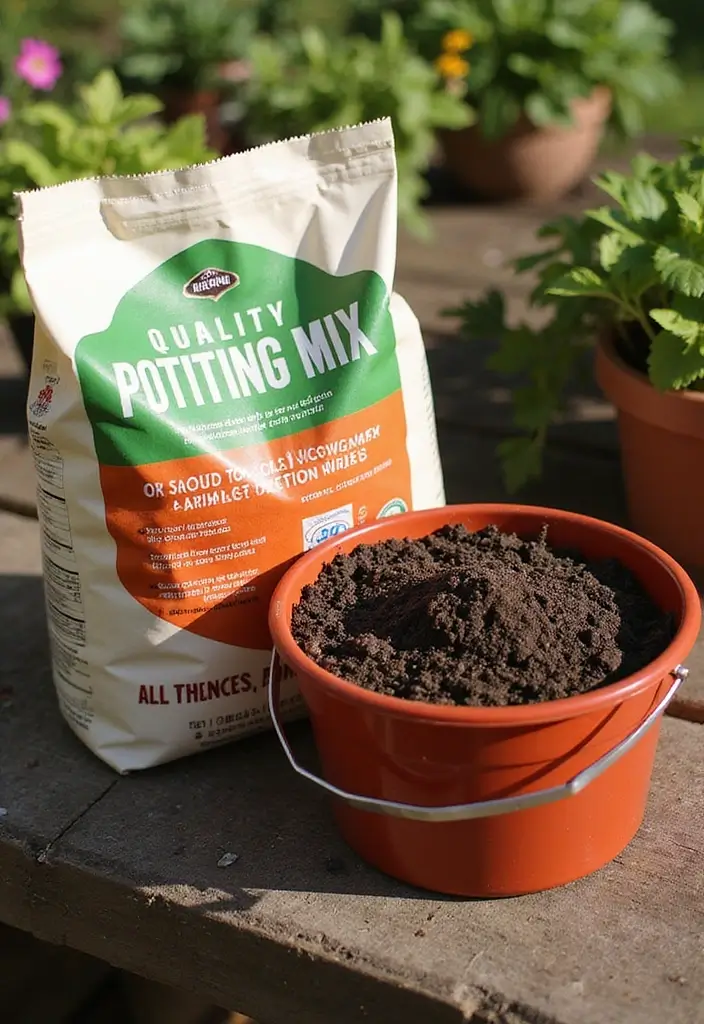
Choosing the right potting mix can mean the difference between thriving plants and wilting greens. Look for a quality potting mix specifically designed for container gardening, like Miracle-Gro Organic Outdoor Potting Mix. This mix is lightweight, which allows for better aeration and drainage, ensuring your plants get the best environment to grow.
– Tip: Avoid garden soil, as it’s often too dense and can lead to poor drainage in bucket gardening.
Consider enhancing your potting mix with Back to the Roots Organic Premium Compost. This organic compost enriches the soil and provides essential nutrients for your plants, promoting robust growth.
– Pro Tip: You can blend in Osmocote Smart-Release Plant Food to keep your plants fed throughout the growing season. This slow-release fertilizer contains 11 essential nutrients that minimize the need for frequent fertilization, making it easier to care for your garden.
A quality potting mix is your plant’s best friend – it’s like giving them a cozy home! Remember, a lighter mix means happier greens in your bucket gardening journey.
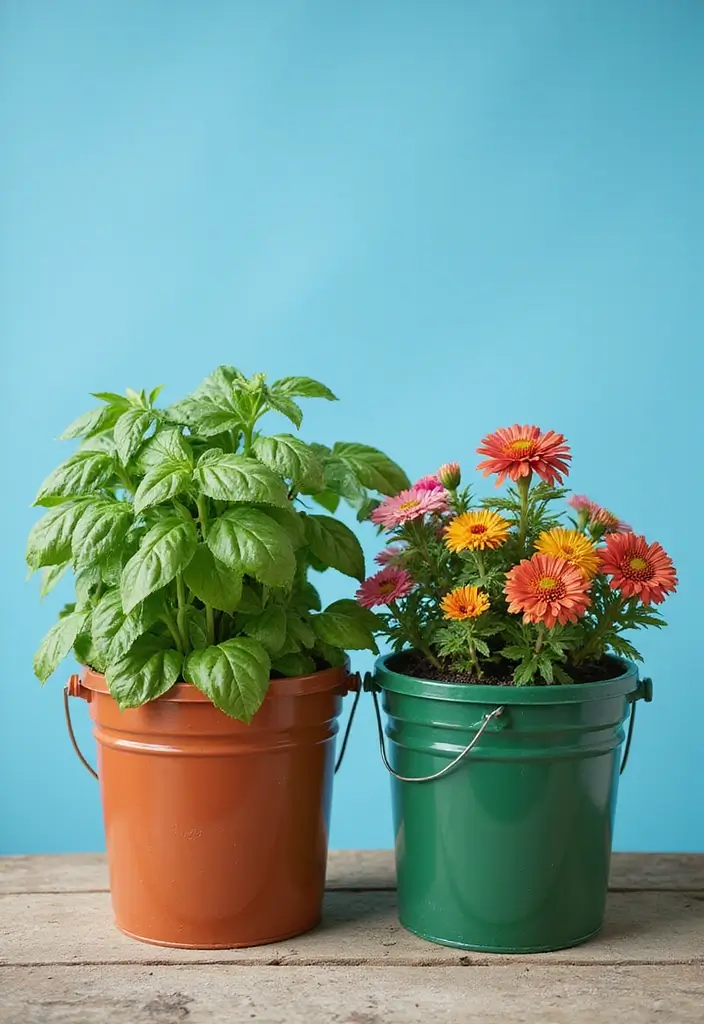
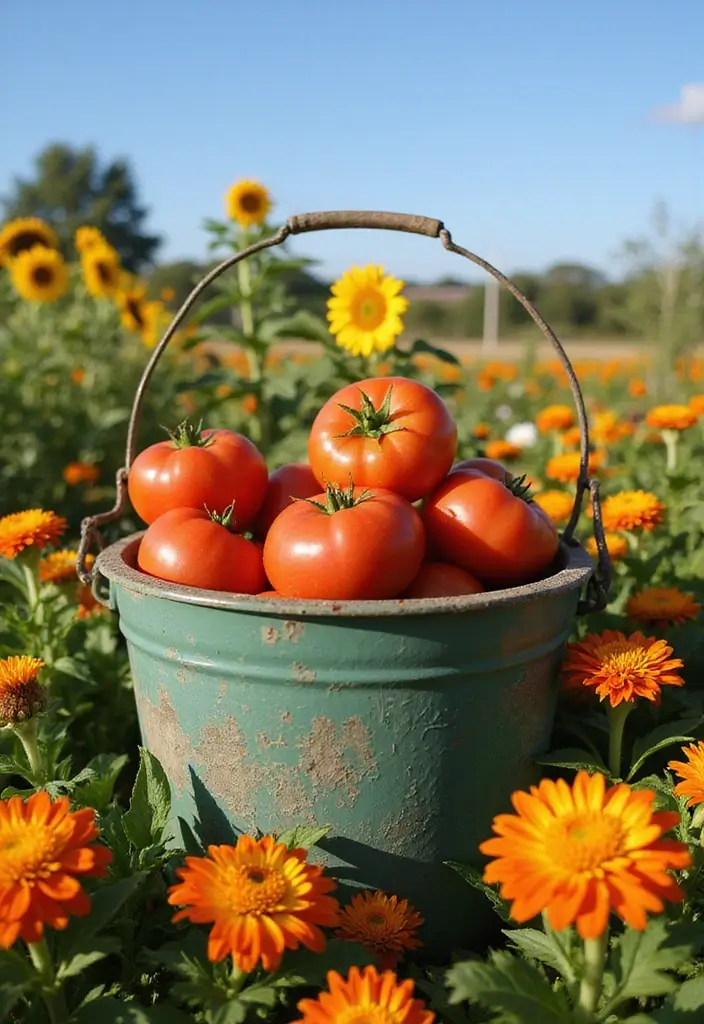
4. Select the Right Plants
Not all plants are created equal when it comes to bucket gardening. Consider your space, the sun exposure, and the type of plants you want. Herbs like basil and chives, as well as vegetables like tomatoes and peppers, thrive well in 5-gallon buckets. To ensure your plants grow strong and healthy, you might want to consider using Miracle-Gro potting mix for container gardening. This soil is specifically formulated to provide the nutrients your plants need and feeds them for up to six months, making it ideal for your 5-gallon buckets.
– Tip: If you’re limited on space, try growing compact or dwarf varieties of vegetables. They’re perfect for container gardening! You can also enhance your planting experience with the 5 gallon bucket planter, which offers durability and versatility for your indoor or outdoor gardening needs.
Another great option is flowers; marigolds and petunias add color and vibrancy to your buckets. Just ensure you choose plants with similar water and sunlight needs for optimal growth. If you’re looking to diversify your garden, consider the organic vegetable seeds variety pack. This assortment includes herbs, fruits, and veggies that are guaranteed to grow, allowing you to mix and match for a mini garden that adds a fragrant, fresh vibe to your kitchen.
– Fun Insight: Mix and match! Combining several herbs or veggies in one bucket creates a delightful and functional display.
5. Pairing Plants Wisely
Companion planting can significantly boost your gardening success. Pairing certain plants together can enhance growth, deter pests, and even improve flavor!
For instance, you can plant basil next to tomatoes; basil not only repels tomato pests but it also enhances the flavor of the tomatoes. To help you get started with effective pairings, consider using the companion planting guide book. This guide can provide valuable insights into which plants work best together, helping you avoid those that compete for nutrients or are prone to the same diseases.
When it comes to your bucket garden, opt for a durable option like the 5 gallon bucket with lid. These heavy-duty buckets are perfect for container gardening and make it easy to create the ideal environment for your companion plants.
Finally, ensure your plants thrive by using quality nutrients. The organic fertilizer for vegetables is a balanced all-natural option that can support healthy growth throughout the season.
This strategy not only maximizes your limited space but also enriches your gardening experience with vibrant combinations. Plus, you’ll have a mini ecosystem right on your balcony!
6. Watering Techniques
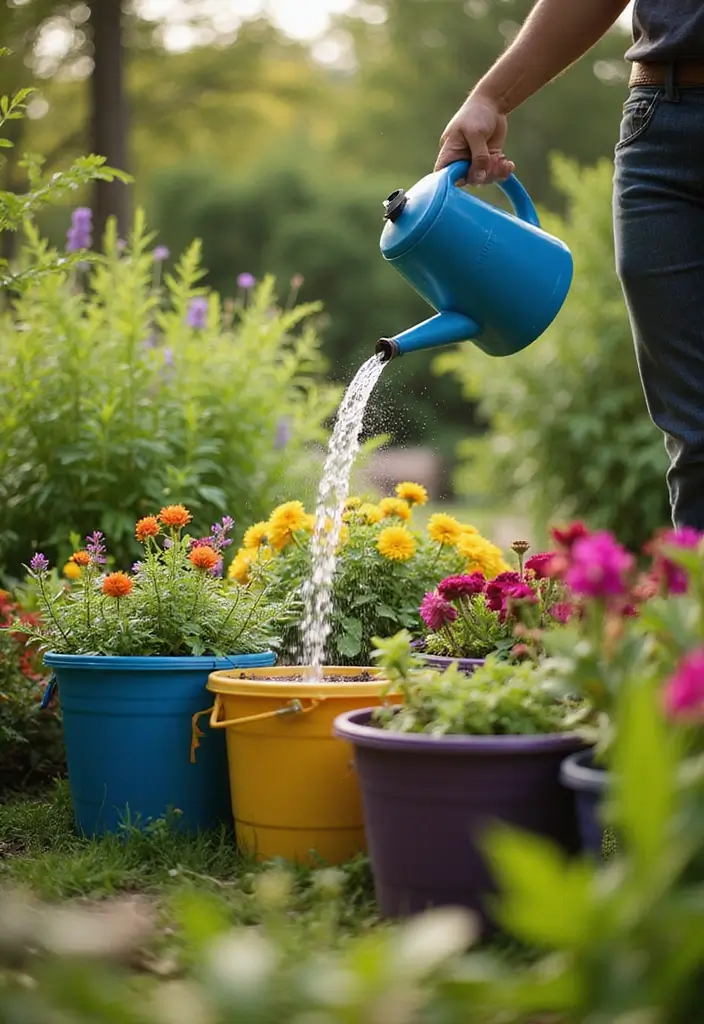
Watering is an art in bucket gardening. Since the soil dries out faster in containers, you need to check it regularly for moisture. However, overwatering can be just as harmful as underwatering.
– Tip: Use your finger to check the top inch of the soil; if it feels dry, it’s time to water! To make this process even easier, consider using a moisture meter for plants. This tool can help you detect moisture levels accurately without the need for guesswork, ensuring that your plants receive the right amount of water.
When watering, do it thoroughly until you see water draining from the holes at the bottom. This ensures that all roots are receiving moisture. Watering in the morning allows plants to absorb moisture before the heat of the day, reducing evaporation.
– Pro Tip: Incorporating moisture-retentive materials like coconut coir brick into your potting mix can help keep soil consistently moist without over-saturating. These organic bricks can effectively improve soil structure and moisture retention, giving your plants the hydration they need.
To make your watering routine simpler, consider using a watering can with measurement marks. This small watering can is designed for easy pouring and precise measurement, allowing you to provide just the right amount of water to your plants every time.
By keeping these techniques and tools in mind, you’ll promote healthy growth and vibrant plants in your bucket garden.
7. Fertilizing Your Plants

When you’re gardening in buckets, your plants rely on you for all the nutrients they need. Unlike garden soil, nutrients wash out quickly in containers, making fertilization crucial. To keep your garden healthy without harmful chemicals, consider using organic fertilizers. For instance, Organic Plant Magic – Truly Organic™ Slow Release Granular Fertilizer can provide continuous feeding for several months, which means you’ll have to apply it less frequently.
If you prefer a DIY option, creating your own worm castings from composting is a great way to enrich the soil naturally. You might find 100% Pure Organic Worm Castings Fertilizer a perfect ingredient, as it improves soil fertility and aeration for a variety of plants, enhancing their growth and health.
Don’t forget to read the instructions on your fertilizer carefully; over-fertilization can burn your plants. A balanced 5-10-10 Fertilizer is generally a safe choice for most plants, providing essential nutrients that promote vigorous growth and big blooms. By using these products thoughtfully, you can ensure your bucket garden thrives all season long.
8. Rotate Your Crops
Rotating your crops is an essential practice in gardening that helps prevent soil depletion and pest buildup. Since you’re using buckets, crop rotation is easy!
– Tip: After a growing season, replace spent plants with new ones of a different family. This helps keep nutrient levels balanced. For optimal growth, consider using Burpee organic tomato & vegetable granular plant food to provide the necessary nutrients for your new plants.
– Companion Planting: Along with rotation, strategically placing new plants can deter pests from returning. For example, after harvesting tomatoes, try planting peppers or herbs in that bucket. If you’re concerned about pests, using a natural solution like Mighty Mint insect and pest repellent can help keep unwanted visitors away.
Additionally, to keep track of your planting schedule and ensure you remember which crops you’ve rotated, KINGLAKE plant labels can be a handy tool. Not only will this keep your garden thriving, but it also keeps things fresh and exciting for you!
9. Pest Control Strategies
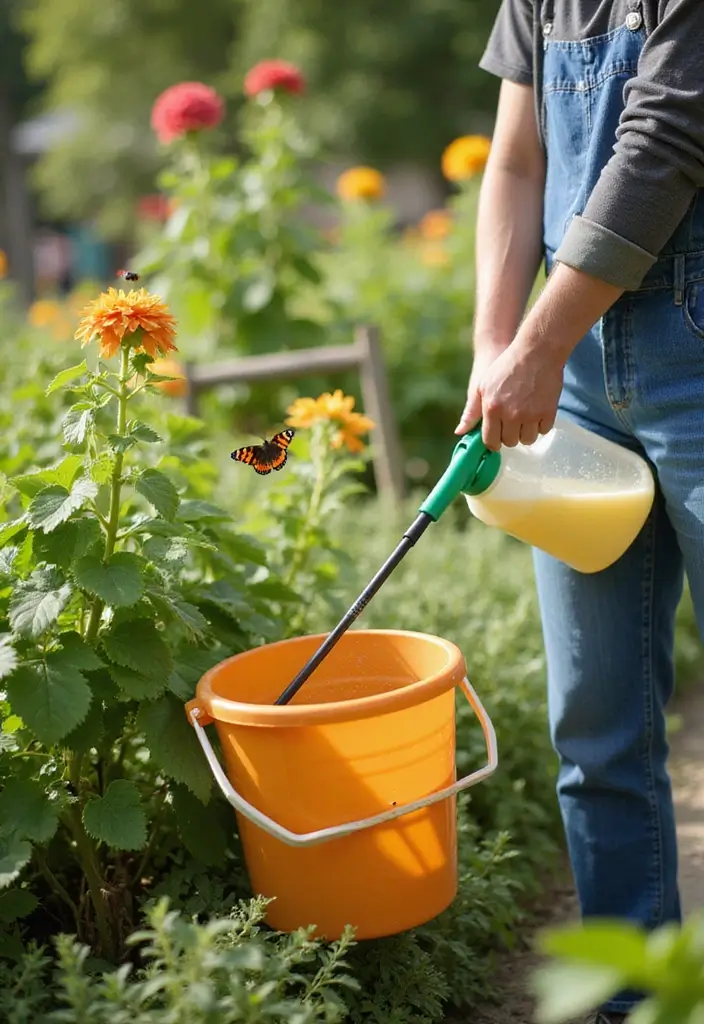
Urban gardening can bring its own set of pest challenges. Fortunately, you can use several strategies to manage pests without chemicals. Start by inspecting your plants regularly for any signs of trouble.
– Tip: Planting marigolds or using Neem Oil can deter many pests naturally. Neem oil is a great organic solution that disrupts the life cycle of pests without harming beneficial insects.
– DIY Solutions: You can create your own insecticidal soap by mixing water and mild dish soap in a spray bottle. For convenience, consider Garden Safe 32 oz. Insecticidal Soap, which is ready to use and effective against common pests. Just spray it directly on affected plants to combat pests without harming those helpful creatures in your garden.
Encourage natural predators like ladybugs and lacewings to establish a balance in your garden ecosystem. A fun way to attract ladybugs is with the Ladybug Habitat Kit, which provides a cozy home for these beneficial insects. Remember, a healthy garden is about coexistence, not eradication!
10. Seasonal Care Tips
With each season comes new challenges and opportunities for your bucket garden. In the spring, focus on planting and ensuring your young plants thrive. Make watering easier with a watering can with measurement, which allows you to provide just the right amount of moisture for your seedlings.
Summer demands frequent watering and perhaps shade for delicate plants during heat waves. If you’re in a region that experiences extreme temperatures, consider using a garden burlap fabric to create shade or to insulate your buckets. This can help protect your plants from the scorching sun while keeping them cool and hydrated.
As we move into fall, it’s time to start harvesting and to think about planting cover crops to enrich the soil for winter. You can also bring some pots indoors to keep the harvest going! Insulating your buckets in colder climates is essential to protect roots from freezing temperatures. Using a bubble wrap roll is a great solution for this, as it provides an additional layer of insulation, helping to keep your plants safe during colder months.
Keep track of seasonal tasks to maximize your gardening success year-round. Every season has its unique charm, from blossoms in spring to colorful autumn leaves!
11. Vertical Bucket Gardens
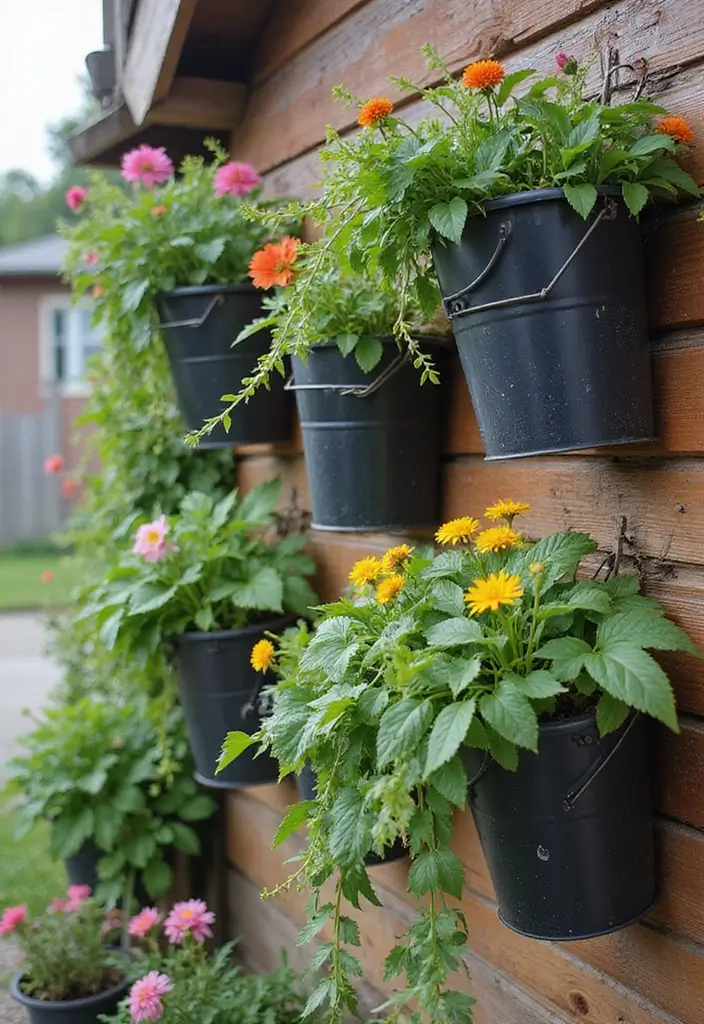
If space is super tight, a vertical bucket garden can save the day! By stacking or hanging your 5-gallon buckets, you can create a stunning green wall that saves ground space and adds visual interest.
To securely hold your buckets, consider using wall racks for planters. These racks not only provide a sturdy support system but also contribute to an urban-friendly design that transforms your gardening space into a vertical oasis.
For your planting needs, the 5-gallon bucket with lid is an excellent choice. Its heavy-duty construction and comfortable handle make it perfect for both indoor and outdoor gardening.
When selecting plants, consider using trailing varieties like strawberries or cascading flowers that add charm and color. This design not only maximizes space but also keeps your garden within eye level, making it easier to care for and harvest. Plus, it adds a unique aesthetic to your urban environment!
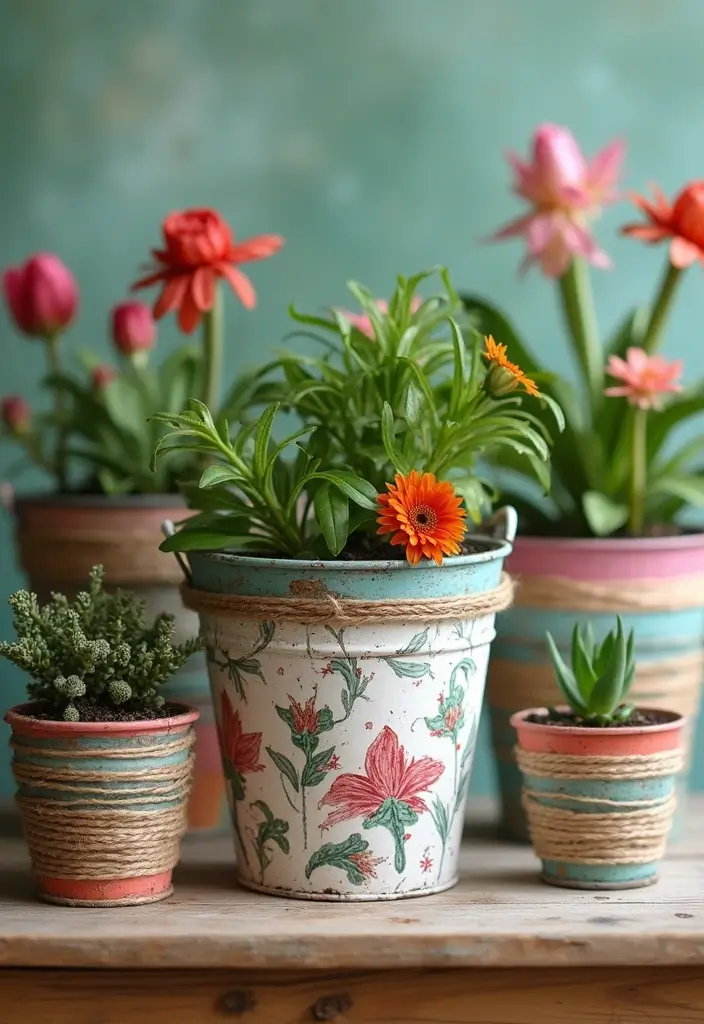
12. DIY Bucket Planters
Get creative with DIY bucket planters! Transform standard 5-gallon buckets into artistic planters that reflect your personality and style. Start by painting them in vibrant colors using an acrylic paint set that includes 24 colors and art brushes. This allows you to customize your buckets and make them stand out in your garden.
To ensure your plants thrive, it’s essential to add drainage. You can easily create holes in the bottom of the buckets using a hot nail or drill. Consider layering drainage pebbles along with charcoal and soil for improved drainage and aeration. This will help maintain healthy root systems for your plants.
For a creative twist, try stacking smaller buckets inside larger ones for a multi-tiered effect! Not only is this a fun project, but it’s also a great way to upcycle and add character to your garden. Each bucket tells a story of creativity! For your planting needs, you can start with a reliable 5-gallon bucket that is heavy-duty and easy to carry, making it perfect for your DIY endeavors.
13. Easy Herb Buckets
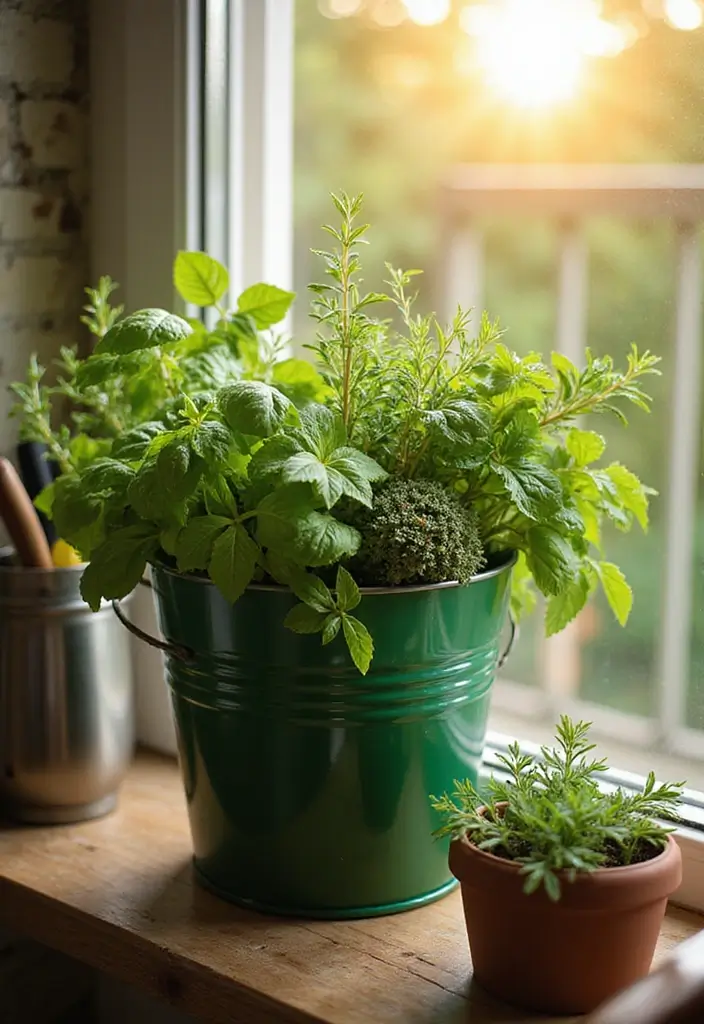
Herbs are among the easiest plants to grow in buckets, making them perfect for urban gardening. You can create a dedicated herb bucket for favorites like basil, thyme, and mint, allowing easy access while cooking.
– Tip: Choose a large bucket like the 5 gallon bucket with lid to ensure ample space for your herbs, and plant those with similar watering needs together. The snap-on lid also helps keep pests away and retains moisture, making it easier to care for your herbs.
– DIY Idea: Create a herb spiral by stacking smaller buckets with varying heights, allowing for unique aesthetics! You can label each herb with plant labels for garden to easily identify your favorites and add a charming touch to your setup.
Having fresh herbs on hand not only elevates your culinary game but also enriches your space with delightful scents. Plus, nothing beats the taste of homegrown herbs, right?
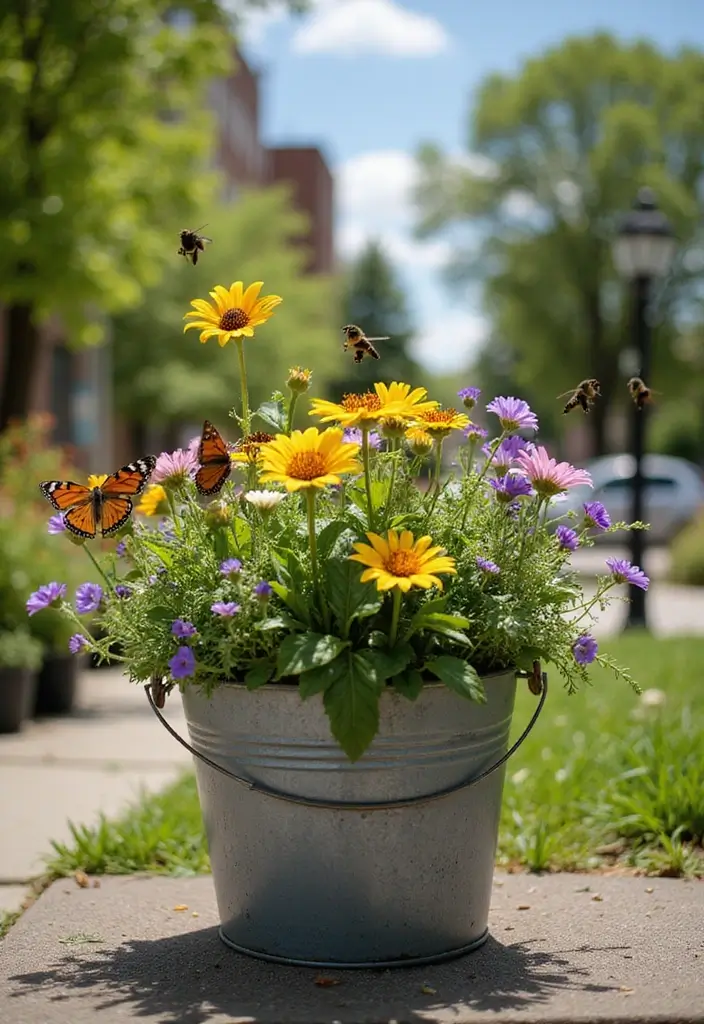
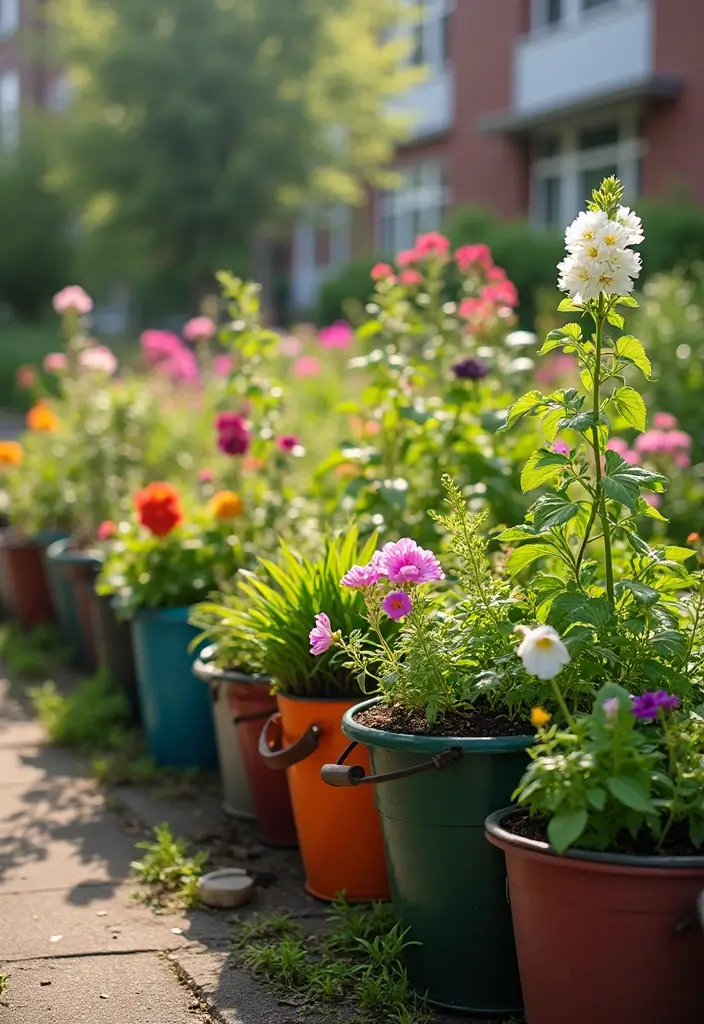
14. Planting Flowers for Pollinators
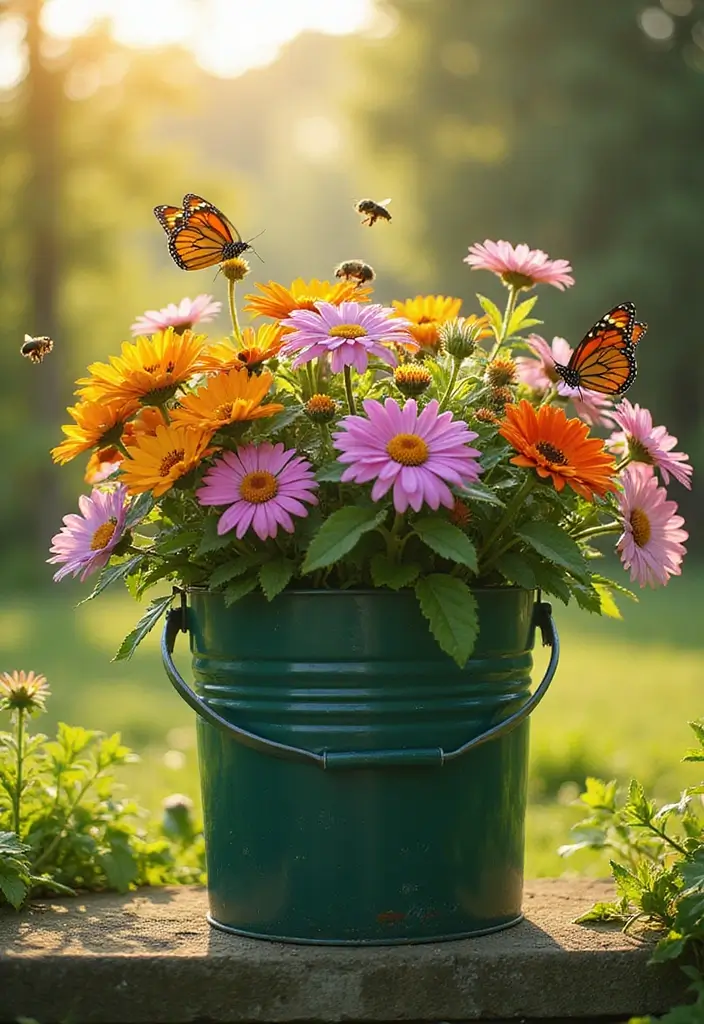
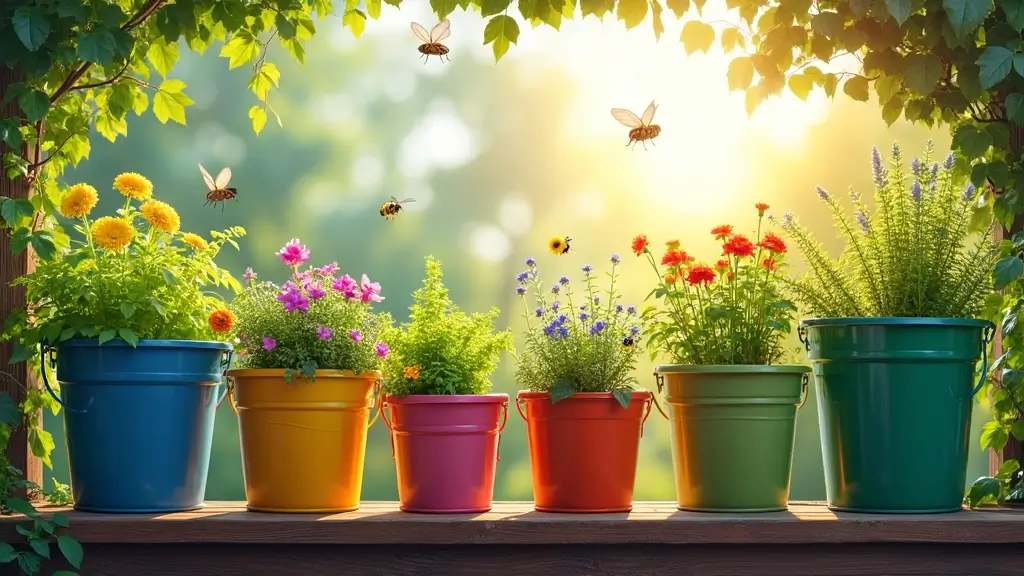
Beautify your small space while helping local pollinators by planting flowers that attract bees and butterflies. Consider vibrant flowers like sunflowers, zinnias, and lavender, which thrive in buckets. For a delightful mix, you can use Burpee Wildflower 25,000 Bulk, 1 Bag, 18 Varieties of Non-GMO Flower Seeds Pollinator Garden, Pollinator Mix. This selection not only offers diverse colors and textures but also ensures that your garden is a haven for pollinators.
– Tip: Mix colors and textures for a stunning visual impact.
– Planting Plan: Group flowers together to create a pollinator paradise, encouraging them to visit your garden.
This not only benefits the environment but also brightens up your balcony! Watching pollinators flutter among your blooms adds an extra layer of joy to your gardening experience.
Transform your small space into a vibrant haven for pollinators! Planting colorful flowers in 5-gallon buckets not only brightens your balcony but also invites bees and butterflies to thrive.
15. Insulating Your Buckets
In colder climates, insulating your 5-gallon buckets can protect your plants from frost and extreme temperatures. Wrapping burlap or bubble wrap around the sides can help keep the soil warm. For an effective insulation solution, consider using a burlap fabric roll to create a sturdy barrier that retains heat. Alternatively, a bubble wrap roll is also a great choice, as its air-filled pockets provide excellent insulation while being lightweight and easy to handle.
For added warmth, you can utilize a foam wrap insulation that is designed to be non-itchy and easy to apply, ensuring your plants stay cozy during the winter months.
As a winter solution, if you have less hardy plants, moving them indoors when possible can keep them safe and allow for continued growth. By taking these steps, you’ll ensure your plants remain comfortable throughout the winter, promoting healthy growth as spring approaches. A little prep goes a long way in urban gardening!
16. Companion Flowers for Vegetables
Enhance your vegetable growth by incorporating companion flowers in your buckets. For instance, Marigold seeds are an excellent choice as they can deter harmful pests while attracting beneficial insects that will help your veggies thrive. Plant them alongside tomatoes or peppers for a beautiful and functional display that’ll boost your garden’s health.
Additionally, consider using sunflower seeds, which can provide shade to heat-sensitive crops, creating a balanced mini-ecosystem. Adding these flowers not only improves your garden’s aesthetics but also promotes a healthier growing environment, maximizing your urban gardening efforts.
17. Succulent Bucket Gardens
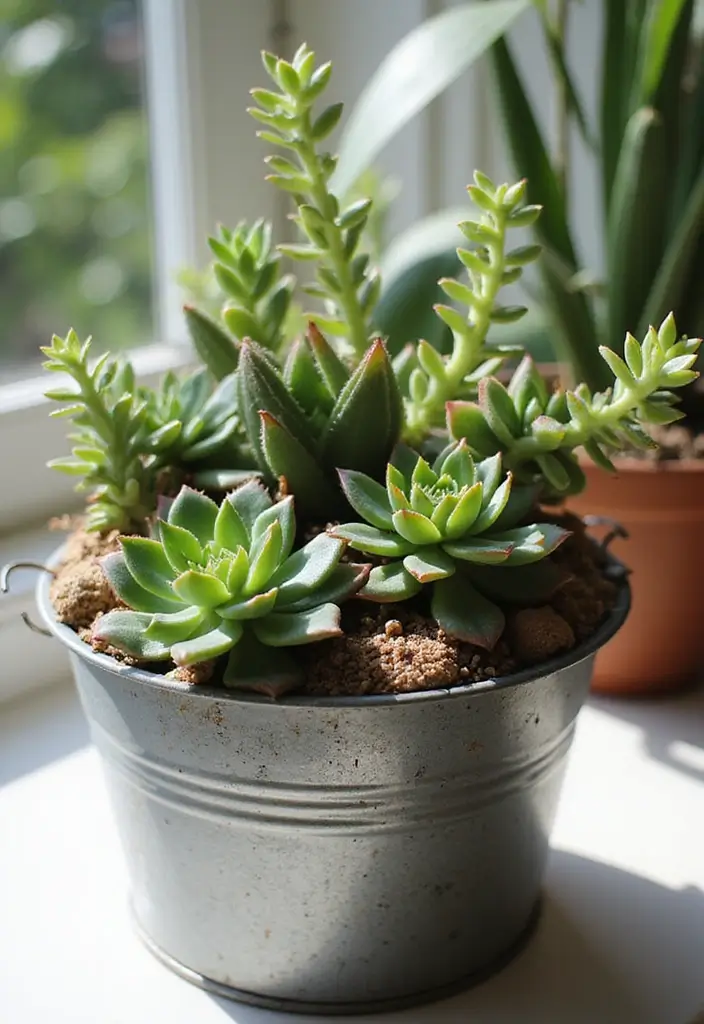
If you love low-maintenance plants, consider creating a succulent bucket garden. Succulents thrive in smaller spaces and require minimal care, making them perfect for busy urban dwellers.
– Tip: Choose a variety of shapes and colors for a stunning display. Incorporating products like Back to the Roots 100% Organic Succulent & Cacti Mix will provide premium nutrition for your plants, ensuring they flourish both indoors and outdoors.
– Planting Trick: Mix in some decorative stones for succulents into the potting mix to ensure proper drainage. These smooth pebbles not only enhance the aesthetics of your garden but also help maintain moisture levels without waterlogging your plants.
Succulents can be arranged beautifully and are perfect for creative designs. Using a 5 gallon bucket planter allows you to experiment with various arrangements while providing enough room for growth. They add a modern touch to your urban garden space and make for easy maintenance!
18. Low Light Plant Options
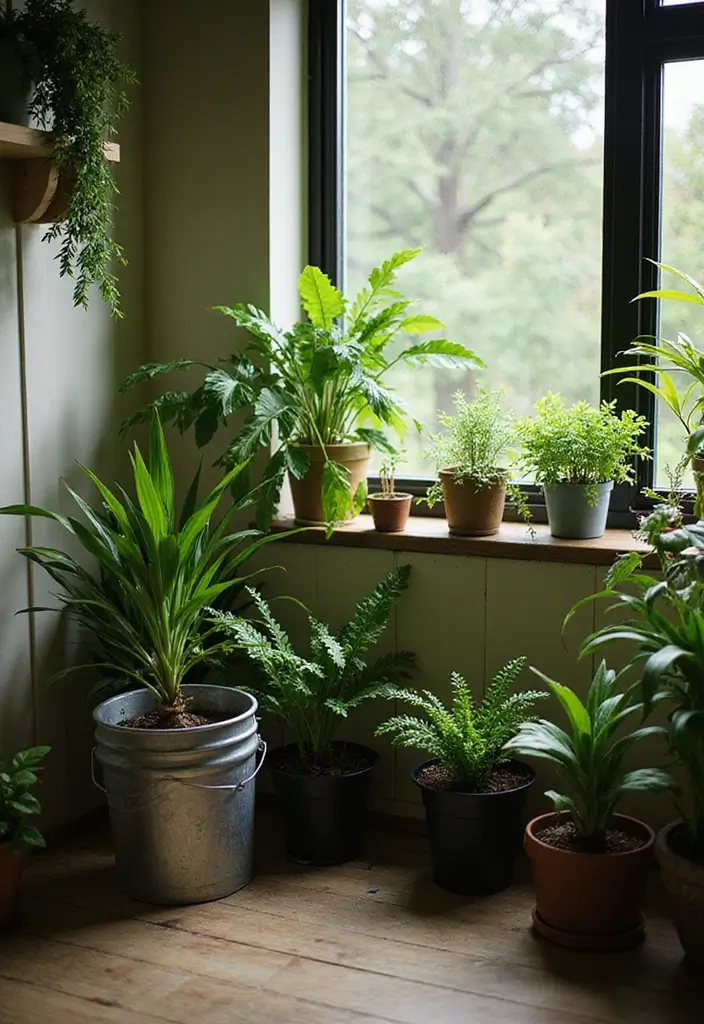
Not every urban balcony is blessed with full sun. Luckily, there are plenty of plants that thrive in low light. Consider using buckets to grow shade-tolerant plants like ferns, hostas, or even certain herbs like mint and parsley. For an excellent choice, the Calathea plant is perfect for adding stunning foliage while thriving in low-light conditions, enhancing the visual interest of your space without requiring direct sunlight.
To maximize the health of your plants, pay close attention to their light requirements when arranging your buckets. If you’re looking for an easy and portable option for your low-light plant project, consider the 5 gallon bucket planter. These fabric grow bags are durable and come with handles for easy maneuvering, making them a great choice for setting up your urban garden.
With a little creativity, you can cultivate a lush garden in even the shadiest corners of your urban environment. To support your indoor herb growing, you might also find a herb growing kit useful. With an automatic timer and LED grow light, this kit ensures your herbs receive the ideal conditions to flourish indoors, even in low-light areas.
19. Create a Pollinator Bucket
Encourage local pollinators by creating a dedicated bucket garden just for them! Fill it with native flowers and herbs that attract bees and butterflies, which not only beautifies your space but also supports the local ecosystem. A great starting point is the California Wildflower Mixture—this bulk packet contains over 7,000 native seeds to help you create a vibrant and diverse garden.
When selecting your plants, make sure to research which native plants thrive in your area and how they complement each other. You can also consider using a 5 gallon bucket with lid from United Solutions. This heavy-duty plastic bucket is perfect for planting, and its comfortable handle makes it easy to move around your garden as needed.
To keep your pollinator bucket flourishing throughout the growing season, mix in plants with varying bloom times. For some added variety, you might want to incorporate herbs from an organic herb planting kit. This kit includes non-toxic, BPA-free pots and organic seeds, allowing you to cultivate delicious herbs that also attract pollinators.
By putting together a pollinator bucket, you will create an inviting habitat for buzzing activity while contributing positively to nature. Watch as your little garden comes alive with the beauty of pollinators!
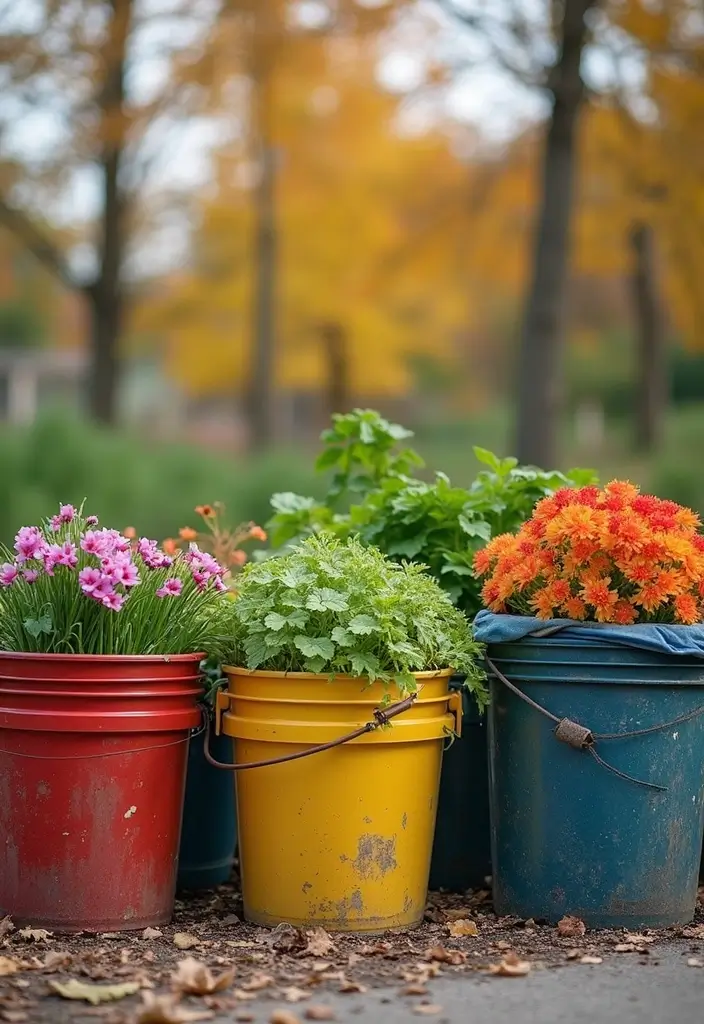
20. Upcycling Old Buckets
Don’t toss out your old buckets! Upcycling them into planters can be a fun and sustainable way to enhance your bucket garden. Give your buckets a new life by using old paint or fabric, and add a creative touch by decorating with outdoor twine or lace for a rustic look. You can also create unique designs with a stencil set for painting that includes 42 reusable templates, perfect for adding personal flair to your planters.
Before planting, ensure you drill drainage holes in any upcycled buckets. A handy tool for this task is a drill with drill bits set, specifically designed to handle various materials like plastic and wood, making the process easier and more efficient.
Not only does upcycling save you money, but it also adds a personal touch to your gardening space, where each bucket tells a story of creativity and sustainability!
21. Using Trellises for Vertical Growth
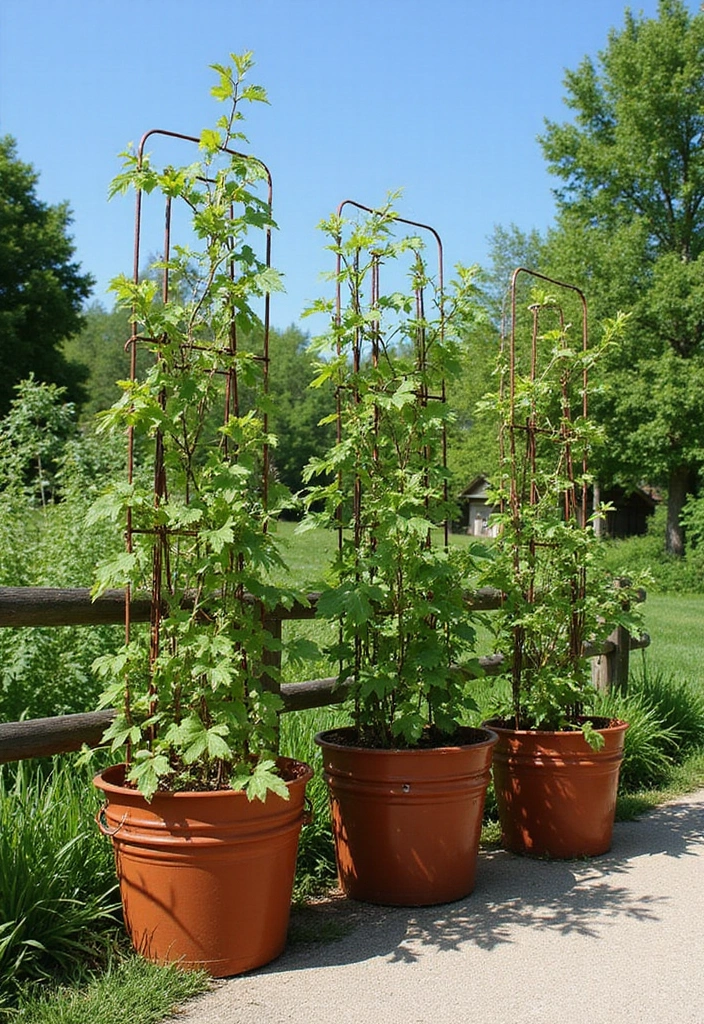
In small spaces, utilizing vertical growing techniques can free up ground space for other plants. Consider adding simple trellises to your bucket garden for climbing varieties like peas or cucumbers.
You can easily create a DIY trellis using bamboo garden stakes which are sturdy and natural, perfect for supporting your climbing plants. Pair these with garden twine to tie the plants to the stakes, ensuring they have the support they need to grow upwards without falling over.
When positioning your trellises, place them at the back of your buckets to keep your garden looking arranged and tidy. This not only maximizes your growing area but also provides an elegant visual element to your bucket garden. To enhance your vertical setup, consider using trellis netting. This heavy-duty polyester netting can help your plants climb while offering a lush green backdrop that beautifies your garden. Allow your plants to climb, creating an eye-catching display that makes the most of your space!
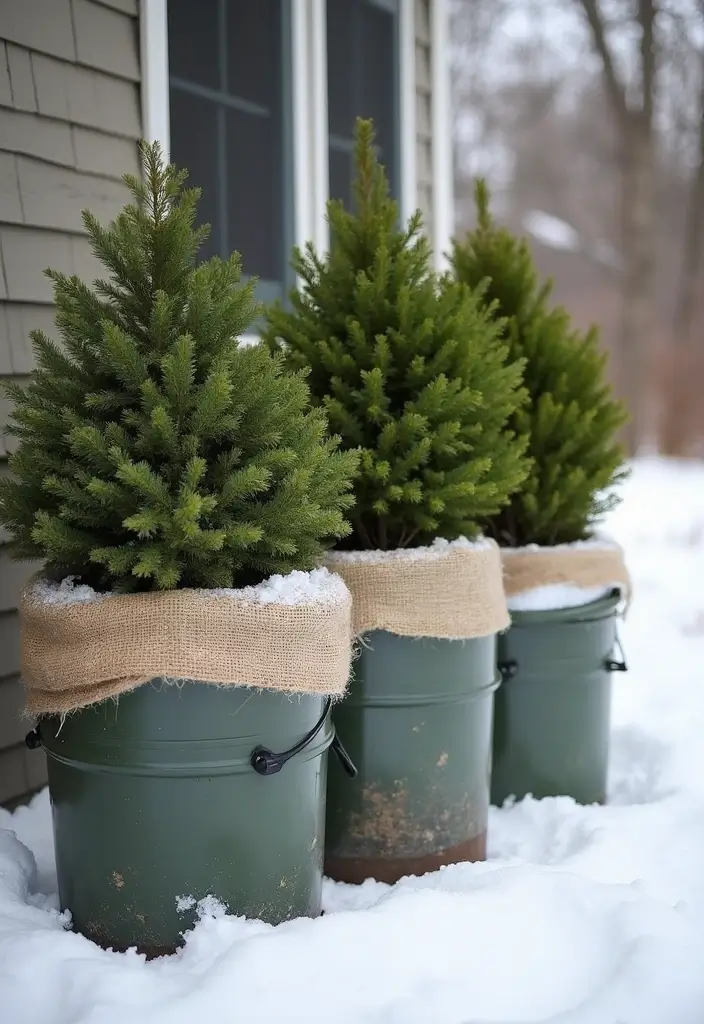
22. Winterizing Your Bucket Garden
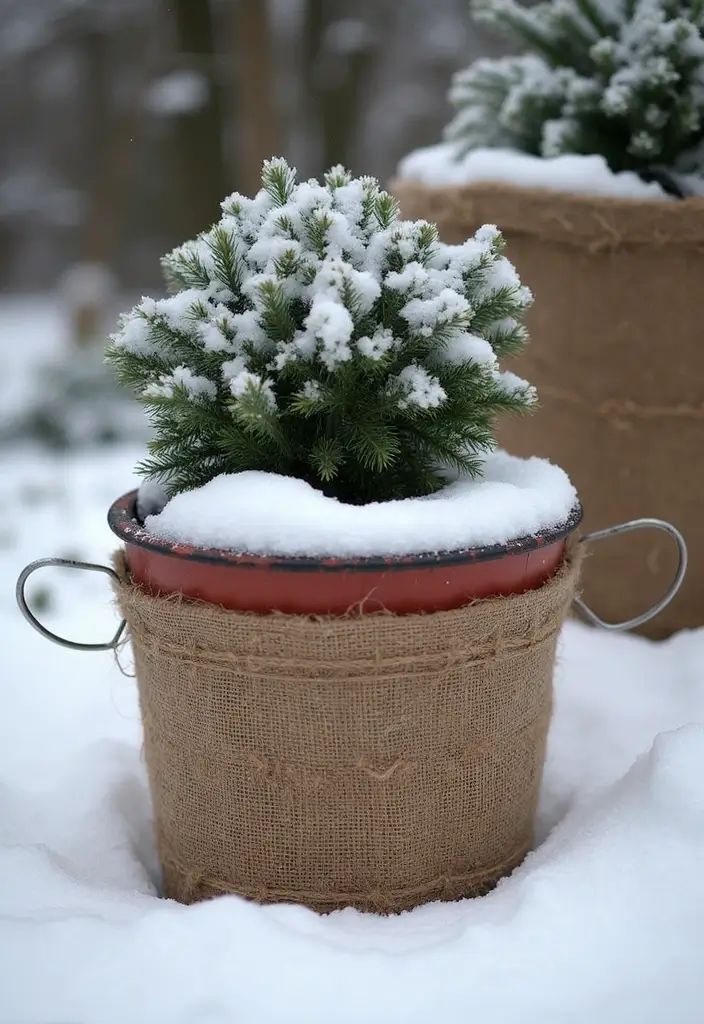
As winter approaches, you’ll want to prepare your bucket garden to withstand the cold. Move sensitive plants indoors if possible, or place them in a sheltered area to protect them from harsh winds.
For effective insulation, consider wrapping your buckets in burlap garden wrap. This natural fabric helps retain warmth and provides a cozy layer for your plants, ensuring they stay protected from the chill. Alternatively, if you prefer a more cushioned approach, using bubble wrap for plants is an excellent option. This clear bubble wrap adds an extra layer of protection, helping to insulate the buckets and safeguard the plants inside.
Additionally, it’s essential to check your bucket’s drainage. Make sure that drainage holes are not clogged to prevent freezing water from damaging roots. To avoid soil loss and ensure proper drainage, consider using drainage hole covers. These fiber fabric pads act as a filter, keeping soil in while allowing water to escape, which is crucial for root health during the winter months.
By winterizing your garden with these practical solutions, you’ll ensure that your plants are safe and ready to thrive again once spring arrives. A little prep now can lead to a flourishing garden when the weather warms up!
Winterizing your bucket garden isn’t just smart—it’s essential! Protect your plants with a cozy wrap and ensure their roots stay safe from frost. Prepare now, and watch them thrive come spring!
23. DIY Irrigation Systems
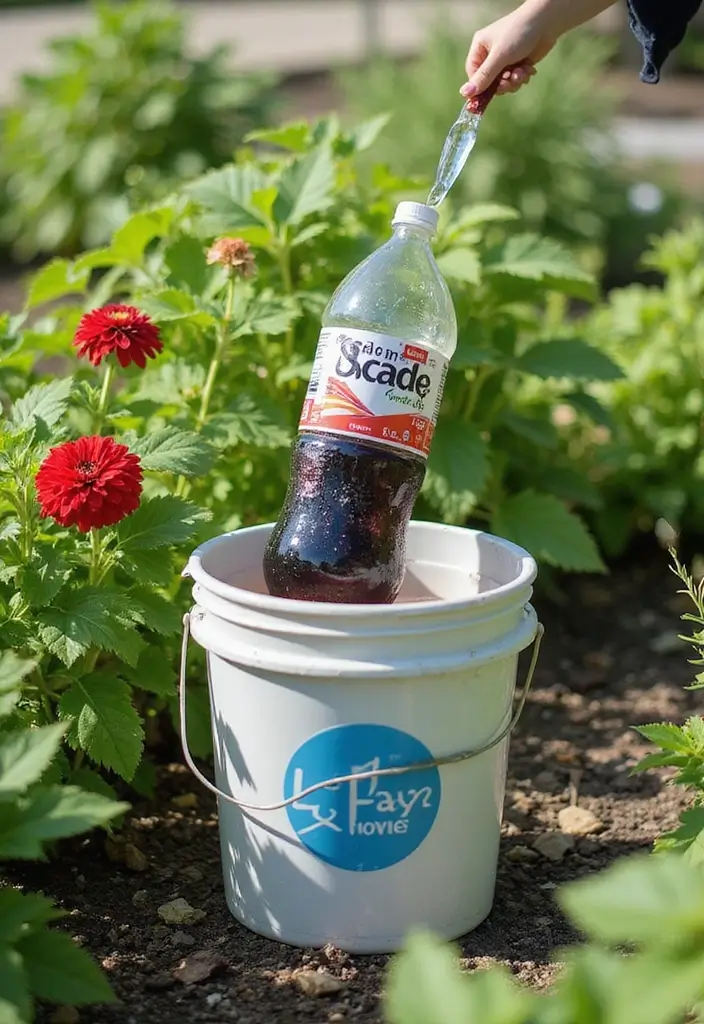
Keeping your bucket garden watered can be a challenge, especially during hot summer months. A DIY irrigation system could help ease the burden!
One simple method is to use a 2-liter soda bottle. Fill it with water and poke a few holes in the cap, then invert it into the soil for slow, consistent watering. If you’re looking for a more efficient solution, consider the 2-liter soda bottle watering system, which provides an automatic water control system with adjustable water volume, making it perfect for keeping your plants hydrated while you enjoy your time away.
For a larger setup, installing a drip irrigation system connected to your water supply is a great option. The Drip Irrigation Kit offers everything you need to expand or repair your system, ensuring your plants receive moisture when needed. Alternatively, if you prefer a more passive approach, a soaker hose might be the right choice. It’s designed for garden beds, allowing for even moisture distribution over time, which can save you from daily watering tasks.
This way, you can enjoy your beautiful garden without the stress of constant care. Less hassle means more time for you to savor your green oasis!
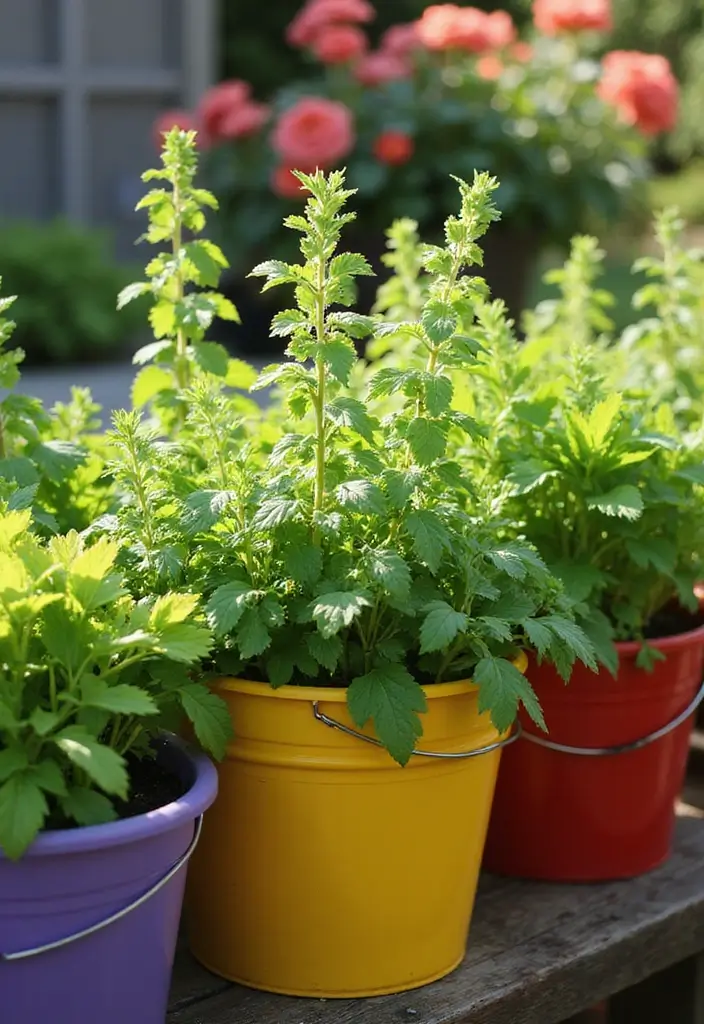
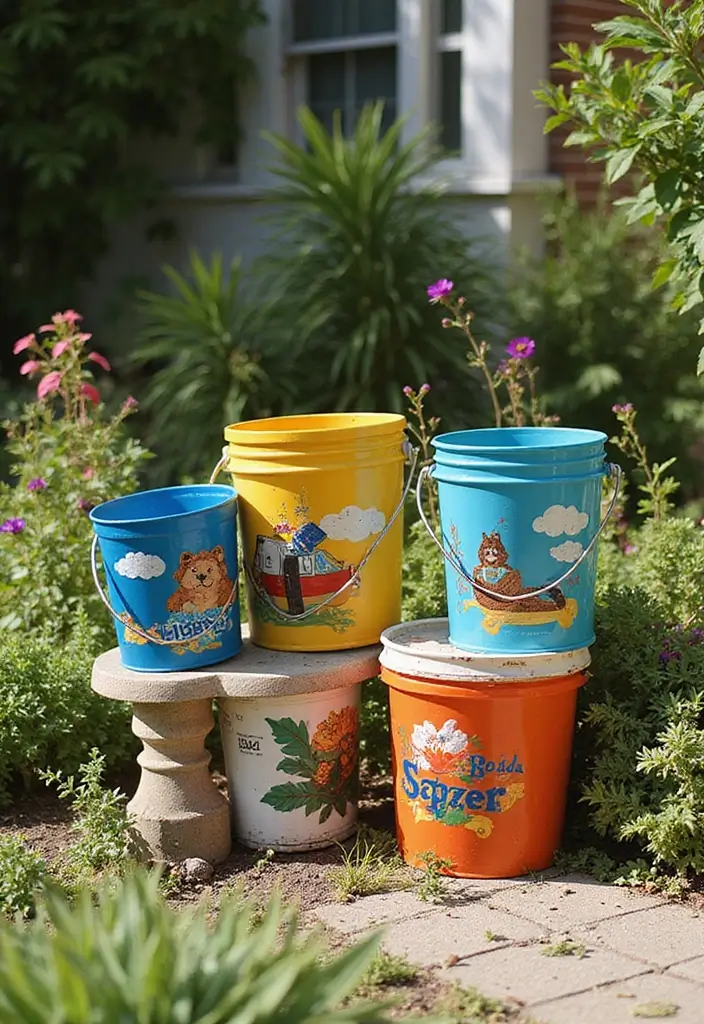
24. Gardening for Kids
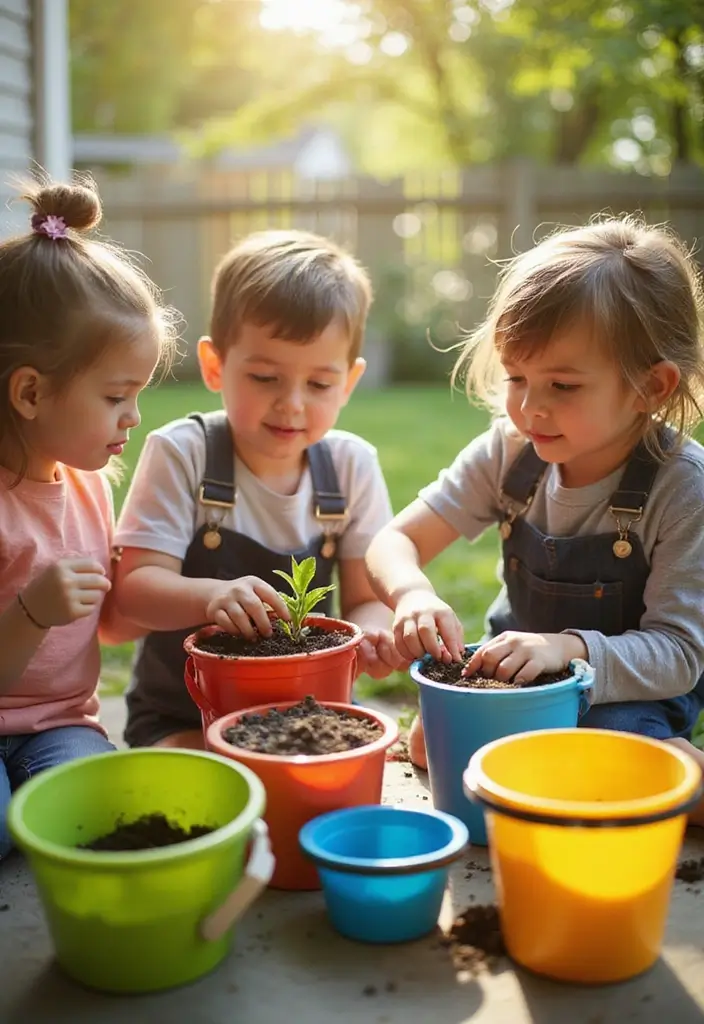
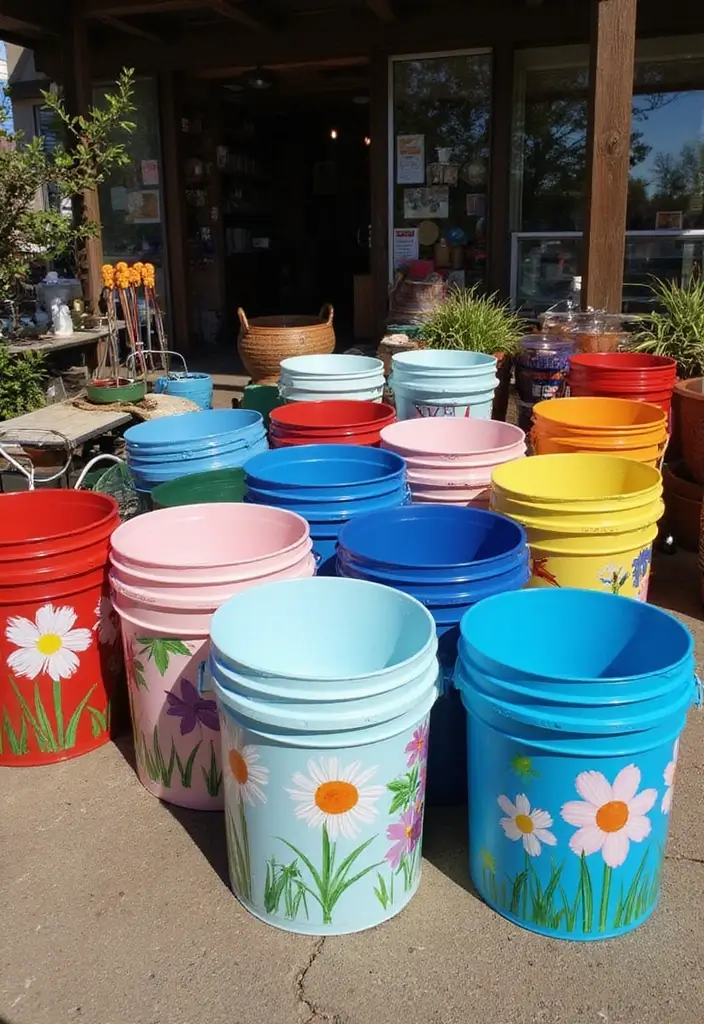
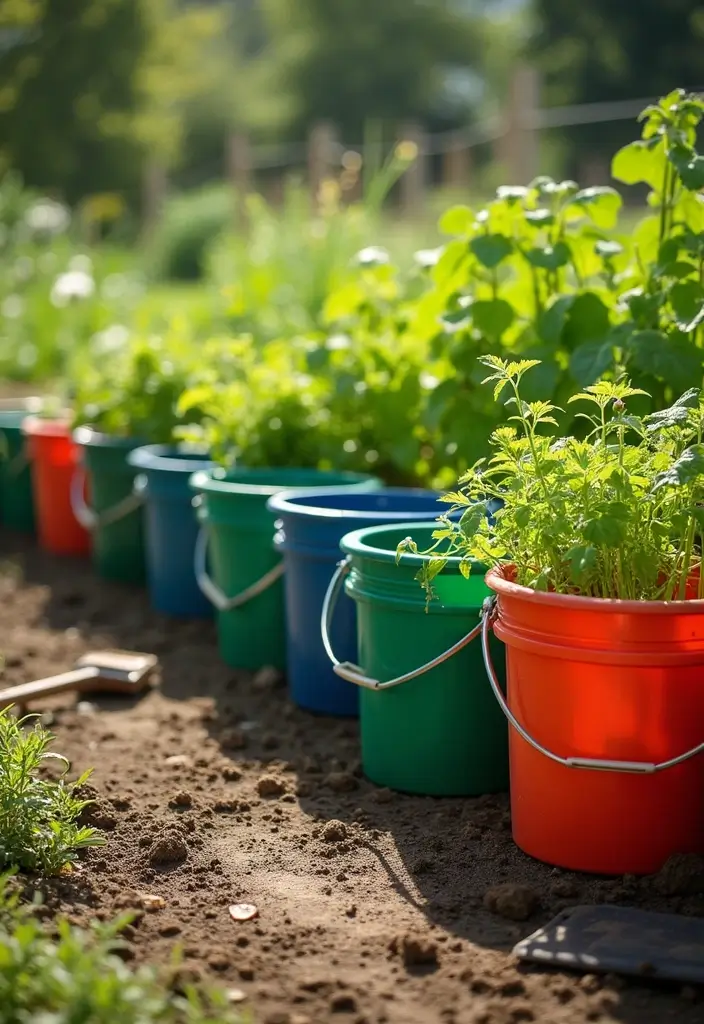
Get the little ones involved in gardening! Bucket gardening is a perfect way to introduce kids to the joy of planting and caring for plants. Choose colorful buckets like the colorful 5-gallon buckets from House Naturals, available in vibrant shades of yellow, green, and red, to make the experience visually appealing and fun for children. Pair these with easy-to-grow seeds like easy-to-grow seeds (sunflowers or beans) from Gardeners Basics, which are perfect for small hands to plant and learn about.
– Tip: Allow kids to decorate their buckets to personalize their gardening experience.
– Educational Opportunity: Teach them about plant growth cycles, responsibility, and sustainability as they weed and water.
Additionally, equip them with a gardening tools set for kids that includes a wheelbarrow, shovel, rake, and more, making it easier and more enjoyable for them to participate in gardening tasks. This not only builds fond memories but also fosters a love for nature and gardening from an early age. Watching something grow is a magical experience for children!
Gardening for kids is a colorful adventure! 🌼 Let them decorate their 5-gallon buckets and watch their love for nature bloom as they learn about growth and responsibility.
25. Share Your Garden Journey
Documenting your bucket gardening journey can be incredibly rewarding. Share your successes and challenges on social media or blogs to connect with other gardeners. To help you keep track of your progress, consider using a Clever Fox Gardener’s Journal. This guided gardening notebook allows you to note what works and what doesn’t, and you can include photos for visual reference!
Inspiring others is another great aspect of sharing your journey. By showcasing your gardening experiences, you can motivate others to start their own urban gardens, fostering a community of green thumbs. To capture those moments beautifully, a digital camera or smartphone with a good camera can be invaluable. High-quality images will make your posts more engaging and relatable.
Additionally, if you’re looking to expand your reach and connect more effectively with your audience, the Ultimate Guide to Social Media Marketing can provide you with tips to enhance your online presence and share your gardening tips and tricks more effectively.
Remember, gardening is a process filled with learning, and sharing that experience enriches it even more. Celebrate your greens and inspire others to grow!
Conclusion
Bucket gardening is more than just a technique; it’s a way to connect with nature within your urban surroundings. Whether you’re growing veggies, herbs, or stunning flowers, these 25 tips make it simple and enjoyable for everyone.
By implementing these ideas, you can transform small spaces into thriving gardens that bring joy and beauty to your life. Embrace the journey and let your creativity flourish!
Note: We aim to provide accurate product links, but some may occasionally expire or become unavailable. If this happens, please search directly on Amazon for the product or a suitable alternative.
This post contains Amazon affiliate links, meaning I may earn a small commission if you purchase through my links, at no extra cost to you.
Frequently Asked Questions
What Types of Plants Are Best for Bucket Gardening in Small Spaces?
When it comes to bucket gardening, choosing the right plants is key! Opt for herbs like basil and chives, or compact vegetables such as cherry tomatoes and radishes. You can also consider flowers that attract pollinators, like marigolds or zinnias, which not only beautify your space but also support local ecosystems. Remember, the right plant selection will thrive in your urban garden!
How Can I Ensure Proper Drainage in My 5-Gallon Buckets?
Proper drainage is crucial for a thriving garden! Start by drilling several holes at the bottom of your 5-gallon buckets. This allows excess water to escape, preventing root rot. Additionally, you can add a layer of small stones or gravel at the bottom before filling with potting mix to further enhance drainage. Keeping your plants happy starts with their roots!
What DIY Projects Can I Do to Enhance My Bucket Garden?
Get creative with your bucket garden! Consider DIY projects like painting your buckets to add a splash of color or creating vertical gardens by stacking them. You can also upcycle old buckets into unique planters. Adding trellises for climbing plants can maximize space while giving your garden a lovely aesthetic. The possibilities are endless!
How Often Should I Water My Bucket Plants?
Watering is an art in bucket gardening, as soil in containers dries out faster than in the ground. Check your plants daily, especially in hot weather. Typically, you should water when the top inch of soil feels dry. However, be careful not to overwater, as this can lead to root issues. A good rule of thumb is to water deeply but less frequently for healthy, thriving plants!
Can I Garden in Buckets During Winter Months?
Absolutely! With a little preparation, you can enjoy bucket gardening even in winter. Insulate your buckets with burlap or bubble wrap to protect plants from frost. Consider moving sensitive plants indoors or placing them in a sheltered area. Some hardy vegetables, like kale and spinach, can even thrive in cooler temperatures, allowing you to harvest fresh produce throughout the winter!
Related Topics