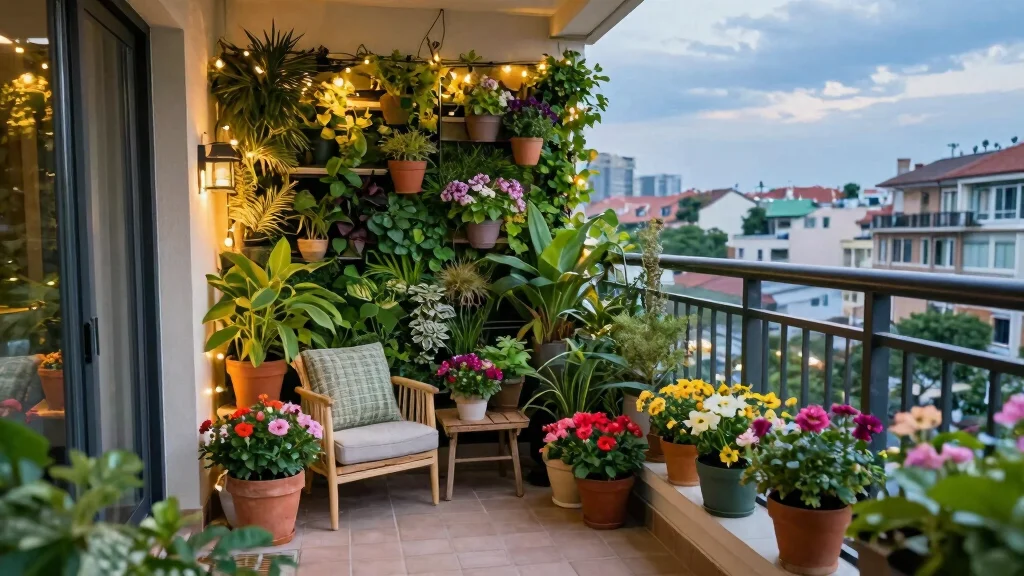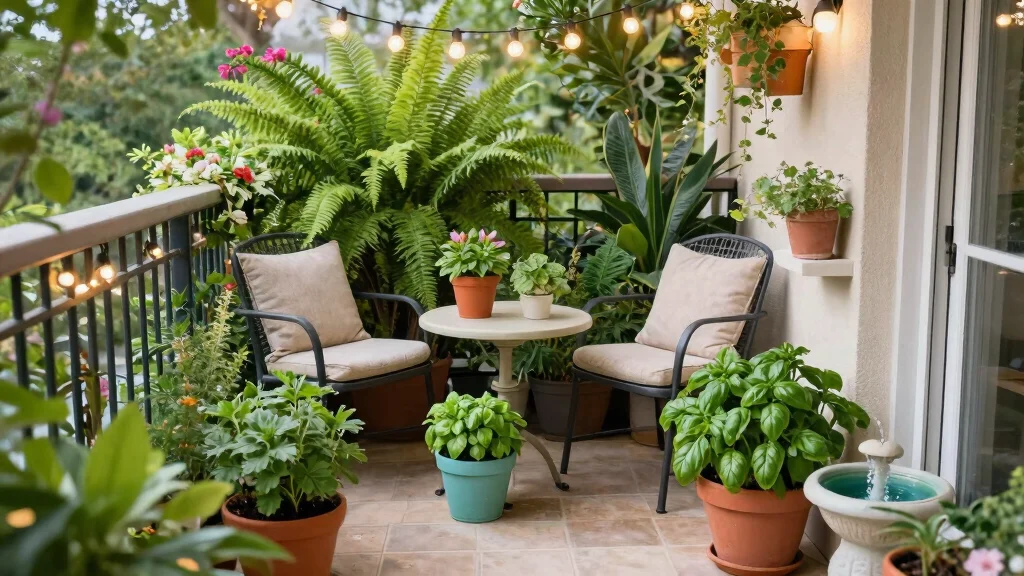


Do you have a small balcony that feels bare and uninviting? You’re not alone! Many urban dwellers struggle with limited outdoor space, feeling disconnected from nature. But don’t despair—this guide will show you how to transform your small balcony into a vibrant garden oasis that you can enjoy year-round.
By the end of this guide, you will have created a beautiful balcony garden filled with colorful plants, herbs, or even vegetables. You will learn essential tips for selecting the right plants, arranging them aesthetically, and maintaining your new garden. This process is designed for beginners, so anyone can take part.
Expect to spend around 2-3 hours on this project, and get ready to enjoy the fresh air and beauty that a garden can bring to your life. Let’s dive in and start creating your personal green retreat!
TL;DR Summary
- Transform your small balcony into a beautiful garden oasis.
- Learn about materials and plants needed for the project.
- Follow step-by-step instructions suitable for beginners.
- Enjoy your new green space in just a few hours!
Prerequisites/Materials Needed
- Planters: 2-4 small to medium-sized pots
- Soil: Potting mix (1-2 bags)
- Plants/Seeds: Choose 2-3 types of plants (herbs, flowers, or vegetables)
- Watering Can: 1 medium-sized can
- Gardening Tools: Trowel and gloves
- Fertilizer: Organic fertilizer (optional)
Skill Level & Time Estimate
Skill Level: beginner
Total time estimate: 2-3 hours
Breakdown:
– Planning: 30 minutes
– Setup: 1 hour
– Planting: 1 hour
– Maintenance: 30 minutes (after a week)
Step 1: Assess Your Space

Begin by evaluating your balcony space. Understanding your balcony’s size, sunlight exposure, and wind conditions is crucial for your garden’s success. Follow these steps:
- Measure your balcony’s dimensions (length and width).
- Observe the sunlight patterns throughout the day.
- Note any areas that might be sheltered from wind.
Pro Tip: Use a notebook to jot down your observations and sketch a simple layout of your balcony.
Why this matters: Knowing your space helps you choose the right plants and plan your layout effectively. Completing this step should take about 30 minutes.
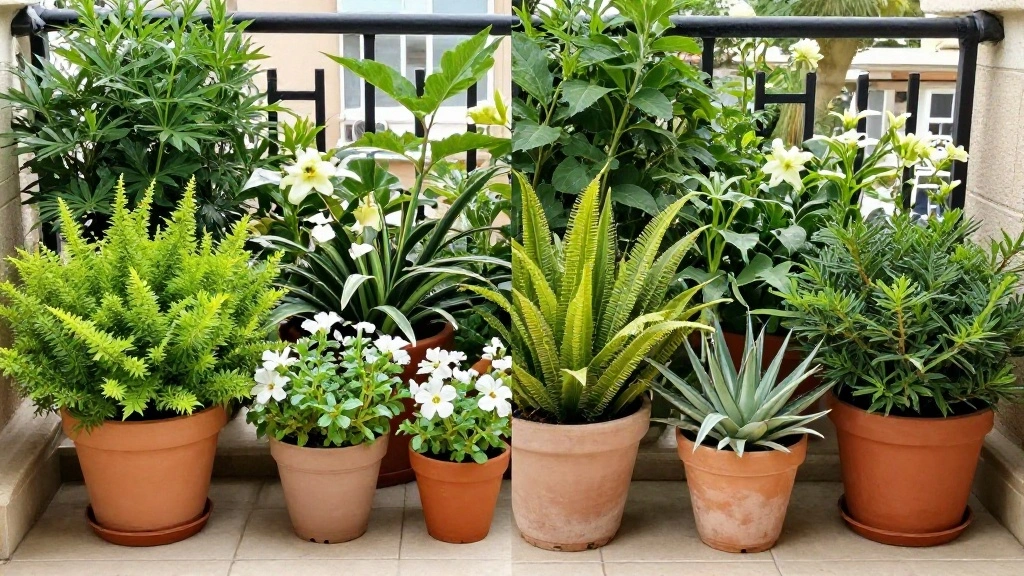
Step 2: Choose Your Plants
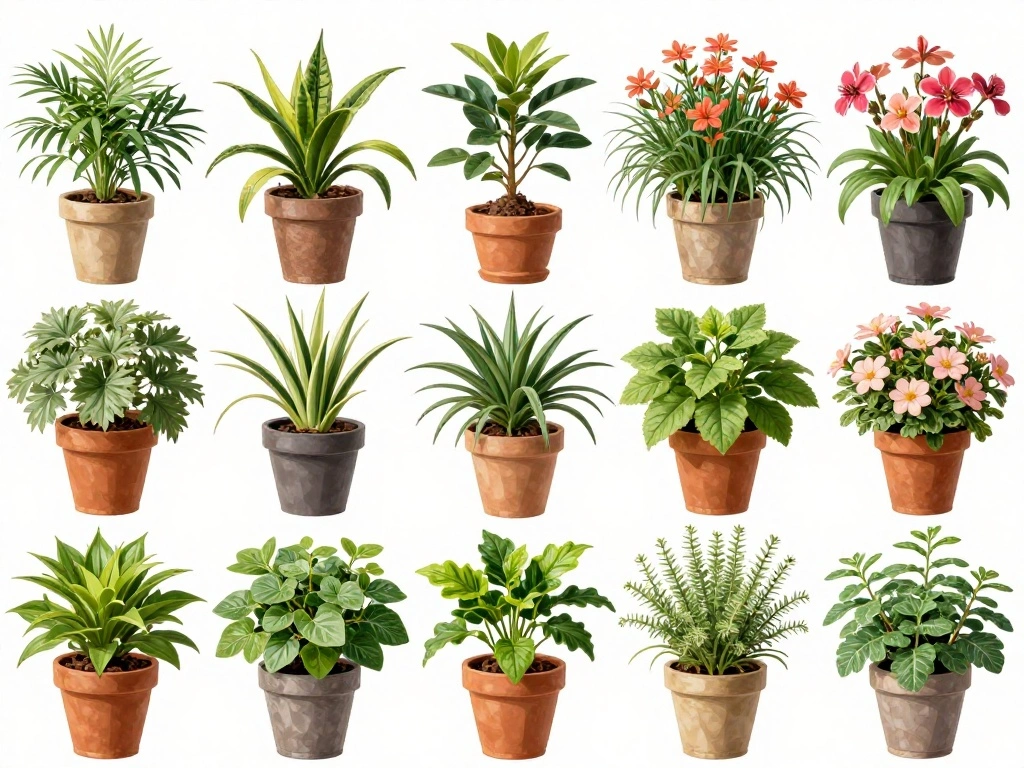
Now that you understand your space, it’s time to select the plants for your balcony garden. Consider the following:
- Choose plants that thrive in your climate and sunlight conditions.
- Select a mix of colors, textures, and heights for visual appeal.
- Consider edible plants like herbs or vegetables if you want functional beauty.
Pro Tip: Start with easy-to-grow plants like basil, marigolds, or succulents.
Why this matters: Selecting the right plants ensures they will flourish, adding beauty and life to your balcony. This step should take around 30 minutes.
Step 3: Gather Your Materials
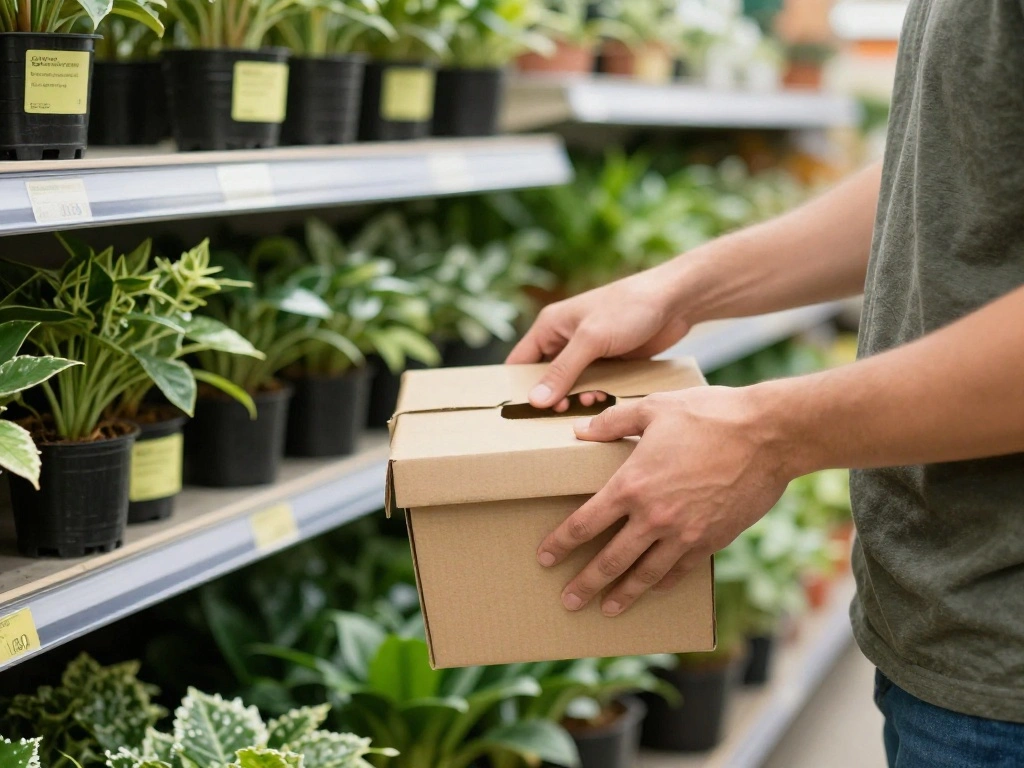
With your plants chosen, it’s time to collect all necessary materials. Here’s what you need:
- Purchase pots or planters suitable for your plants.
- Get potting soil and any other supplies listed earlier.
- If you want to add decorative elements, consider fairy lights or garden ornaments.
Warning: Ensure your pots have drainage holes to prevent waterlogging.
Why this matters: Having all materials ready streamlines your setup process. Expect to spend about 30 minutes gathering everything.
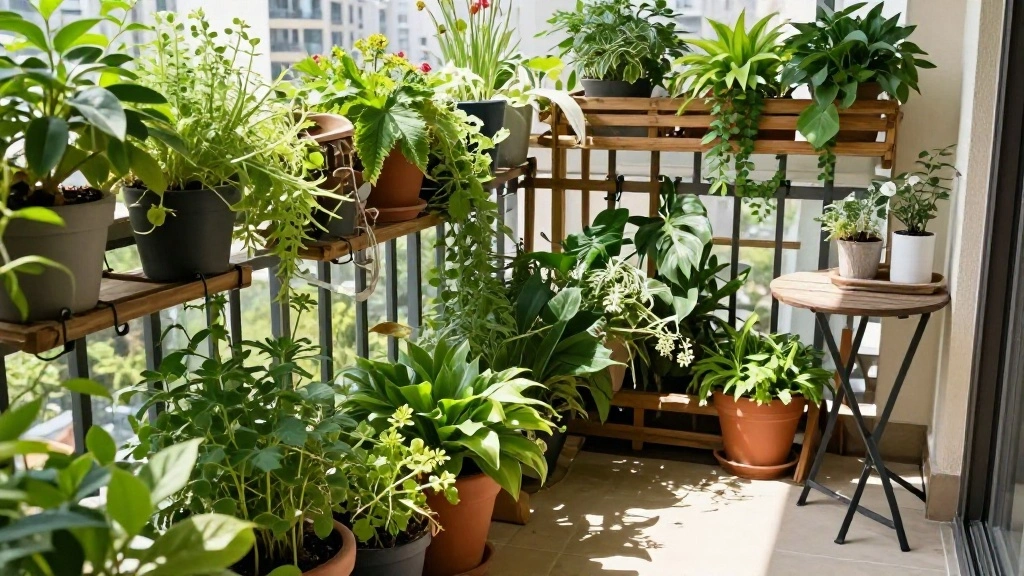
Step 4: Arrange Your Planters
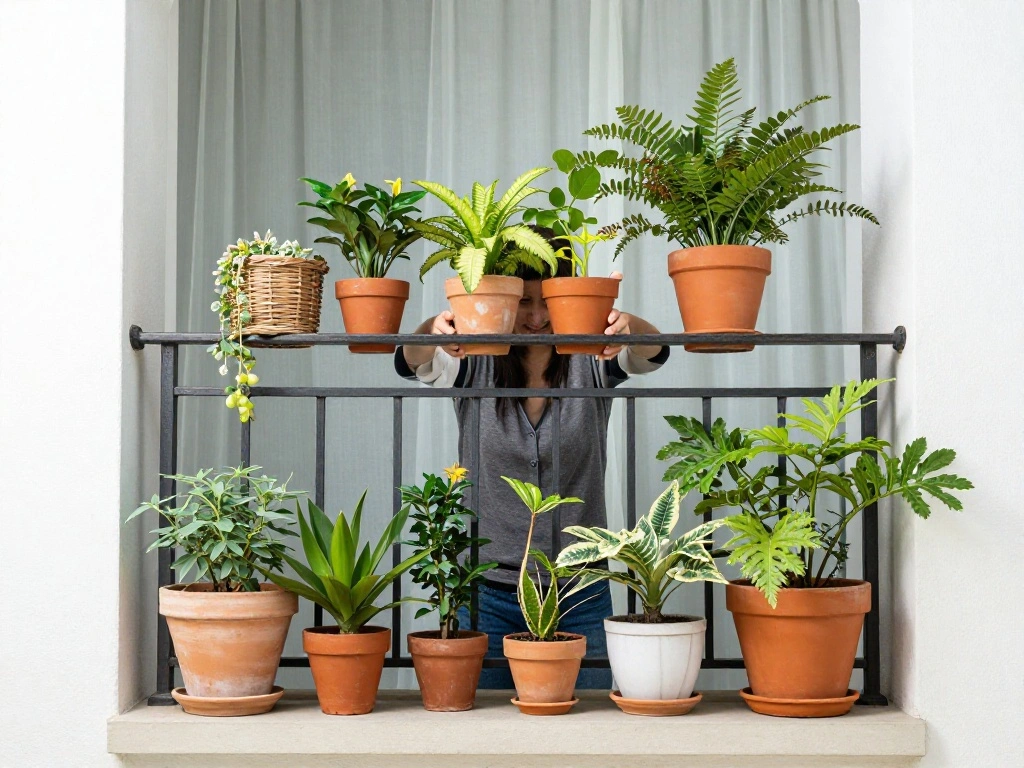
Next, arrange your planters on the balcony. Here’s how:
- Start with larger pots at the back or sides for depth.
- Place smaller pots in front for visibility.
- Experiment with different arrangements to find what looks best.
Pro Tip: Use a mix of heights and plant types for a dynamic look.
Why this matters: A well-organized layout enhances aesthetics and ensures each plant receives adequate sunlight. This step should take about 30 minutes.
Step 5: Plant Your Chosen Flora
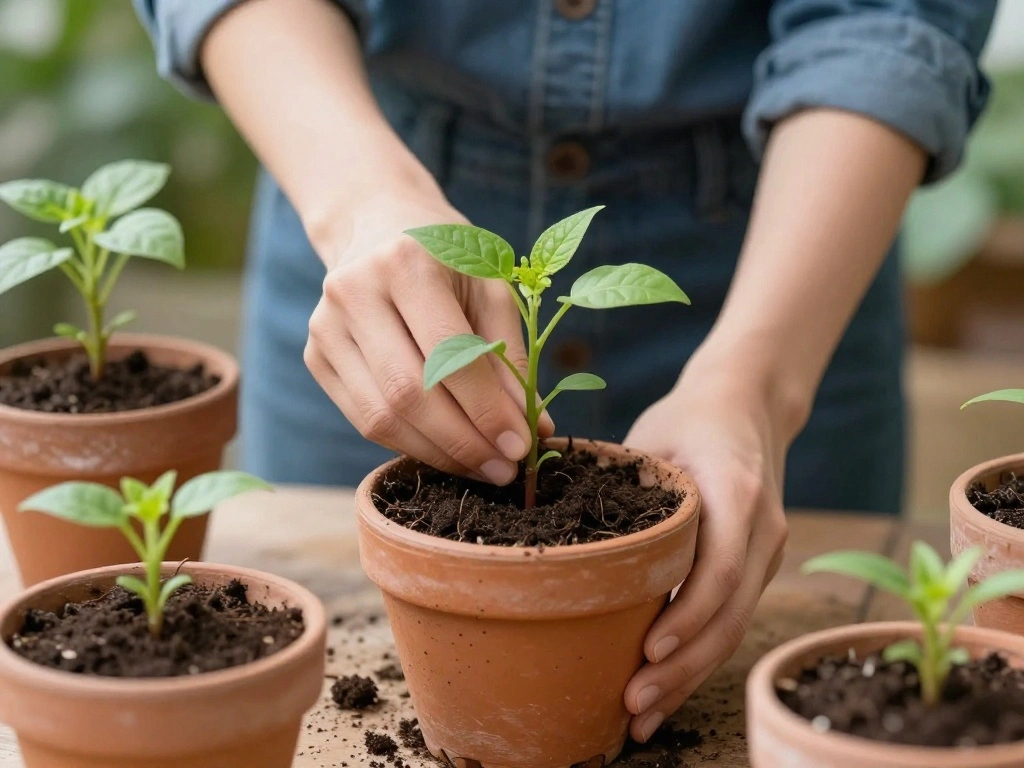
It’s time to plant! Follow these steps:
- Fill each pot with potting soil, leaving some space at the top.
- Gently remove plants from their nursery pots.
- Place plants in the center of their new pots, covering roots with soil.
Warning: Do not bury the stems of your plants to avoid rot.
Why this matters: Proper planting ensures your plants have the best chance of thriving in their new environment. Expect to spend about 1 hour on this step.
Step 6: Water Your Plants
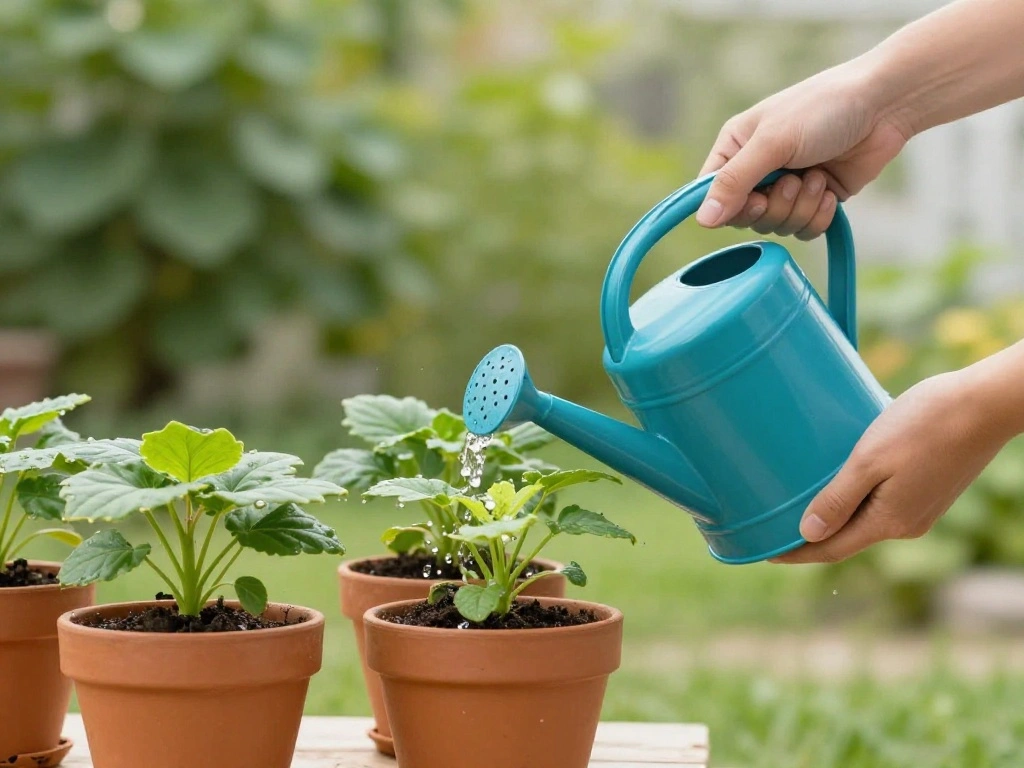
Your newly planted garden needs hydration. Here’s how to water effectively:
- Use a watering can to slowly water each plant until moisture seeps from the drainage holes.
- Check the soil moisture regularly; water if the top inch feels dry.
Pro Tip: Water in the morning or evening to minimize evaporation.
Why this matters: Proper watering sets the foundation for healthy plant growth. Take about 15 minutes for this step.
Step 7: Add Fertilizer (Optional)
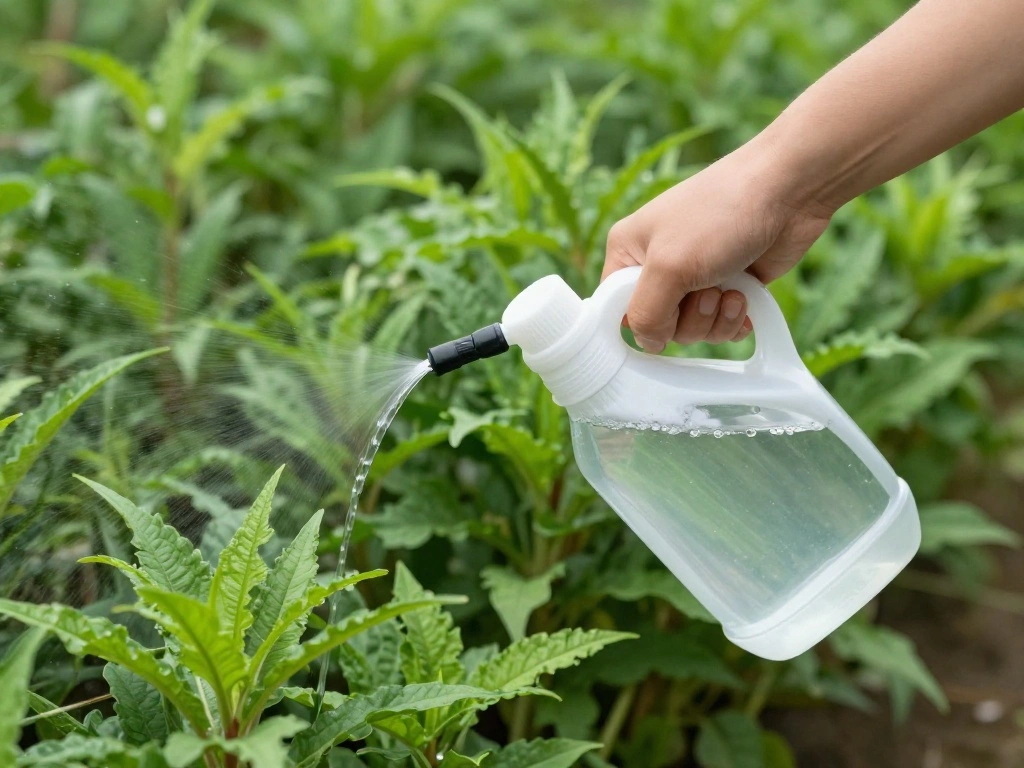
To boost plant growth, consider adding fertilizer. Follow these steps:
- Mix the fertilizer with water according to package instructions.
- Apply the mixture to the soil around your plants.
Pro Tip: Use organic fertilizers for a natural approach.
Why this matters: Fertilizer provides essential nutrients that help plants thrive. This step takes about 15 minutes if you choose to add it.
Step 8: Maintain Your Garden
To keep your balcony garden thriving, regular maintenance is essential:
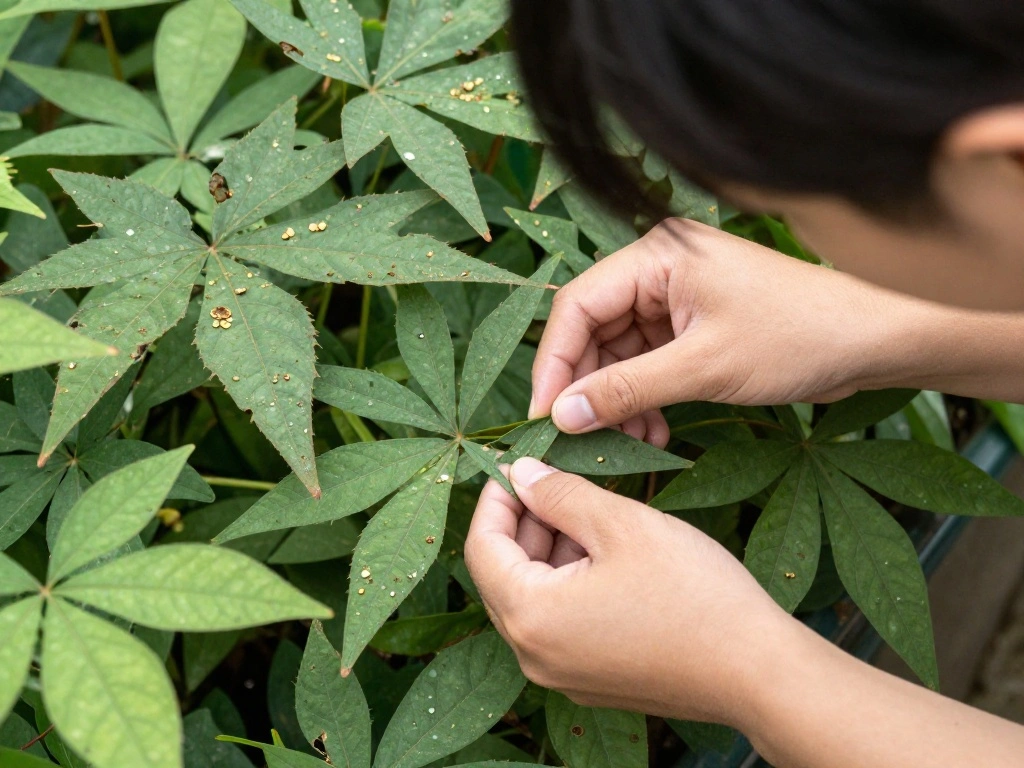
- Check your plants daily for signs of pests or disease.
- Trim dead leaves and flowers to encourage new growth.
- Water them regularly, especially during hot weather.
Warning: Overwatering can lead to root rot, so ensure pots drain well.
Why this matters: Consistent care keeps your garden healthy and beautiful over time. Allocate about 30 minutes per week for maintenance.
Step 9: Enjoy Your New Garden
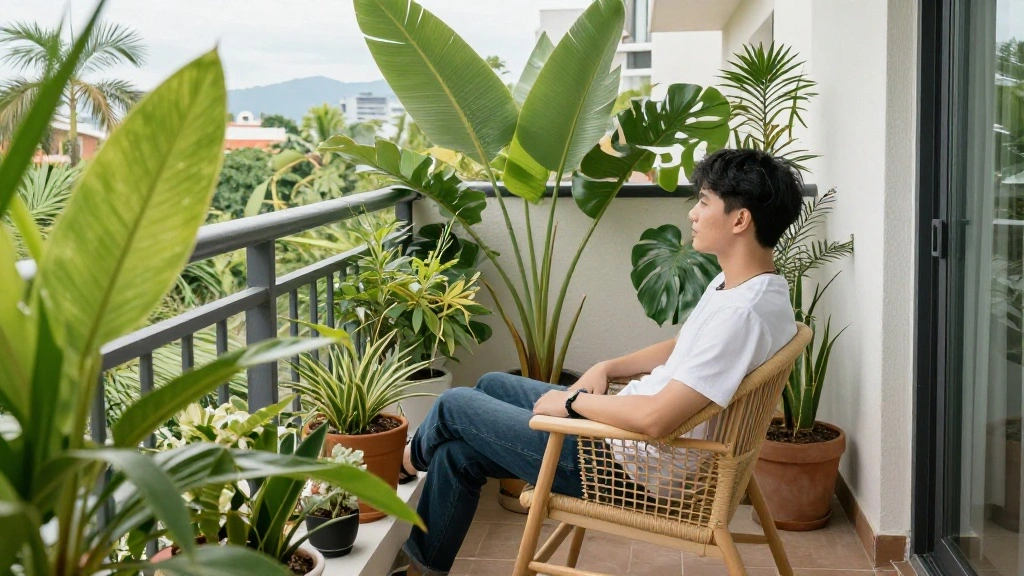
Finally, take time to relax and enjoy your new balcony garden. Here’s how:
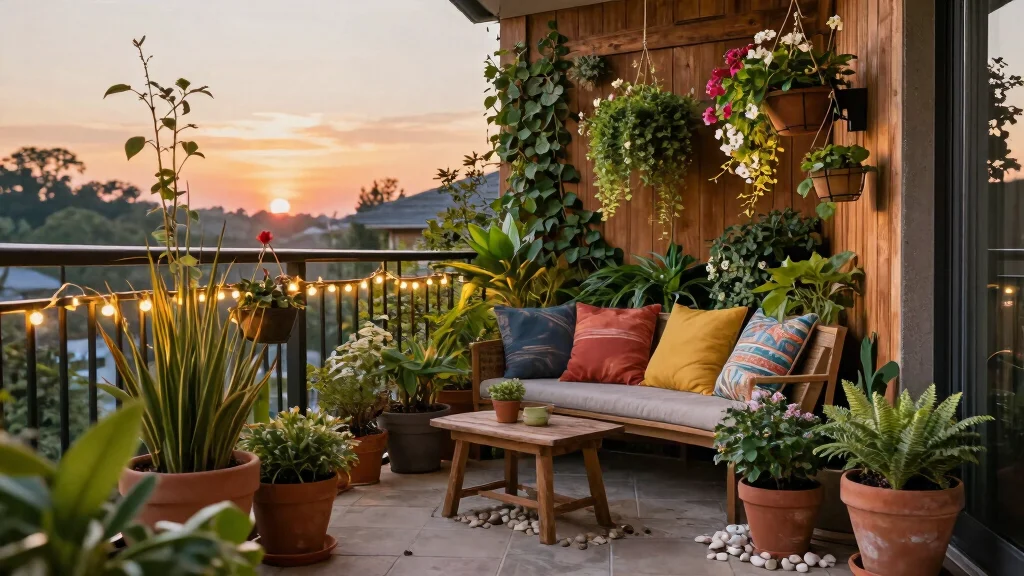
- Set up a comfortable chair or bench to sit and admire your work.
- Consider adding decorative elements like fairy lights for ambiance.
- Invite friends over to share your green oasis.
Pro Tip: Regularly change your setup with seasonal plants for year-round enjoyment.
Why this matters: Taking time to enjoy your garden helps you connect with nature and appreciate your hard work. This step is ongoing!
Pro Tips
- Seasonal Changes: Rotate your plants seasonally for variety and freshness.
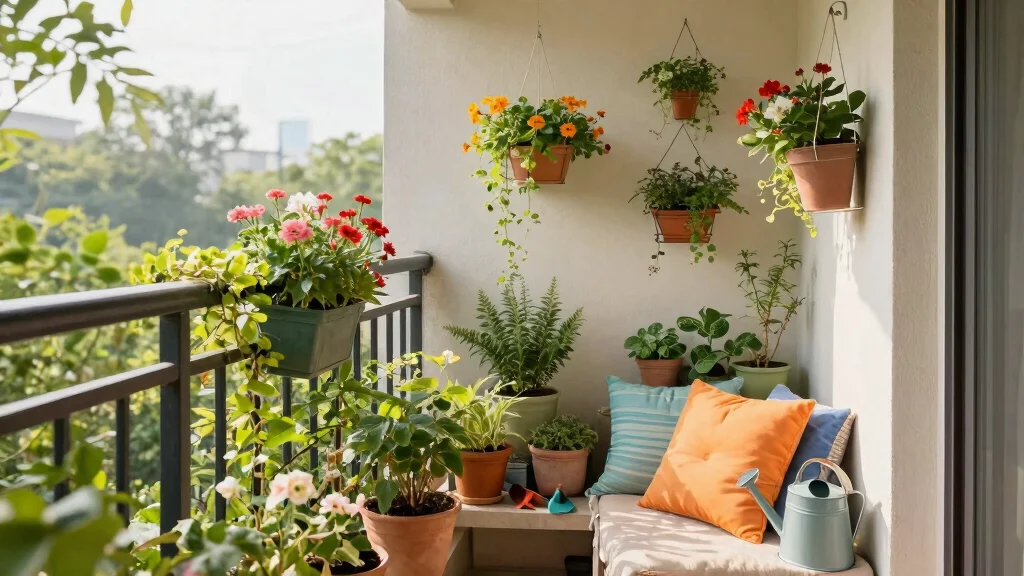
- Vertical Gardening: Use wall planters to maximize space.
- Companion Planting: Pair plants that benefit each other (like tomatoes and basil).
- Pest Control: Use natural methods like neem oil for pest management.
- Composting: Consider a small compost bin for organic waste to enrich soil.
Common Mistakes to Avoid
Warning: Overwatering: Too much water can drown your plants. Check soil moisture before watering.Warning: Choosing the wrong plants: Select plants that suit your balcony’s conditions to ensure they thrive.Warning: Neglecting maintenance: Regular check-ups and care are crucial for plant health.
Troubleshooting Section
Problem: Plants are wilting.
Solution: Check for underwatering. Water thoroughly if necessary.
Problem: Leaves are turning yellow.
Solution: This may indicate overwatering; check soil drainage.
Problem: Plants are not blooming.
Solution: Ensure they receive enough sunlight and nutrients.
Variations/Alternative Methods
1. Container Garden: Use various containers for different plants, allowing flexibility in arrangement.
2. Hanging Planters: Utilize vertical space with hanging pots for flowers or herbs.
3. Hydroponics: Consider a hydroponic system for soil-free gardening.
FAQs
What if I don’t have sunlight on my balcony? Choose shade-tolerant plants like ferns or shade-loving flowers.
How long should I expect my plants to grow? Depending on the type, growth can vary from weeks to months.
Is it safe to use chemicals on my plants? Opt for organic pesticides and fertilizers to keep your garden safe.
Conclusion

Congratulations on transforming your small balcony into a beautiful garden! You can now enjoy a personal green space that enhances your living environment.
Consider exploring more gardening techniques or expanding your garden further with new plants. Every little effort you put into your balcony garden contributes to a healthier and more inviting home.