



Your orchid’s spent flowers don’t signal the end, they mark the beginning of a precise, rewarding cycle that you can master with disciplined care. You will cut or keep the spike based on its condition, trim above a healthy node for a branching rebloom or remove dried stems entirely to redirect your plant’s reserves, and you will position your Phalaenopsis in bright, indirect light within USDA zones 10–12 or comparable indoor environments, maintaining 65–80°F days with a 10°F night drop to trigger spike initiation. You are managing water by weight and root color, not rigid calendars, soaking mature plants in tepid, 50 ppm water for 15–20 minutes when roots turn silvery-gray, and you will feed weekly with quarter-strength 20-20-20 or 30-10-10 formulations, withholding fertilizer during active flowering to prevent salt buildup.
New leaf emergence signals your plant’s recovery timeline, and you will watch for 8–12 weeks of vegetative growth before expecting a spike, recognizing that apparent dormancy often masks essential root regeneration. You have seven structured steps ahead, and the first decision you face will determine whether your orchid conserves energy or gambles on a branching rebloom.
Cut or Keep the Spike to Prepare for Rebloom
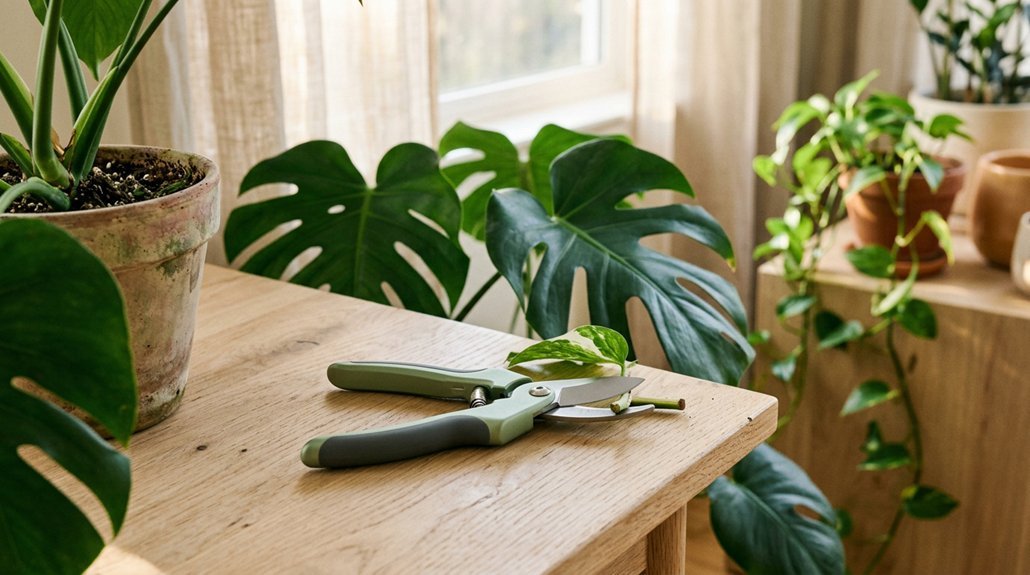
Once your Phalaenopsis finishes its show, you’ll need to make a decisive cut that sets the stage for its return performance. You’ll examine your green spike carefully, looking for a healthy node about halfway up the stalk. When you cut above node, you’re directing energy toward lateral growth rather than maintaining a spent structure. This spike cut encourages the orchid to push a new flowering branch within weeks.
However, you’ll need to assess conditionbefore acting. If your spike has dried to brown or yellowed entirely, you’ll remove it at the base, allowing your Phalaenopsis to redirect resources into root and leaf development. You’ll always use sterilized scissors, positioning blades precisely to avoid damaging leaves or crown tissue. With proper technique, you set the foundation for reliable rebloom.
Recommended Products
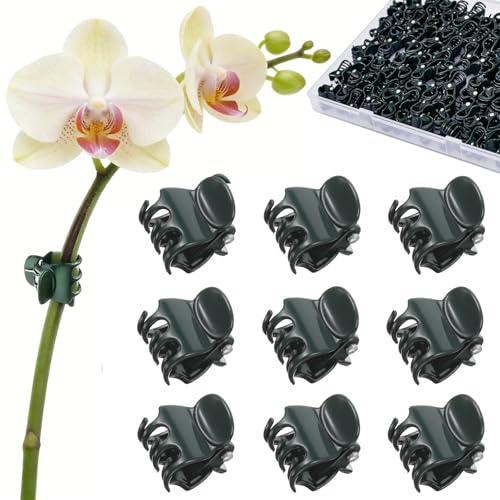
STANDARD SIZE FOR SMALL THIN ORCHID STEMS: 0.7-inch max opening fits stems up to 0.3-inch diameter, compatible with Phalaenopsis, Small Dendrobium, Hoyas, Syngoniums. Prevents bending and falling during flowering, easily attaches to stakes, trellises and poles for reliable stem support.

BALANCED NUTRITION: With the perfect balance of nitrogen, phosphorus & potassium, this 20-20-20 orchid fertilizer promotes strong roots, lush foliage and beautiful blooms— all in the convenient form of orchid fertilizer spikes.

Large Split Design for Delicate Roots & Cuttings: Designed with a wide center slit that makes it easier to insert orchid seedlings, monstera cuttings, anthurium propagation, and other young thick-root plants without excessive squeezing or root damage. Ideal for propagation and transplanting applications.
Set Up Bright, Indirect Light to Trigger Rebloom
After you’ve finished tending to your orchid’s spike, you’ll turn your attention to the lighting conditions that govern whether your Phalaenopsis initiates new flower development or settles into prolonged vegetative growth. To trigger rebloom, you must provide bright indirect light, positioning your plant in a bright room near an east or west-facing window with sheer curtains that filter harsh rays.
Your orchid care routine should maintain consistent light exposure, so you’ll use a timer to establish stable photoperiods that match your orchid’s growth stage. Watch your green leaves closely; medium green leaves signal proper intensity, while dark green indicates insufficient light and reddish tones warn of sunburn. If natural light falls short, supplement with LED or fluorescent fixtures to achieve adequate bright, indirect exposure for robust flower spike formation.
Recommended Products

Reduce Hand Strain: These micro tip snips are made to reduces hand fatigue which makes them great for those with arthritis, carpal tunnel, hand or wrist issues; Comfortable “grip” handles will make it easy to work for long-time use without making you feel hand pain

Well-Designed & Easy-to-Use: These gardening scissors are built spring-loaded so that they automatically push themselves open without you having to do the work, significantly reducing hand fatigue

Curved Blades: Be note that the blades of blue color pruner is bent which is specially designed not defective item; curved blades help to avoid unexpected cuts to plants; When you prune plants, you can avoid all of the flowers or whatever it's not going to cut but just get what you need
Water by Rhythmic Soaking, Not Calendar Schedule
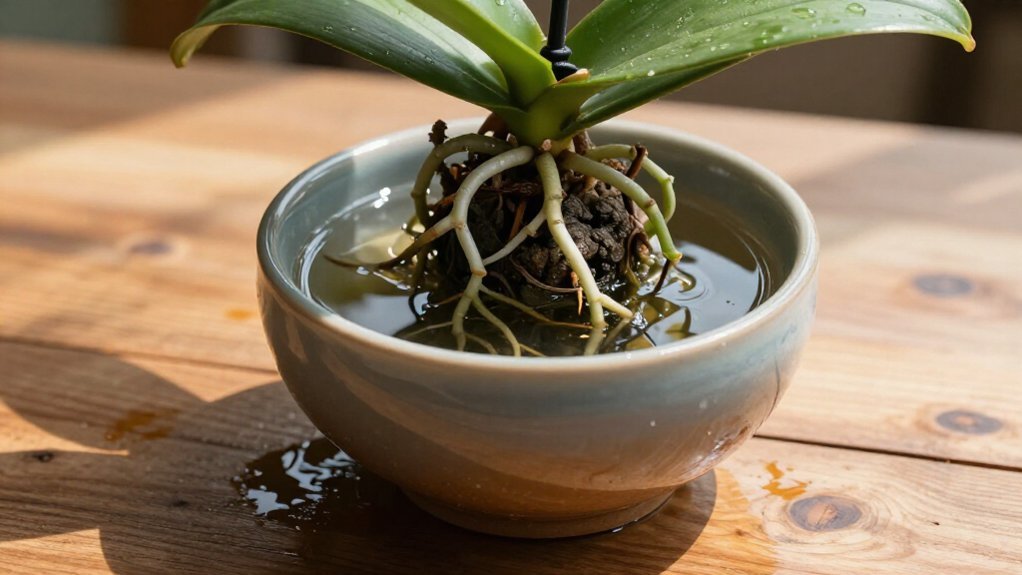
Because your orchid’s hydration needs fluctuate with temperature, humidity, and seasonal light shifts, you’ll abandon rigid weekly calendars in favor of a responsive, observation-based rhythm that keeps roots optimally hydrated without waterlogging. This rhythmic watering approach, typically every 10–14 days for standard Phalaenopsis and 7–10 days for Mini Phalaenopsis, depends on your potting medium drying between soakings. You’ll need to read root signals carefully: silvery-gray roots demand water, while green roots signal adequate moisture.
Apply tepid water thoroughly, then allow complete drainage; never let the pot stand in water. Choose bark-based media that dry efficiently, ensuring constant root air access. Maintain this consistent rhythm through rebloom preparation, as steady hydration builds the energy for new growth essential to triggering robust flower spikes.
Recommended Products

【Upgrade 192 LED Full Spectrum Grow Light】: Equipped with 42 pcs white Led & 6 pcs red LED each light bar. High quality LEDs help plants grow with high light efficiency, high PPFD, low heat and longer lifespan. Indoor plant light emits all wavelengths from 380nm to 800nm, simulating natural sunlight to more effectively promote the growth of indoor plants.

Accented with faux orchid leaves, moss and succulents which added natural appeal

【Full Spectrum】Same as natural sunlight. It has been proven to promote photosynthesis and indoor plant growth, so you don't have to worry that houseplants can't grow healthily without sunlight.
Fertilize Monthly to Fuel Rebloom Energy
Once your orchid’s last flower drops, you’ll begin a monthly fertilizing routine that demands attention to timing, dilution, and the subtle signals your plant sends back. Start with a balanced orchid fertilizer mixed to one-quarter or one-half strength, applying it every two to four weeks during active growth while keeping your orchid in a consistent location, since environmental stability helps roots absorb nutrients efficiently. Watch for firm, green leaves and new root tips as confirmation you’re fueling the energy reserves needed for future spike formation, and pause feeding entirely if you notice bud sensitivity or during true dormancy, resuming only when fresh growth emerges.
Recommended Products

PROFESSIONALLY FORMULATED FOR ORCHIDS: Urea-free orchid fertilizer containing fast-acting nitrate nitrogen, the key component for enhancing vigorous growth in orchids; endorsed by the American Orchid Society

🌱 Balanced 20-20-20 Formula: Provides equal parts nitrogen, phosphorus, and potassium for lush foliage, strong roots, and vibrant blooms. Ideal for indoor plants, orchids, vegetables, flowers, and lawns.

ORCHID PLANT FOOD MIST: Miracle-Gro Indoor Plant Food Mist for Orchids contains nutrients for colorful orchid flowers and more blooms (vs unfed when used as directed)
Timing and Frequency
While your orchid recovers from its floral display, you’ll want to establish a fertilizing rhythm that rebuilds the energy reserves depleted during blooming. You’ll fertilize monthly after the last flower drops, using orchid-specific fertilizer and following manufacturer instructions precisely. Maintain bright, indirect light during this period, as consistent light exposure supports steady growth and eventual reblooming. When active growth resumes, increase feeding to every 2–4 weeks with balanced fertilizer at quarter to half strength. Pause fertilizing during any rest period when your orchid shows minimal activity.
- Green leaves glistening under filtered morning sun
- Roots swelling with stored nutrients along the pot’s edge
- A pale new shoot emerging from the crown’s center
- Silvery aerial roots reaching toward humidity
- The first nub of a flower spike pushing outward
Resume monthly fertilizing once you spot fresh growth, but withhold if buds form on sensitive varieties until new vegetative shoots appear.
Proper Dilution
After you’ve settled into your monthly rhythm and your orchid’s roots have begun plumping with stored energy, you’ll want to turn your attention toward how much nutrition you’re actually delivering, since concentration matters as much as consistency when you’re rebuilding depleted reserves.
When you fertilize monthly, you’ll prepare your orchid fertilizer as a diluted solution, mixing at just ¼ to ½ strength of manufacturer recommendations, which protects delicate roots while still fueling rebloom energy. You’ll water thoroughly first, then apply nutrients to the root zone, preventing accumulation and ensuring even absorption.
Watch closely for nutrient burn, those telltale brown tips or scorched edges that signal overfeeding, and you’ll adjust your dilution immediately if they appear. You’re balancing generosity with restraint, giving your orchid exactly what it needs for vibrant new growth without overwhelming its system.
Signs of Success
How do you know your monthly feeding routine is actually working beneath those broad, leathery leaves? You will recognize the signs of success when your careful fertilizer timing translates into visible vitality, starting with healthy leaves that remain turgid and richly green without brown, scorched tips that signal over-fertilization.
Watch for these unmistakable indicators that rebloom energy is building:
- Glossy, firm foliage catching light like polished jade along each arching blade
- Roots tippling from the pot, thick and silvery-green with fresh growth
- New growth emerging from leaf axils, plump and determined
- A subtle shift in the orchid’s posture, reaching upward with renewed vigor
- The first pale ridge of spike formation pushing through protective sheaths
Resume monthly feeding only when new growth appears after rest phases, diluting balanced orchid fertilizer to quarter strength every two to four weeks during active growth periods. You must pause completely during dormancy, then restart precisely when shoots emerge to channel nutrients directly into flowering structures.
Still No Spike? Drop Night Temperatures 10°F
Why hasn’t your orchid sent up a new spike despite your patience and care? Sometimes your Phalaenopsis needs a more decisive environmental cue to trigger rebloom. You can induce this by creating a cool period that signals the plant to shift energy toward reproduction. Drop your night temperatures by about 10°F, aiming for 55–65°F (13–18°C), which often stimulates spike initiation.
Position your orchid away from heaters or move it to cooler winter conditions to achieve this shift without causing stress. During this time, you’ll want to monitor closely for early signs of a new flower spike, which appears as root-like growth with a distinctive mitten-shaped end. Once you spot this development, return your plant to its normal environment with 65–75°F (18–24°C) days and bright, indirect light. These adjusted conditions support continued development of your emerging bloom.
Recommended Products
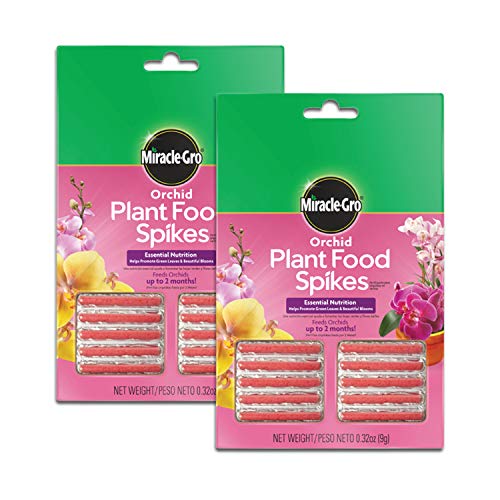
Helps promote green leaves and beautiful blooms

Includes a 5 inch Orchid Pot, One Quart of Our Hand Blended Orchid Potting Mix, a Plant Label, and a Flower Clip

Includes One Starter Bag of Orchid Mix, One 5 inch Slotted Orchid Pot, One 4oz FEED ME! Orchid Fertilizer with Applicator, One Flower Clip, and One Plant Label.
Watch for New Leaves: Then 8–12 Weeks to Flowers
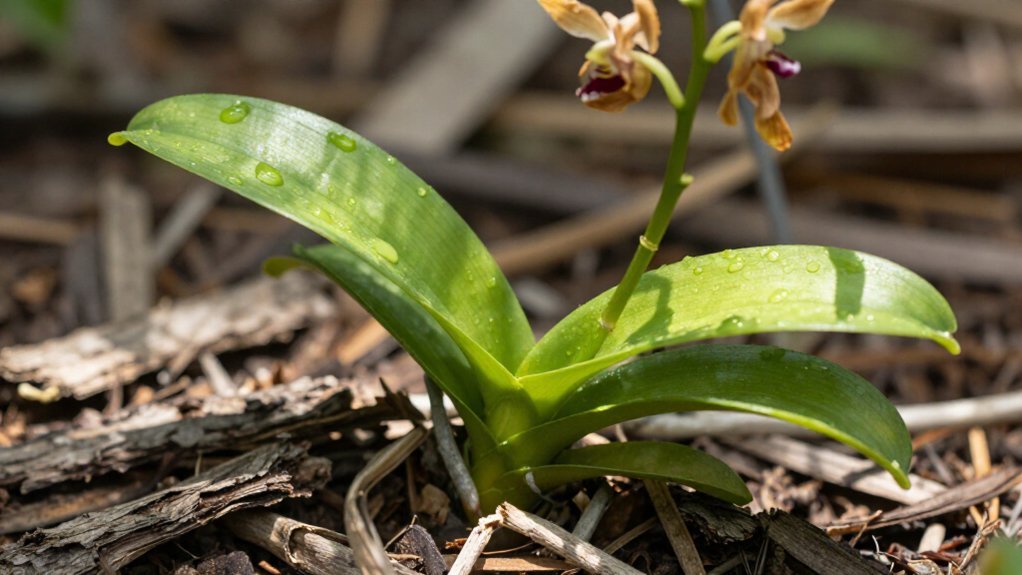
When exactly should you begin pushing your orchid toward its next bloom cycle? You’ll wait patiently for new leaves to signal your plant’s readiness, since attempting premature spike induction drains energy reserves and delays flowering.
Proper orchid care during recovery demands attention to developing leaf growth, which reveals your plant’s internal timeline. You’ll recognize maturity when a new leaf matches, or exceeds, existing foliage size, indicating robust photosynthetic capacity and root health. Maintain bright, indirect light and stable temperatures between 65–80°F to fuel this vegetative phase.
Proper orchid care during recovery demands attention to developing leaf growth, which reveals your plant’s internal timeline.
Once new leaves establish fully, you’ll target a rebloom window 8–12 weeks ahead, positioning your orchid for flowering spike emergence. Continue weekly watering with quarter-strength 20-20-20 fertilizer to nourish developing tissues.
Watch for these promising developments:
- Glossy, turgid new leaves unfurling from the crown’s center
- Roots plumping with silvery tips braving the pot’s edge
- Subtle shifts in leaf orientation, tracking light sources
- A firm, upright stance replacing post-bloom slump
- The faint swell of nascent spike tissue, emerging green and determined
Recommended Products

ULTRA-SHARP MICRO-TIP BLADES – Engineered with premium stainless steel, these garden snips deliver exceptional precision for detailed trimming and shaping. The micro-tip design allows you to easily access tight spaces and make clean cuts on delicate plants, promoting healthier growth and a flawless finish for your garden or bonsai

ULTRA-SHARP MICRO-TIP BLADES – Engineered with premium stainless steel, these garden snips deliver exceptional precision for detailed trimming and shaping. The micro-tip design allows you to easily access tight spaces and make clean cuts on delicate plants, promoting healthier growth and a flawless finish for your garden or bonsai
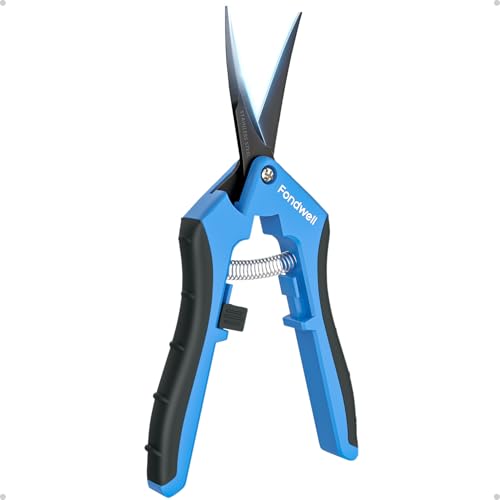
ULTRA-SHARP MICRO-TIP BLADES – Engineered with premium stainless steel, these garden snips deliver exceptional precision for detailed trimming and shaping. The micro-tip design allows you to easily access tight spaces and make clean cuts on delicate plants, promoting healthier growth and a flawless finish for your garden or bonsai
Check These Signs Your Orchid Is Resting, Not Dying
When your orchid’s flowers drop and the stems stand bare, you’ll want to examine the foliage before deciding your plant’s fate, because green, firm leaves signal a healthy Phalaenopsis that’s simply entered its natural rest phase after blooming, not a specimen in decline. You should expect several months without flowers, especially in fall and winter when shortened daylight hours trigger dormancy, and you’ll notice the plant redirecting energy toward root development and leaf growth rather than producing a new spike. During this recuperation period, which typically spans 8–12 weeks in USDA zones 10–12 before new growth emerges, you’ll see slow or no rebloom activity, and that’s completely normal for cultivars like P. aphrodite or P. amabilis as they rebuild the reserves needed for their next spectacular display.
Recommended Products

Elegant Design. Can Be Put Together in Seconds with No Tools.

Elegant Orchid & Soft Glow:This exquisite artificial orchid lamp brings the charm of nature indoors. Featuring lifelike purple orchid blooms with vibrant LED lights inside the petals, it creates a warm, romantic ambiance. The delicate flowers and soft glow make it a stunning decorative centerpiece, perfect for adding a touch of elegance to bedrooms, living rooms, or any space in need of gentle illumination.

【Phalaenopsis Orchid Table Lamp】Flower Table Lamp combines artificial phalaenopsis orchids with a crystal vase, where the vivid flower peeks out from the vase, full of vitality. It serves perfectly as a decoration and night light, adding vitality to your bedroom, living room and office. Its elegant appearance blends naturally with various home styles, bringing a touch of garden charm indoors.
Healthy Leaf Indicators
How can you tell if your orchid is simply taking a well-earned break after its spectacular bloom cycle rather than quietly declining toward failure? Healthy leaves serve as reliable rebloom indicators during the resting phase, signaling that your orchid care routine supports proper energy storage for future flowers.
Examine your plant for these encouraging signs:
- Leaves glow deep emerald, standing stiff and succulent like polished leather
- Foliage resists gentle pressure, snapping back without wrinkles or creases
- Each blade tilts upward, catching light with a subtle waxy sheen
- The crown remains tight and green, free from yellowing or collapse
- Fresh growth emerges from the base, promising robust leaf development ahead
Wait for new fully grown leaves before inducing spikes, ensuring sufficient energy reserves for spectacular reblooming.
Normal Bloom Cycles
Those vibrant, emerald leaves you inspected confirm your orchid has entered its natural recovery phase, not a death spiral. Blooming demands tremendous energy, so your plant’s rest phase, lasting several months with no flower spike in sight, represents standard biology rather than decline.
You will notice dropped blooms, bare stems, and dormancy, yet these signs accompany healthy, firm, green foliage. Yellow, mushy leaves or brown, squishy roots tell a different story, as does constantly wet potting mix. Maintain your consistent care routine through this period: provide bright, indirect light, water appropriately, and feed with balanced fertilizer. Your patience rewards you. When conditions align, your orchid initiates a new spike, completing the cycle toward rebloom.