
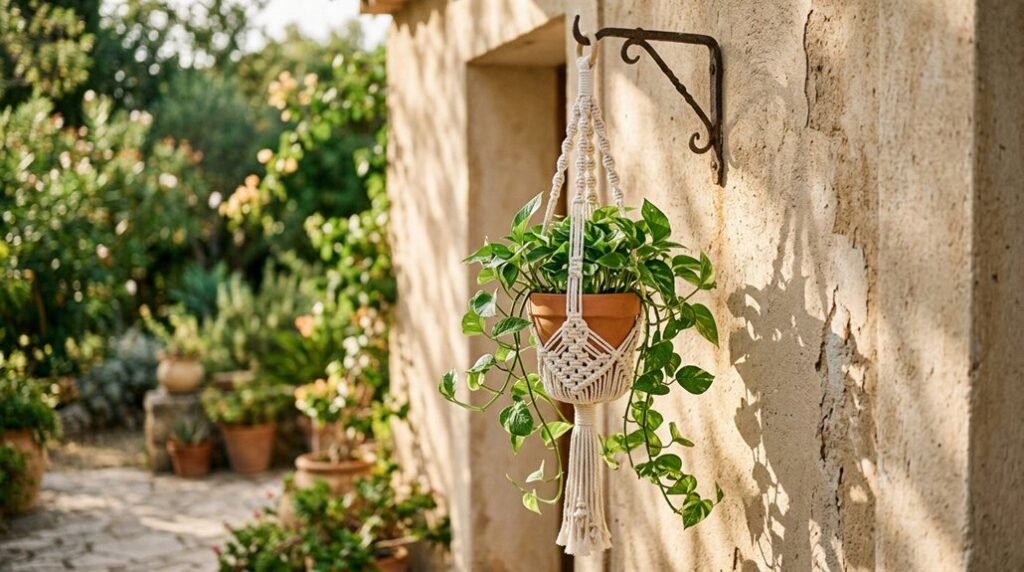


The theory that macrame plant hangers require professional training proves false, as you will construct a functional, aesthetically pleasing hanger using eight cords, precise measurements, and fundamental knots. You begin with four 40-inch cords, four 75-inch cords, and a 30-inch gathering cord, threading these through a sturdy ring secured at chest height. Your spiral knots extend 8.5 inches downward, transitioning into square knots that form four diamond-shaped sections spaced 3.5 inches apart, with each knot placement demanding consistent tension to prevent uneven draping. The final gathering knot secures your work, though the critical question remains: which trailing tropical, perhaps a Philodendron hederaceum ‘Brasil’ suited to USDA zones 10-12, will you suspend within your completed creation?
Gather Your Supplies: Cord, Ring, Scissors, and Setup Tools
Before you form a single knot, you will need to assemble your materials with the precision of a horticulturalist preparing a propagation station. Your macrame supplies begin with cord: gather eight cords total, specifically four 40-inch halves, which become 80 inches when combined, and four 75-inch halves, stretching to 150 inches combined, plus one 30-inch segment for your gathering knot. You’ll need a sturdy ring to anchor these lengths, arranging them in alternating short and long patterns for balanced fullness.
Your setup tools include sharp scissors and a measuring tape for precise length measurement. As you prepare your DIY workspace, confirm your final plant hanger length from ring to fringe before cutting. With materials measured and organized, you’re ready to begin construction.
Recommended Products
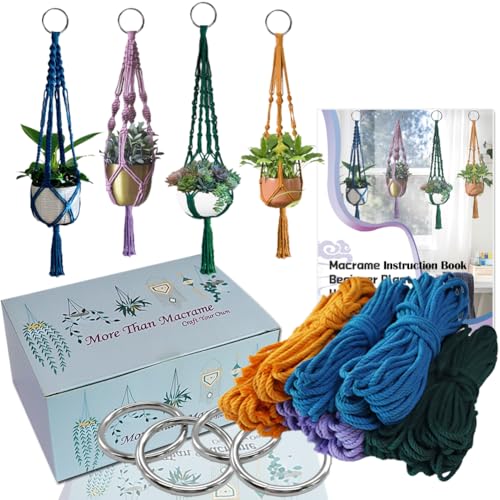
Our Ewparts Macrame Plant Hanger Kit is the perfect DIY project for adults and beginners alike. This comprehensive kit includes everything you need to create four beautiful macrame plant hangers in varying colors - green, purple, orange, and blue

Made from Quality Cotton Fiber: People demand soft, durability, and strength for their macrame needs, and we keep sourcing the best raw material cotton fiber to help protect our brand; Great basis for all your home decor,chrismas decor or macrame projects

1.Made from high quality cotton cord: this 2 pack 20 inch plant hanger indoor are sturdy, durable, and premium quality, accommodating various shapes and sizes of planters effortlessly (pots not included).
Set Up Your Workspace: Clothing Rack, S Hook, and Ring Positioning
You’ll position your clothing rack at a stable height where the ring sits near your chest, allowing both hands to move freely while you arrange cords. Mount an S-hook or fixed ring to a solid wall anchor, ensuring it won’t shift as you pull tension through your knots. Center eight cords on the ring—four measuring approximately 40 inches and four at 75 inches, alternating lengths—then secure the ring temporarily with tape so your gathering knot and subsequent work proceed without slipping or uneven spacing.
Recommended Products
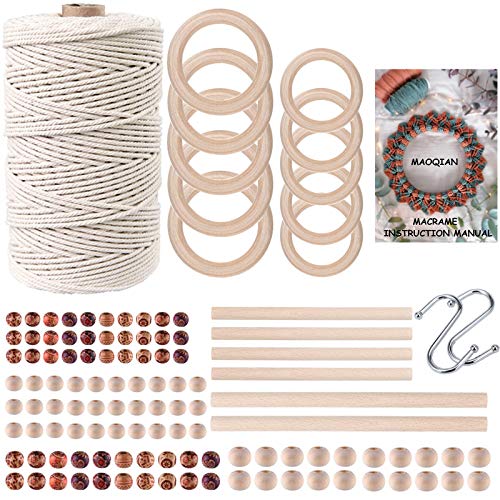
All In One Macrame Kits (120pcs) : All Macrame supplies include such as 1 roll 3mm x 220 yard natural cotton macrame rope, 1pc macrame instruction manual, 6pcs wooden sticks (4pcs 10mmx15cm and 2pcs 10mmx20cm), 10pcs wooden rings (5pcs 50mm and 5pcs 70mm), 50pcs wood beads (30pcs 15mm and 20pcs 20mm), 50pcs painted wood beads (30pcs 12mm and 20pcs 17mm),2pcs silver S hooks, great for macrame and knotting beginners.

COMPLETE 6-SIZE 60-PACK SET - Includes 6 popular sizes: 0.78", 1", 1.19", 1.5", 1.7", and 2". Each size comes with 10 pieces, giving you 60 metal rings total for all your lightweight crafting needs.

Size: Outer diameter 55mm/2.2inch
Clothing Rack Setup
Where should you begin when your cords keep tangling before you’ve tied a single knot? You’ll start with a clothing rack setup that transforms your macrame plant hanger project into a table-free workspace where cord management becomes effortless.
Secure your ring and hook to the rack bar, positioning the ring at eye level for steady feeding of all eight cords. This height ensures even tension when you form your gathering knot and maintains consistent knotting spacing throughout your work.
- Clamp or tape the ring firmly to prevent rotation while cutting cords
- Thread all eight cords through the ring before securing your hook
- Allow three feet of clearance on all sides for looping movements
- Keep cords suspended above floor level to eliminate snagging
- Adjust rack height to match your standing or seated preference
This foundation prevents frustration and keeps your project flowing smoothly from first knot to final hanger.
S Hook Placement
Once your clothing rack stands ready with cords hanging free of tangles, you’re positioned to anchor the entire project with your S hook and ring placement, a step that determines every knot’s accuracy from start to finish.
Attach your s hook to the clothing rack at a ring height that matches your intended macrame plant hanger length, measuring from hook to base. You’ll secure the ring to this hook, ensuring setup stability as you work. Center the middle of your eight cords on the ring, alternating short and long lengths for balanced cord distribution. Form a larks spur knot around the ring, feeding loose ends through to complete the ring enclosure. This creates your working anchor, holding everything steady while you tie subsequent knots with precision and confidence.
Ring Positioning Tips
How do you make sure your ring stays put while you work? You’ll anchor your macrame ring securely to a clothing rack or wall hanger, ensuring stable ring positioning throughout your cord feeding process. Proper workspace setup prevents frustrating shifts that disrupt your tension test and knot consistency.
- Mount your ring at chest height, allowing unrestricted arm movement for smooth cord feeding
- Center cords evenly through the ring, balancing opposite ends to maintain ring alignment
- Use an S hook to temporarily anchor ring position before permanent fixation
- Feed center cords first, then work outward to prevent tangling and ensure flat, parallel strands
- Check periodically that your ring positioning holds firm, adjusting before knots tighten
With your ring secured and aligned, you’ll maintain even tension from first knot to finished hanger.
Cut and Attach Cords to Your Macrame Plant Hanger Ring
Your macrame plant hanger begins with precise cord preparation and secure ring attachment, a foundational step that determines the stability and symmetry of your finished piece. You’ll cut eight cords total: four cords measuring 40 inches long, which become 80 inches when doubled, and four cords at 75 inches long, creating 150 inches when doubled. These cord lengths alternate short, long, short, long around your top ring, ensuring balanced center alignment for all subsequent knotting steps. Position each cord’s midpoint over the ring top anchor, letting the ends hang evenly without twisting. Use a 30-inch gathering knot cord, draping it over the gathered cords to form a loop two inches below the ring, then wrap 8–9 times around the section. Tighten firmly, trim ends, and tuck them back for a clean finish before your square knot work begins.
Recommended Products


【All in One Macrame Kits for Adults Beginners & Advanced】contain all necessery macrame supplies you need to start your own macrame such as large hole macrame beads ,macrame rings,wooden dowels rods ,you could make at least 4 macrame plant hangers with this diy kits
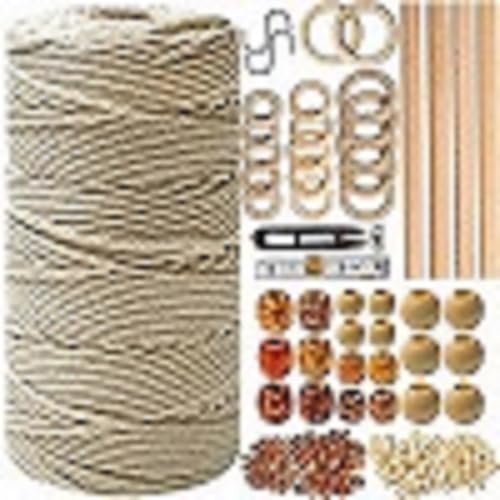
✅ IMAGINE AN ALL IN ONE DIY MACRAME KIT - Our 227pc macrame kit for beginners includes everything needed in a DIY macrame wall hanging kit. We are proud to offer the most all inclusive and premium quality starter macrame kits for adults on Amazon!
Tie the Gathering Knot: Your Macrame Plant Hanger Foundation
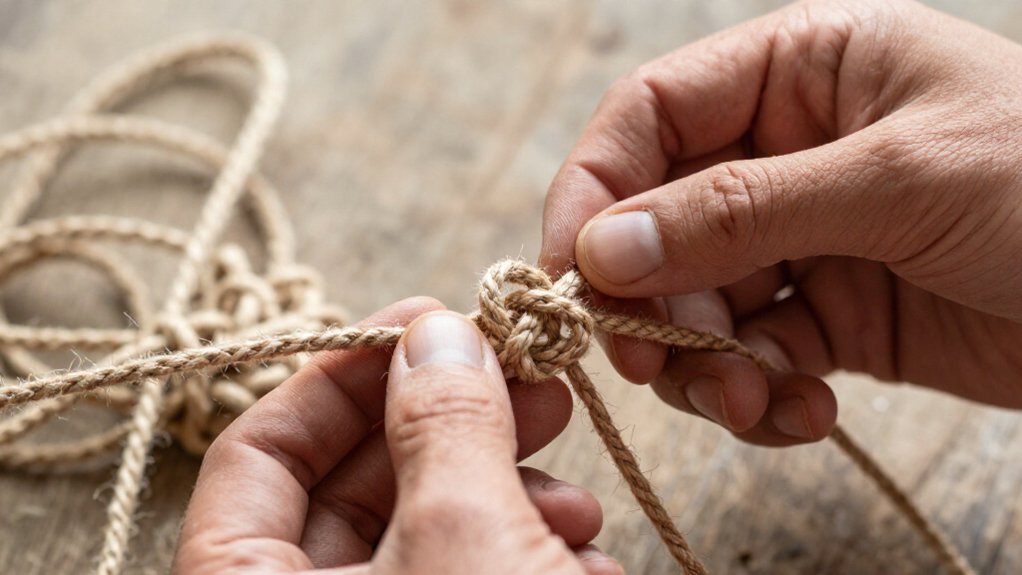
Although your cords now hang evenly from the ring, you’ll need to secure them into a unified bundle before any decorative knotting can begin. You’ll create the gathering knot using eight cords as your macrame plant hanger’s base foundation.
- Cut a 30-inch segment of cord for wrapping your gathered bundle.
- Drape this segment over the eight cords about two inches from the bottom to form a loop.
- Wrap the working end 8–9 times around the gathered eight cords.
- Thread the end upward through the bottom loop, then tighten firmly to establish your central gathers point.
- Tuck remaining ends back into the knot for a clean, concealed finish.
This gathering knot forms the essential base foundation from which your half square knot, spiral knot, and diamond pattern will radiate, positioning your hanger’s structure for proper pot placement.
Recommended Products

HANDMADE WEAVING CRAFT - Hanging plant holders made from eco-friendly recycled cotton rope and metal ring, It has a strong flexible woven design, sturdy and durable, accommodates planters of all shapes and sizes, you can take them home for your plants with confidence

Ample Quantity: This set includes 6 wall macrame plant hangers, sizes approx. 3.94 x 7.87 inches/10 x 20 cm, with 3 of each size, offering flexibility to meet various decorating needs. Ideal for displaying small potted ferns and other indoor or outdoor plants. Note: Plants and planters are not included

Planters and Hooks: each package includes 2 boho-style plant hangers, with a total length of about 105 cm ( 41.34 inches) and a middle basket length of approx. 17.78 cm ( 7 inches), weighing 100g; It also comes with 2 S-shaped hooks ( 10g each); This thoughtful combination meets your needs perfectly
Spiral Knots for 8.5 Inches, Then Transition to Squares
You’ll work four groups of four cords each, using the outer longer strands to form spiral knots that descend 8.5 inches from your top gathered knot, a technique that creates the elegant twisted effect seen in classic macrame hangers like the ‘Majestic Jade’ (Crassula ovata) supports popular in USDA zones 9-11. Once you’ve completed these four spiral sequences, you’ll leave a precise 3.5-inch space before introducing square knots, which transition your design from flowing curves to structured geometry. Tie your first row of square knots at this interval, then add a second row 3.5 inches below, using these knots to form four diamond shapes that connect your sections and prepare the hanger for its final gathering knot and net assembly.
Recommended Products
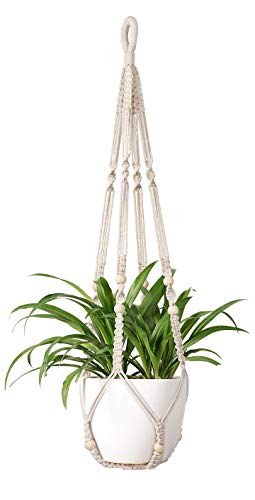
Pots and plants are not included!!
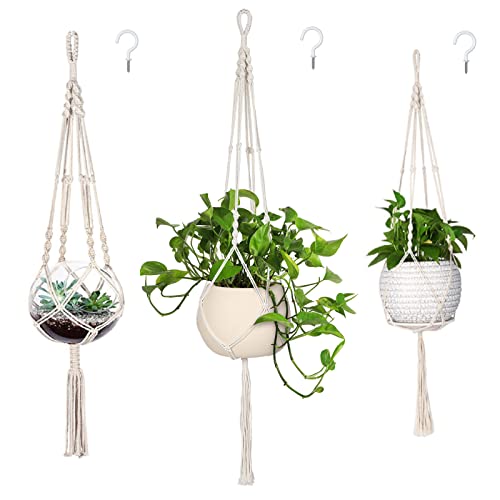
COMPLETE SET WITH HEAVY DUTY HOOKS: 3 handmade cotton hangers (34"/41"/46" lengths) + 3 durable metal hooks. The flexible woven design fits 5-10 inch pots (ceramic, plastic, glass, metal) and supports various plant shapes for displaying succulents, pothos, or ferns (Pots and plants are not included)

VALUE PRESENT PACKAGE: Macrame plant hanger included six Different Sizes Crochet Plant Hangers, six“S” Hook, six Ceiling Hook, six Expansion Tube. Unique creative design, modern, retro style hanging plant add the perfect touch to your room and living room, you can hang indoor plant hangers on the ceiling in the living room, bathroom, bedroom and office. Great for indoor and outdoor décor
Spiral Knot Technique
Once you’ve secured your cords at the top, you’ll divide them into four groups of four, with each group forming one arm of the hanger. You’ll create the spiral knot by tying repeated half-square knots, always starting from the same side, which causes the four strands to twist naturally as you work.
- Maintain consistent tension for uniform spirals across all sections
- Count rows carefully to match the 8.5-inch cord length on each arm
- Check that your macrame plant hanger sections twist in the same direction
- Use this beginners guide technique to build foundational muscle memory
- Prepare for the diamond pattern transition by marking your measurements
After completing four spiral knots, you’ll leave 3.5 inches of space, then tie square knots beneath each spiral section. You’ll repeat this spacing for a second row of square knots. The gathering knot finishes this section about one inch below your completed diamonds, securing your work before trimming.
Square Knot Transition
With your four spiral sections complete at 8.5 inches each, you’re now positioned at the critical juncture where pattern shifts anchor the structural integrity of your hanger. You’ve maintained consistent starting sides for your spiral knots, ensuring uniform texture across all four sections of your plant hanger.
Leave 3.5 inches of spacing below each spiral section before tying your first square knot, then add a second square knot 3.5 inches below to complete the macrame transition. This cord length management creates visual rhythm while building structural support. You’ll connect the four sections with additional square knots to form four diamonds, maintaining 3.5-inch spacing between each diamond pattern. These interconnected diamonds distribute weight evenly, preparing your hanger for the final gathering knot that secures the base.
Connect Sections With Square Knot Diamonds (3.5-Inch Spacing)

How do you transform four simple cord sections into an elegant diamond pattern that holds your plant securely? You’ll begin by leaving 3.5-inch spacing after your spiral knots, then create macrame diamonds using the square knot technique to link your four sections together.
- Position four sections with 5 inch spacing consistency between each diamond row
- Transition from spiral knots to square knots using the same starting side for alignment
- Form the diamond pattern by linking adjacent sections with corresponding knots
- Check that sections linked create four distinct diamond shapes total
- Maintain even tension throughout to prevent distortion in your plant hanger
Your overall spacing guide ensures these decorative elements sit balanced from top to bottom, delivering professional results with uniform diamond alignment and cohesive structural integrity.
Recommended Products

Soft, Sturdy Cord for Crafts: This 3 mm macrame cord is super soft, sturdy, and easy to work with. The natural macrame cord 3 mm features amazing shades of yarn for beautiful knots. The ends of macrame string can form pretty, fluffy, and waving tassels. This macrame rope is friendly to both beginners and advanced
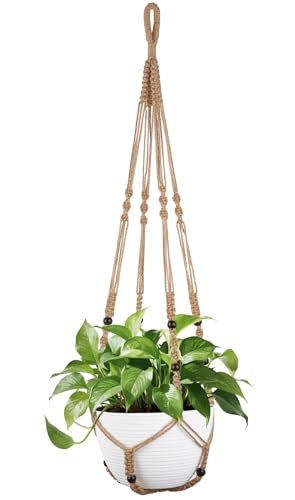
STYLISH AND UNIQUE: The modern, vintage-inspired plant hanger adds the perfect touch to your room and living room. This beauty would be gracing your home or balcony garden, or brightening up an office. Easily add some special to your beautiful bohemian home decor, sweet farmhouse decor, or modern minimalist style

Fix Uneven Spacing and Tension Issues
Why do your diamond patterns look lopsided or your pot hang crooked when you’ve followed every step? You’ve likely got uneven cords or inconsistent macrame tension throwing off your whole piece.
First, check your ring alignment before you knot another inch. Center each cord on the ring so all eight sections hang true, then verify your gathering knot sits squarely with 16 cords split into four cord groups of equal length. Use a measure guide, marking 3.5 inches between knot groups, to lock in even spacing as you work.
Pull taut knots with steady pressure, keeping knot consistency by starting every spiral in the same direction. If you spot sagging or twist, loosen that section, re-align the strands, and re-tie while the ring stays fixed. Your hanger will hang level.
Recommended Products

Welded macrame ring :10 pieces pack

Macrame Plant Hanger Extenders: you will receive 6 packs of connectors, macrame plant hanger extenders are woven from wooden rings and double layer cotton ropes, the spiral rope structure ensures that they are sturdy, washable, and can withstand the weight of plants, not easy to break or deform

【WHAT YOU GET】: 30 x Unfinished Wood Rings, Size: 50mm/1.96", Thickness: 8mm/0.31".
Final Gathering Knot, Trim, and Hang Your Finished Piece
Once you’ve secured your diamond patterns with consistent tension, you’re ready to cinch everything together with the final gathering knot, which sits approximately one inch below your last diamond section and draws all sixteen cords into a unified, secure base. You’ll use a 24-inch guide cord to wrap the sixteen cords tightly, pulling them into a concealed, sturdy knot that forms the foundation of your macrame plant hanger.
After tightening the final gathering knot, you’ll trim the remaining cord ends and tuck them back into the knot for a clean, professional finish. Complete these finishing steps:
- Trim excess cord and tuck ends into the knot
- Perform length adjustment to achieve your desired total height, such as 38 inches
- Form the pot net using two cord sections to cradle and support the pot bottom
- Tie the bottom knot at the determined sitting position using the same gathering method
- Install a ceiling hook, hang the completed hanger, and verify wall clearance for growing plants
Recommended Products


Natural Cotton Material: The macrame cord made of natural, odor-free cotton fiber and reusable. Each thickness is 3mm, has high tensile strength, low extensibility and ensures better breathability.

Made from Quality Cotton Fiber: People demand soft, durability, and strength for their macrame needs, and we keep sourcing the best raw material cotton fiber to help protect our brand. Great basis for all your home decor or macrame projects