


Like the canary in the coal mine, your wilting ficus signals trouble long before collapse. You’re standing at a diagnostic crossroads where overwatered roots rot in anaerobic soil, underwatered cells desiccate past recovery, and spider mites colonize the undersides of your *Monstera deliciosa* while you debate its placement three feet from that east-facing window. Your plant speaks in specific dialects: yellow lower leaves demand drainage inspection, crispy brown margins request humidity above 40%, and stunted new growth insists you examine whether that plastic nursery pot has become a root-bound prison. The path forward requires methodical observation, not panic.
Overwatered? How to Diagnose and Stop Root Rot Fast
How often have you lifted your watering can, convinced you’re nurturing your Monstera deliciosa or Pothos ‘Neon’, only to watch it slump days later with leaves turning suspiciously yellow at the margins?
You’ve encountered overwatering, the #1 killer of indoor plants, confirmed by wet soil, limp leaves, and potential root rot that allows pathogens to enter. Symptoms include droopy foliage, brown or yellow leaves, leaf burn, and soil that stays consistently damp rather than drying between waterings.
To diagnose, check soil moisture and root condition. Prune rotted roots, replace mudded soil. Let the soil dry until slightly damp to bone dry, then reassess viability. Prevent future damage with well-draining peat-free soil, drainage holes, and adjusted watering frequency matching your plant’s needs and environment.
Recommended Products

Accurate Soil Moisture Detection: The XLUX Soil Moisture Meter can tell you if the soil deep inside your pot or garden is dry, moist or wet; whereas your eyes and fingers can only determine the moisture level of the soil surface. The probe is 5.5 inches (14 cm) longer than regular styles, allowing it to measure the soil moisture at the bottom of larger and deeper flower pots.

Accurate Soil Moisture Detection: The XLUX Soil Moisture Meter can tell you if the soil deep inside your pot or garden is dry, moist or wet; whereas your eyes and fingers can only determine the moisture level of the soil surface. The probe is 5.5 inches (14 cm) longer than regular styles, allowing it to measure the soil moisture at the bottom of larger and deeper flower pots.

【4 in 1 function】This is a 4-in-1 multifunctional soil tester.Our soil tester fastly to measure soil moisture, pH, temperature and sunlight to help you take better care of flowers and plants.You can know when you need to water your soil by measuring moisture and pH & Temperature value of the soil and sunlight level of plants with it.
Underwatered? Revive a Dehydrated Plant Before It’s Too Late
You’ll spot dehydration when your plant’s leaves droop, turn pale, or develop crispy brown edges, and you’ll notice dry soil shrinking away from the pot’s interior walls. When this happens, you should submerge the entire pot in a container of lukewarm water for 15 to 30 minutes, allowing the root ball to absorb moisture from the bottom up rather than pouring water over the top, which often runs off hardened, hydrophobic soil. Once you’ve revived your plant, you’ll need to establish a consistent watering routine that keeps the growing medium evenly moist, checking the top inch of soil every few days and adjusting your schedule based on seasonal light changes, pot size, and whether you’re growing tropical species like Spathiphyllum (USDA zones 10–12) or drought-tolerant succulents in Zones 9–11.
Recommended Products

Right Size - The 6-Pack 4-Inch Indoor Plant Pots are ideal for small indoor and outdoor Plants and flowers, such as Orchids, aloe, snake plants, peace lilies, ZZ plants, succulents, mint, cacti, and herbs.
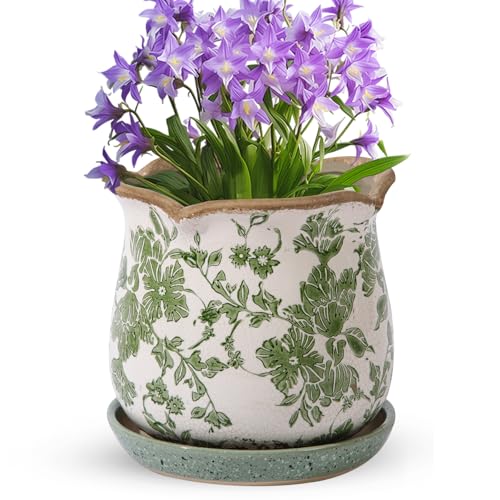
【Exquisite Vintage Aged Design】This planters for indoor plants features rustic ice crack glaze patterns and hand-made brown smudges--unique distressed craftsmanship, which gives it such a unique, antique look, like something you’d find in an old times but it still feels fresh and modern. Due to the production process, the crack and brown smudges of each ceramic flower pot is unique.
Recognizing Dehydration Signs
Why does your once-vibrant pothos now hang its leaves like a weary traveler who’s forgotten their water bottle? You’re witnessing classic dehydration, and recognizing these signs early saves your plant from irreversible damage.
Check your soil first. When underwatered, it pulls away from the pot edges and feels dry, not damp, to your touch. Your plant’s leaves droop and wilt, turning brown at the tips or edges, while the overall color fades to pale, lifeless hues. These symptoms announce that your plant’s cellular structure lacks the moisture required for photosynthesis and nutrient transport.
Don’t confuse this with overwatering, where soil stays soggy and roots rot. True dehydration presents as crispy, lightweight soil and leaves that feel papery rather than plump.
Act quickly once you spot these signals. Your plant’s recovery window narrows as dehydration advances, so prompt identification matters enormously.
Emergency Hydration Methods
Your plant’s papery leaves and bone-dry soil have sounded the alarm, and now you’re racing the clock to reverse dehydration before cellular damage becomes permanent. Underwatering has left your soil shrunken and pulling from the pot sides, so you’ll need to act fast with an emergency soak.
Submerge the entire pot in room temperature water for 15 to 30 minutes, letting the soil absorb moisture through the drainage holes until it feels evenly damp. Once soaked, drain thoroughly and return the plant to its saucer. Place it in indirect light, avoiding direct sun that compounds stress. Hold off on fertilizer until you spot new growth, as feeding a stressed root system causes further damage. Check soil moisture regularly, aiming for slightly damp, not soggy, conditions that prevent repeat underwatering episodes.
Preventing Future Underwatering
How do you keep your rescued plant from drying out again? You’ll need to adjust your watering routine and stay vigilant about soil moisture.
To prevent repeat underwatering, follow these steps:
- Check soil moisture twice weekly by inserting your finger one inch deep
- Water thoroughly when the top inch feels dry, ensuring excess drains freely
- Adjust your watering schedule based on light exposure and seasonal temperature changes
Monitor your plant closely after rehydration, as extended drought causes root stress that may limit full recovery. Aim for consistently damp, never bone-dry, soil conditions. You’ll find that environmental factors, including bright light and warm rooms, accelerate water loss, demanding more frequent attention. With disciplined watering habits and responsive care, your indoor plant will establish resilient roots and sustained vitality.
Root-Bound? When and How to Repot Without Killing It
You’ll recognize a root-bound plant by its yellowing leaves, persistent wilting despite watering, and roots that circle the pot’s interior or poke through drainage holes, all signs that your plant has outgrown its container. When you repot, select a vessel only one size larger, such as moving from a 6-inch to an 8-inch pot, fill it with fresh, peat-free potting mix, and gently tease apart any densely circling roots before positioning the root ball at the same depth it previously grew. After repotting, place your plant in bright, indirect light, water sparingly until you observe new growth, and wait at least four to six weeks before applying any fertilizer, as this allows damaged roots to recover without chemical stress.
Recommended Products

ORGANIC INDOOR POTTING SOIL, MADE WITHOUT PEAT: Biochar, worm castings, mycorrhizae, compost, and bark fines replace peat moss entirely; every ingredient of this house plant soil is natural, sustainably sourced, and confirmed organic - no synthetic fertilizers, no fillers

THE CHUNKY TEXTURE YOUR SUCCULENTS ACTUALLY NEED: Most potting soils for succulents pack too dense and hold too much water; our chunky succulent soil potting mix stays loose and airy, letting roots breathe and excess moisture drain fast – no compaction, no soggy pots
Recognizing Root-Bound Symptoms
Why does your once-thriving pothos or snake plant suddenly droop despite faithful watering? You’ve likely encountered a root-bound specimen, where roots have outgrown their container and begun circling the interior walls. This condition restricts nutrient and water uptake, causing visible distress even when you maintain proper care schedules.
You can diagnose root-bound problems by examining these warning signs:
- Roots visible at drainage holes or circling the pot’s surface
- Soil that dries unusually fast or water that runs straight through
- Yellowing lower leaves accompanied by persistent wilting
When roots crowd densely, they displace soil and create channels that prevent proper moisture retention. You will notice the plant becoming top-heavy, sometimes pushing itself partially out of the container. Recognizing these symptoms early allows you to intervene before permanent damage occurs.
Proper Repotting Technique
Where precisely should you intervene when your Monstera deliciosa or ZZ plant exhibits the circling, surface-creeping roots of a root-bound specimen? You begin repotting by selecting a container only one size larger, as excessive soil volume retains unwanted moisture that invites root rot.
You gently loosen densely packed roots with minimal disturbance, tease apart tight clumps, and trim dead or rotting tissue before proceeding. You fill the new pot with fresh, peat-free potting mix, position your plant at the same depth, and water lightly to settle the soil.
You allow the top layer to dry slightly before resuming normal watering. You time this repotting for spring or early growing season when new growth emerges, avoiding stressed or dormant periods. Your careful attention rewards you with renewed root expansion and vigorous foliage development.
Too Much or Too Little Light? Read Your Plant’s Signals
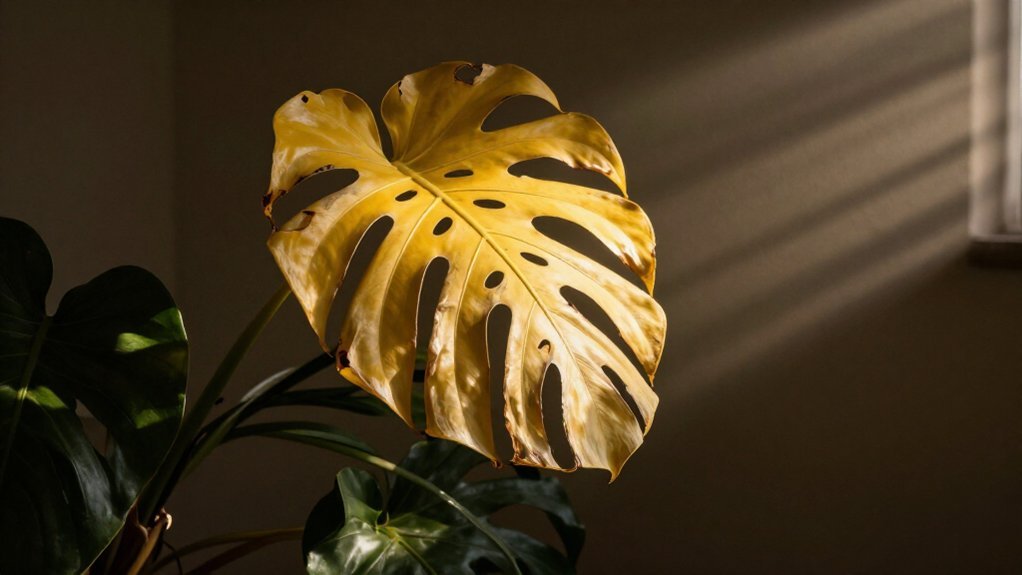
How can you tell if your beloved Monstera deliciosa or Ficus lyrata is crying out for more sun, or perhaps begging for shade? You’ll notice sunburn appears as brown, dried patches, often scorching one side while the other stays pale. Too little light causes yellowing leaves, weak spindly growth, and leaf drop, with flowering plants refusing to bloom.
Watch for these warning signs:
- Wrinkled, wilting leaves stretching toward windows indicate insufficient light
- Scorched patches signal harsh midday sun through glass
- Pale, slow growth demands immediate relocation or supplemental lighting
For sun-sensitive specimens, filter harsh rays or move to gentler indirect light. Even shade-tolerant varieties, including ZZ plants (Zamioculcas zamiifolia, USDA zones 9-11), stress in very low light. Consider grow lights or realistic replicas for dark corners.
Recommended Products
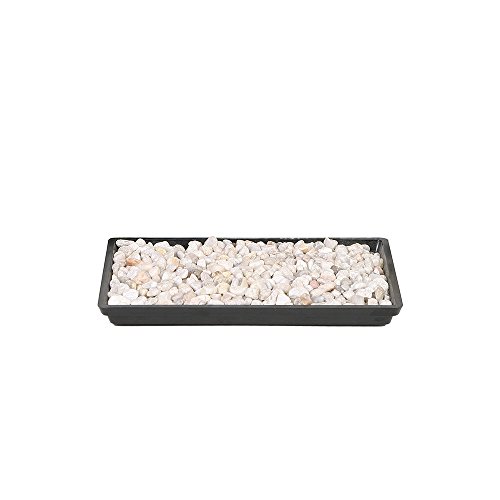
Humidity Control: Enhances bonsai growing environment by increasing humidity around the tree, promoting healthier growth

What You Will Receive: the package comes with 2 packs of bonsai humidity trays, you can use them to hold bonsai tree, cactus, succulents and more houseplants for moisture and drainage, the bonsai tray can also provide protection for your furniture, meeting your daily use needs and bringing your life much more convenience
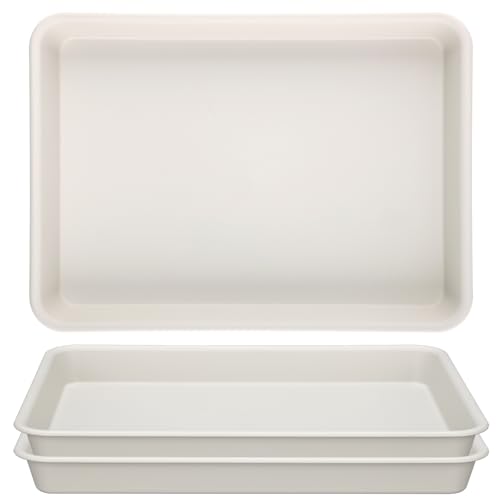
【Value Package】Package includes 3 pcs 11 inch beige plant pot saucer. These versatile plant trays for pots make it easy to create your ideal plant setup.
Pests and Mold? Natural Fixes That Actually Work
What brings those mysterious sticky spots and fuzzy patches to your beloved Monstera deliciosa or comfortable Ficus elastica? You’re likely dealing with pests and mold, two intertwined problems that signal your plant’s environment needs attention.
You’ll spot mealybugs, scale, and thrips with your naked eye or a hand lens, while Botrytis and powdery mildew appear as fuzzy or powdery coverings. These invaders thrive where humidity exceeds 60% and airflow stalls. Check your plants weekly, wiping leaves gently and removing affected tissue immediately to halt spread.
Skip chemical fungicides; instead, isolate damaged specimens, increase spacing for better circulation, and reduce humidity where appropriate. These natural controls restore balance, letting your plants recover without harsh interventions that disrupt indoor ecosystems.
Recommended Products

[Garden Root Pick Tool] It is a single claw root pick that is convenient for replanting, repotting, transplanting plants. You can remove the soil from the roots gently with this single claw garden tool. It is an essential repotting tool for bonsai.

BONSAI ROOT PICK TOOL: It is a single claw root pick that is convenient when replanting plants and bonsai. You can remove the soil from the roots with this tool quickly when repotting.
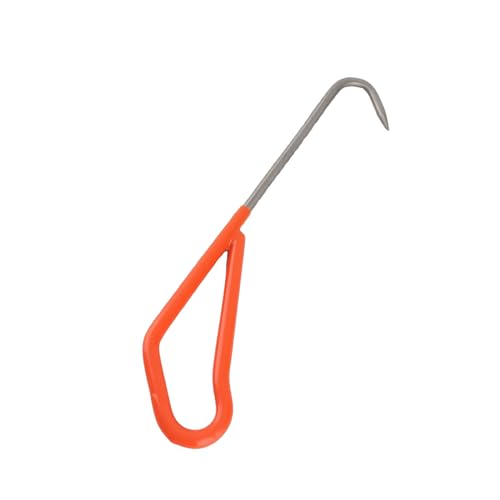
Gentle Root & Soil Care: This bonsai root hook effectively loosens compacted soil and carefully separates plant roots during repotting, promoting healthier growth for your potted plants.
Dry Air and Temperature Swings? Fix Your Plant’s Environment
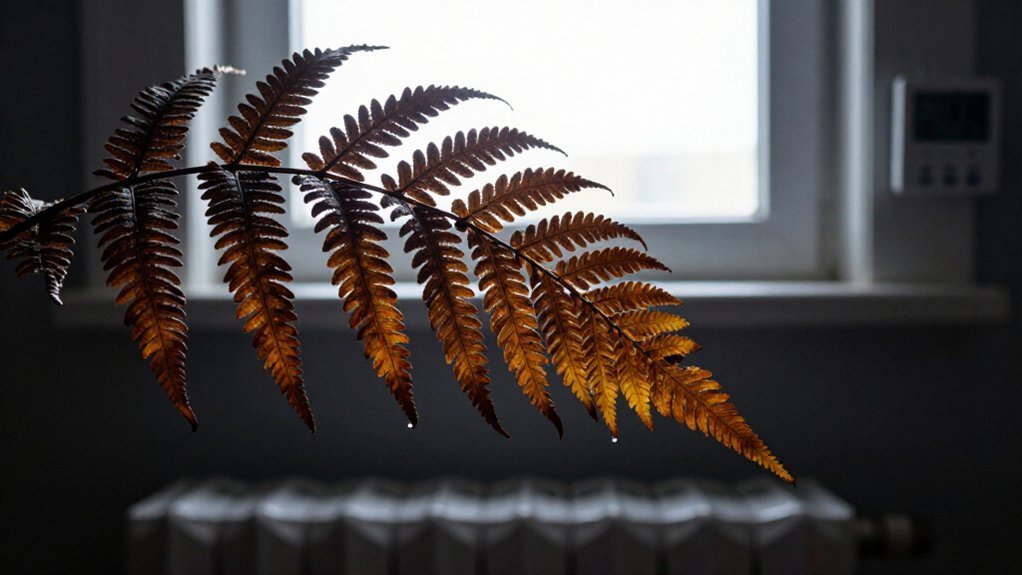
When your calathea’s leaves curl like brown paper and your Boston fern sheds fronds by the dozen, you’ve hit the dry-air wall that plagues most centrally heated homes. Low humidity accelerates transpiration, leaving tropical species parched and wilting.
You can combat dry air through three proven methods:
- Mist leaves morning and evening to boost ambient moisture
- Arrange pots on damp pebble trays for steady evaporation
- Relocate humidity-lovers to steamy bathrooms with indirect light
Temperature swings compound these problems, so position plants away from radiators, air vents, and drafty windows. Stagnant air invites fungal trouble, yet gentle circulation from a small fan strengthens stems without desiccating foliage. Maintain steady 65-75°F conditions, and your plants will build resilience against environmental stress.
Recommended Products

Accurate Soil Moisture Detection: The XLUX Soil Moisture Meter detects deep soil moisture in pots or gardens (dry/moist/wet), unlike eyes or fingers that only sense surface soil.
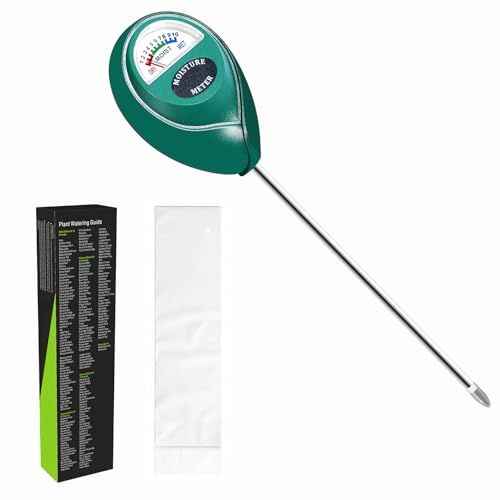
Trusted Since 2015: Become one of the many plant lovers who rely on the proven accuracy of XLUX. Established in 2015, our soil moisture meter has earned over 60,000+ verified ratings for its consistent performance. While many many newer brands come and go, we provide the long-term reliability and quality that American households have trusted for over a decade.
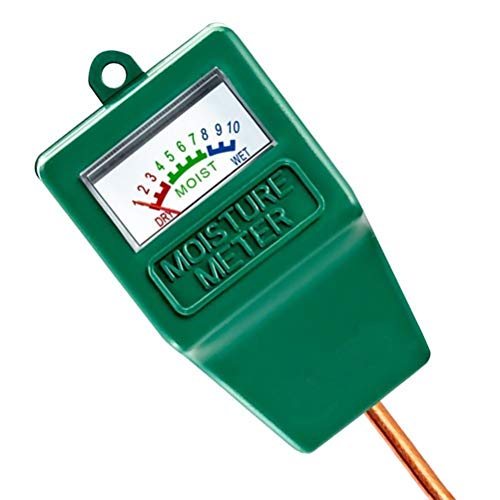
Soil Moisture Meter: This single probe soil moisture meter is specially designed for testing the moisture level in the soil, helps you decide whether the plants need water or not, helps to keep plants alive.
Build Your Plant’s Recovery Schedule Week by Week
Once you’ve stabilized your plant’s environment, you’ll need a structured timeline that guides your intervention without overwhelming recovering tissues.
A structured timeline guides your intervention without overwhelming recovering tissues.
In Week 1, you’ll inspect root health immediately, trimming any soft, brown roots with sterilized shears and repotting into fresh, peat-free soil if rot has set in. Those yellow leaves you’re seeing often signal compromised roots, so don’t delay this step.
During Weeks 2–3, you’ll restore moisture balance carefully, allowing the soil to dry until it feels slightly damp before watering again. You’ll resist the urge to feed; starving roots cannot process nutrients.
From Week 4 onward, you’ll gradually increase indirect light exposure, monitoring for new growth as your definitive recovery indicator. If yellow leaves persist beyond six weeks, you’ll extend your plan to include thorough pest inspection, possible repotting, and soil assessment.
Recommended Products

Ceramic Plant Pot: The ceramic pot is high temperature fired stoneware which are durable and lightweight that convenient for you to use

【With Drain Holes and Mesh Pad】:Large drain holes are good for draining, and with leak-proof mesh pads, it keeps soil from running away, suitable for orchids, succulents, cacti, other flowers and green plants, perfect for home decoration.

Size 6.8" (Desktop Friendly): Medium ceramic plant pot (diameter 6.8", height 5.3") designed for peace lily, pothos, spider plant, ZZ plant, or small snake plant. This 6.8-inch pot fits perfectly on desks, shelves, or windowsills—an ideal choice among flower pots for indoor plants
When to Give Up on Your Houseplant: and What to Replace It With
How do you know when your efforts have reached their limit? You’ll spot the irreversible signs when your houseplant displays extensive root rot, persistent wilting despite proper water adjustments, and absolutely no new growth after you’ve corrected light and humidity. These three indicators confirm your plant has crossed the point of no return:
- Blackened, mushy root systems that crumble upon inspection
- Continued drooping even after you’ve refined your water schedule
- Zero fresh shoots or leaves appearing within six to eight weeks
You should remove the plant, sanitize its container, and select a replacement species that actually matches your home’s conditions. Choose resilient alternatives like ZZ plants or pothos, which tolerate variable water and light, ensuring you won’t face this same disappointment again.
Recommended Products

COMPLETE INDOOR POTTING SOIL FOR HEALTHY ROOT DEVELOPMENT: A premium potting soil for indoor plants designed to replace generic potting mix or garden dirt. Balances moisture and airflow so roots can breathe and expand. Works as houseplant soil, monstera soil, pothos soil, peace lily potting soil, and tropical plant soil for thriving indoor potted plants of all kinds.

【Premium Blend Formula】: The orchid potting mix combines premium pine bark, perlite, natural coco peat and moss in proportions. The pine bark opens air channels for air flow, while coco peat and moss work together to maintain ideal humidity and provide nutrients—creating the ideal foundation for vibrant orchids.

Fast‑Draining Formula for Thriving Succulents - Engineered to shed excess water quickly to prevent root rot and compaction; ideal for cacti, succulents, and other drought‑loving plants.
Prevent This Next Time: 4 Care Habits to Start Now
Why let another plant suffer when you can establish better habits starting today? First, lock in a consistent watering routine, checking soil moisture 2-3 centimeters deep with your finger before you add any water, since both overwatering and underwatering kill more plants than pests ever will.
Second, match your plant to its light needs, moving pale, leggy specimens to bright indirect light or shifting sunburned leaves to shadier spots. Third, choose breathable, peat-free potting mix and avoid oversized pots, which trap moisture and invite root rot. Fourth, boost humidity with misting or damp pebble trays while ensuring airflow to prevent fungal issues. Finally, fertilize conservatively, resuming only after new growth appears with balanced soluble fertilizer, never feeding stressed plants.
Recommended Products

【PlANT SAUCER VLUE】Bleuhome plant saucer 6 inch small, 6 packs black plant drainage tray, The tray size of each Flower pot trays is 6.3" at the top and 4.7" from bottom and it is 1.1" deep, suitable for planters with bottom diameter less than 4.7 inches. Plant Trays for Planter 4"/5"/6". Under plant water drip tray for planter pot.

12-LED GROW LIGHT PER TRAY — Each of the five seed starting trays features a full-spectrum grow light with 12 LED beads, providing supplemental light for indoor seedlings.

What You Got: The package cludes 2 pcs of bonsai humidity trays, you can use them to put bonsai tree, cactus, succulents, stone and thermal boxes for tropical plantsand.