
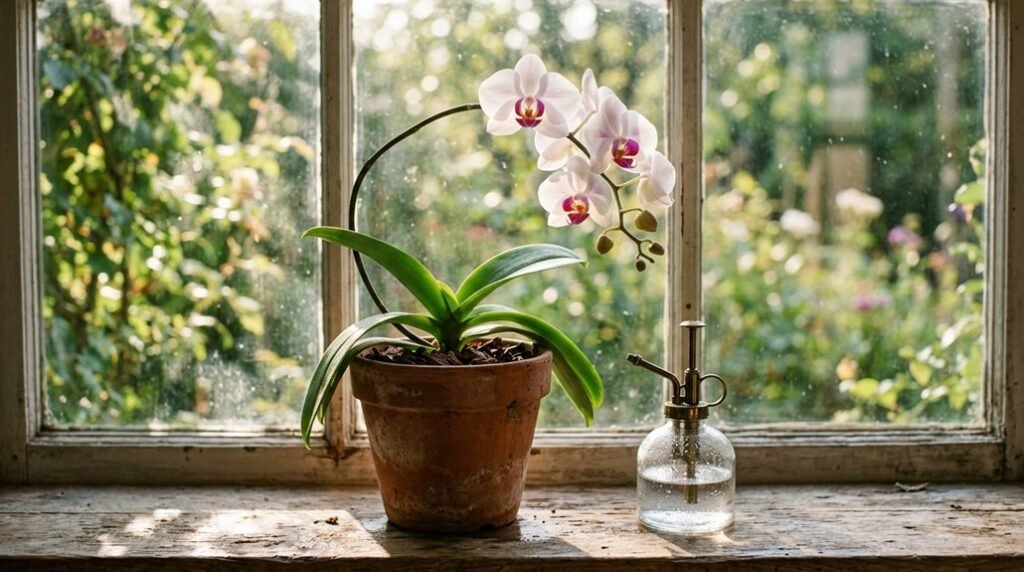


Just as you’re deciding what to do with your fading Phalaenopsis, thousands of other growers face the same crossroads every spring. You’ll cut that spent spike with sterilized shears: one inch from the base if you want vegetative growth, or half an inch above a healthy node to coax branching. Then you’ll water weekly, saturating the bark until drainage runs clear, and feed at half-strength monthly through USDA zones 10–12. But the real secret isn’t in the pruning—it’s in what happens during the eight to twelve weeks of rest you’re about to give your plant, and whether you recognize the signs that tell you it’s finally ready to flower again.
Cut the Spike or Keep It: Three Options Explained
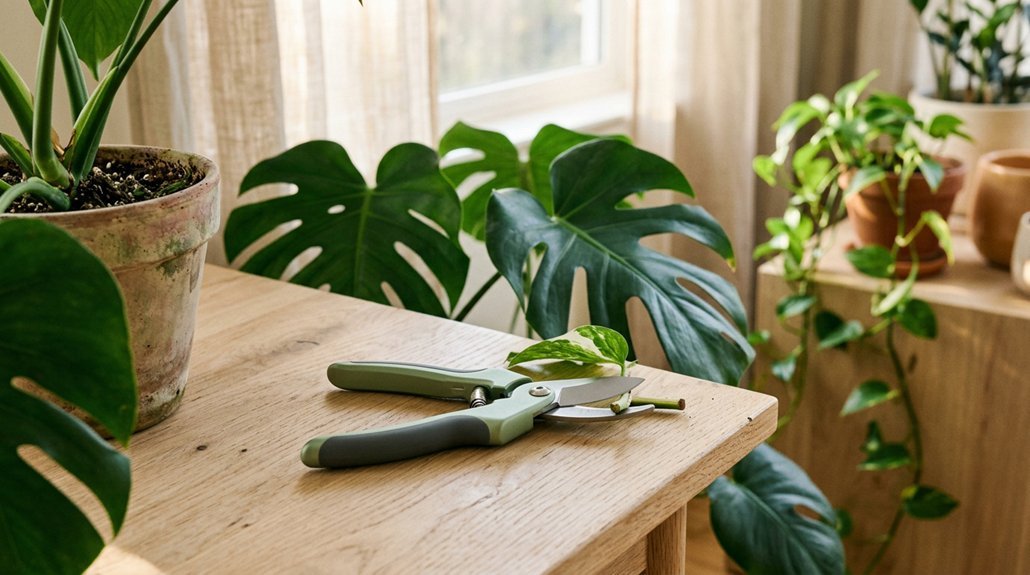
Once your Phalaenopsis drops its final bloom, you’re faced with a decision that will shape your orchid’s next several months of growth, and the path you choose depends entirely on what you observe in the spike itself. If the stem browns and yellows, you’ll prune it to one inch from the base, redirecting energy toward root development and preparing your phalaenopsis for its next bloom cycle. When the spike remains firm and green, you retain it, allowing potential rebloom cues to trigger a secondary flowering from existing nodes, or you cut half an inch above a healthy node to encourage branching. Always sterilize your scissors with alcohol before pruning, since clean cuts prevent infection and protect vascular tissue. Your choice between retention and removal directly influences whether your orchid prioritizes immediate reblooming or restorative vegetative growth.
Recommended Products
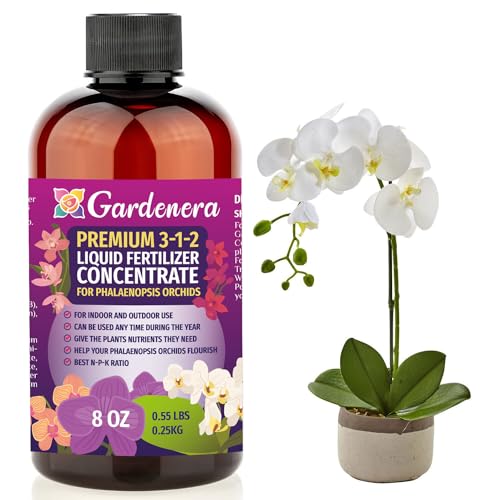
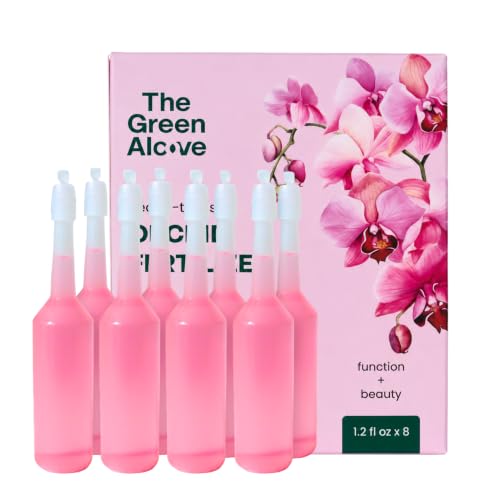
🌸 ORCHID ELEGANCE: Exclusively formulated for indoor Phalaenopsis Orchids, our 3-1-2 Liquid Fertilizer Concentrate delivers the perfect blend of nitrogen, phosphorus, and potassium. This ensures your orchids maintain their exquisite blooms and graceful, arching stems.
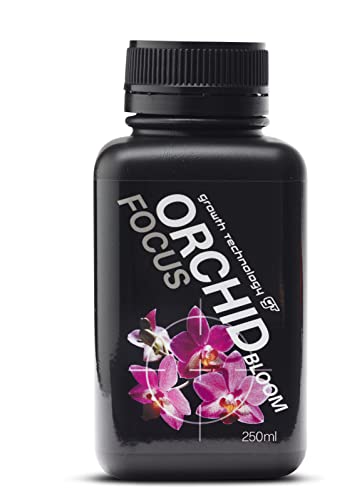
COMPLETE NUTRITION FOR ORCHIDS – GT Orchid Bloom Focus provides 12 essential minerals, including calcium, in a highly absorbable form to nourish Phalaenopsis, Cattleya, Dendrobium, and Oncidium orchids for strong, healthy growth.
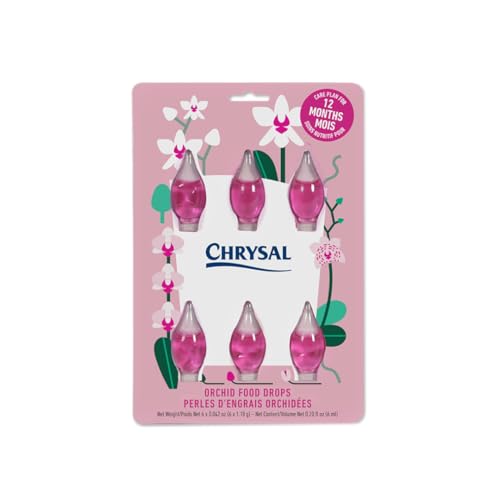
Chrysal Orchid Flower Food Drops: Keep your orchids healthy with our 12-month guaranteed care plan. This plant feed for orchids creates added value for pot plants and gives the retailer extra marketing opportunities in store.
Water Weekly and Feed Monthly: Your After-Bloom Routine
With your spike decision made, you’ll now settle into the steady rhythm of post-bloom maintenance that rebuilds your Phalaenopsis’s reserves for its next flowering display. Watering remains your anchor, weekly sessions that saturate the orchid bark until water drains freely, preventing the root rot that threatens recovery.
Your fertilizer strategy shifts during this rest period. You’ll apply half-strength orchid fertilizer monthly, suspending applications entirely if secondary spikes emerge.
This measured approach supports several key outcomes:
- Replenishing depleted energy stores
- Encouraging robust foliage development
- Maintaining root system vigor
- Preparing metabolic pathways for successful re-bloom
Consistency matters more than intensity. You’ll find these uncomplicated rhythms, maintained through 8–12 weeks of rest, position your plant to initiate the next bloom cycle when temperature and light signals align, typically as autumn nights lengthen.
Recommended Products

Reduce Hand Strain: These micro tip snips are made to reduces hand fatigue which makes them great for those with arthritis, carpal tunnel, hand or wrist issues; Comfortable “grip” handles will make it easy to work for long-time use without making you feel hand pain

Well-Designed & Easy-to-Use: These gardening scissors are built spring-loaded so that they automatically push themselves open without you having to do the work, significantly reducing hand fatigue

Curved Blades: Be note that the blades of blue color pruner is bent which is specially designed not defective item; curved blades help to avoid unexpected cuts to plants; When you prune plants, you can avoid all of the flowers or whatever it's not going to cut but just get what you need
Repot When Roots Show: Timing and Technique
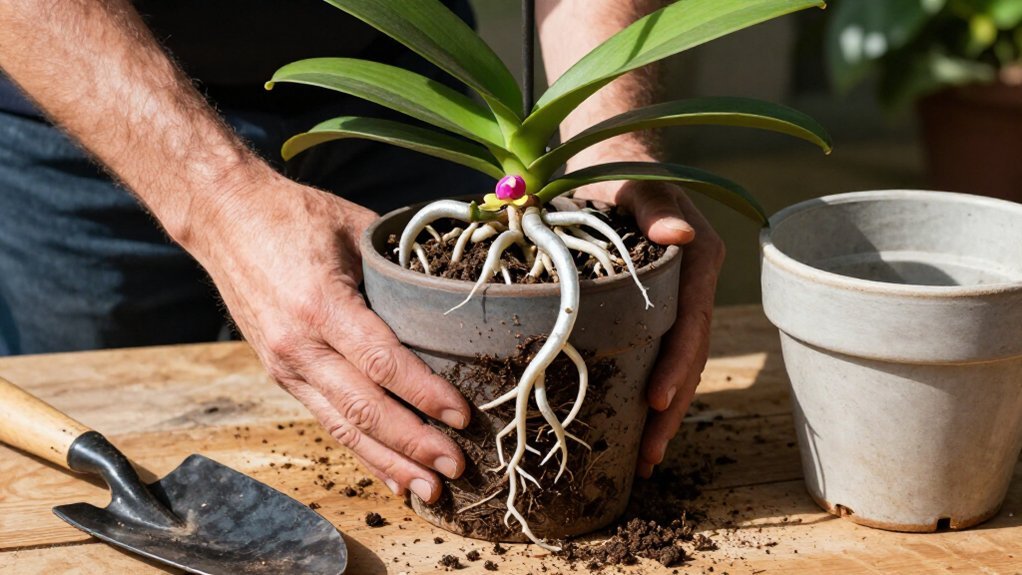
When should you repot your orchid? You should repot when roots exceed the orchid medium or become crowded, typically after bloom when the plant enters its recovery phase. Select a plastic grow pot one size larger, and choose orchid bark as your fresh orchid medium.
After bloom, you will remove spent potting mix and gently tease roots free before positioning your plant in its new container. Do not shake all roots off during transfer; keeping healthy roots intact supports immediate rebound. Water weekly after repotting, following fertilizer directions, to help roots establish in the new medium.
For Vanda orchids, or those mounted in a vase, you will avoid burying roots in medium and consider relocating rather than traditional repotting.
Recommended Products

【4 Pack Value Set】 Our 4 Pack 6 Inch Orchid Pots for Repotting provide a cost-effective solution for plant lovers. Perfect as Flower Pots for Indoor Plants or as liners for ceramic decorative planters

MULTI-PURPOSE FORMULA FOR ALL EPIPHYTIC ORCHIDS: Specially developed for growing a wide range of orchids, including Cattleyas, Phalaenopsis, Dendrobiums, Paphiopedilums, and Oncidiums
【4 Pack Value Set】 Our 4 Pack 5 Inch Orchid Pots for Repotting provide a cost-effective solution for plant lovers. Perfect as Flower Pots for Indoor Plants or as liners for ceramic decorative planters
When Will Your Orchid Rebloom? (4–18 Month Timeline)
How long must you wait before witnessing your orchid’s return to flower? Your Phalaenopsis rebloom typically unfolds within a 4–18 month timeline, shaped by how attentively you manage its resting period and environmental cues.
During this bloom cycle, your orchid stores energy for future spike development, so patience becomes essential. You can accelerate progress by optimizing four key conditions:
- Provide bright, indirect light for 12–14 hours daily
- Maintain nighttime temperatures between 55–65°F to trigger flowering hormones
- Keep humidity at 70–80% through misting or humidity trays
- Water consistently when the potting mix approaches dryness
Your pruning decisions also matter: cutting above a node may yield faster blooms from the existing stem, while removing the entire spike encourages fresh growth. With steady care, you’ll witness new spike development emerging from leaf axils, signaling your orchid’s readiness to dazzle once more.
Recommended Products

Made for Orchids – Specially formulated orchid fertilizer designed to support indoor orchid care and growth.

ORCHID PLANT FOOD MIST: Miracle-Gro Indoor Plant Food Mist for Orchids contains nutrients for colorful orchid flowers and more blooms (vs unfed when used as directed)

WONDERFULLY ORGANIC - Contains premium organic ingredients that naturally feeds and promotes strong roots, vibrant flowers, and overall better long term plant vigor. Light NPK ratio is ideal to use on all potted indoor and outdoor orchid types.
Orchid Hasn’t Rebloomed? Check Light, Temperature, and Humidity
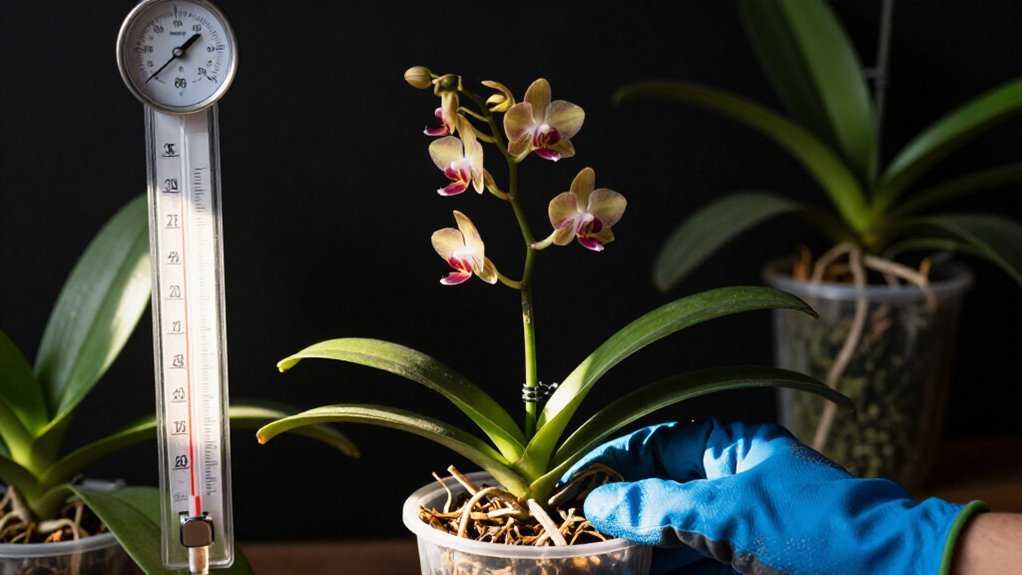
Why hasn’t your orchid produced new blooms despite months of patient waiting? You’re likely missing critical rebloom cues, specifically cooler nighttime temperatures between 55–65°F (13–18°C), which signal fall-like conditions that trigger new spikes, alongside bright indirect light to fuel photosynthesis.
Check your temperature settings carefully. You need daytime warmth around 75°F (24°C) without drafts from AC or vents that stress the plant and suppress flowering. Verify your humidity levels too, aiming for 70%–80% ambient moisture using a hygrometer, since low humidity damages roots and leaves essential for reblooming.
If your orchid sits in dim corners, relocate it to an east- or south-facing window with indirect light, rotating weekly for balanced growth. Monitor hydration closely, keeping roots plump without overwatering, because dehydration and moisture swings delay blooming indefinitely.
Recommended Products
BALANCED NUTRITION: With the perfect balance of nitrogen, phosphorus & potassium, this 20-20-20 orchid fertilizer promotes strong roots, lush foliage and beautiful blooms— all in the convenient form of orchid fertilizer spikes.

The information below is per-pack only

BLOOM DURING DORMANCY - Grow More's 6-30-30 NPK orchid plant fertilizer is rich in phosphorus (P) and potassium (K), igniting vibrant orchid blooms during the dormant season (September through February) by ripening bulbs for well-formed flower spikes while fostering robust roots.