
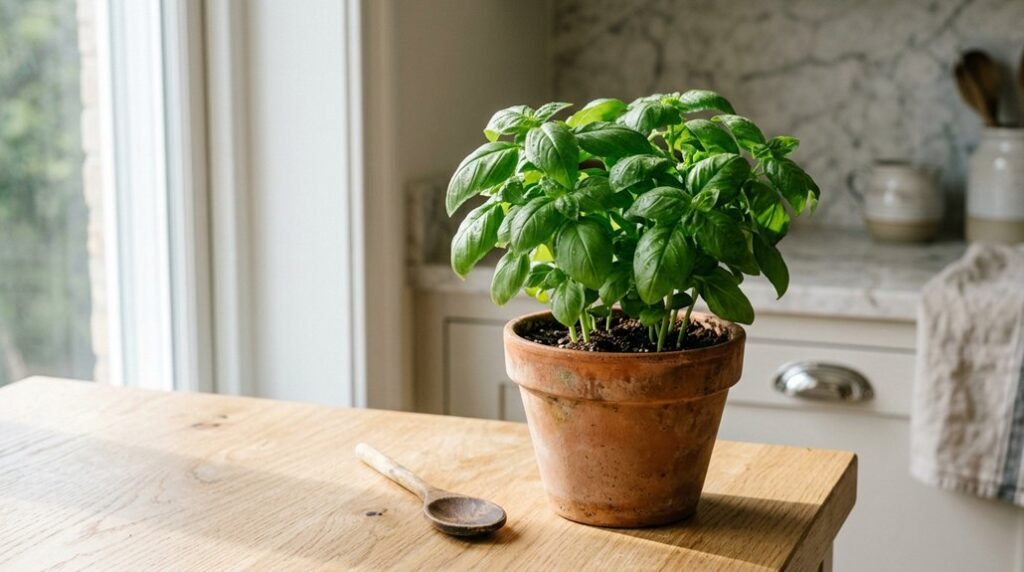


You want fresh basil year-round, and indoor cultivation makes this possible even when outdoor conditions fail you. Start by positioning your plants where they’ll receive six to eight hours of direct light daily, preferably from a south-facing window, or install full-spectrum grow lights rated at 3000–5000 lumens if natural light proves insufficient. Your choice of container matters significantly: select unglazed terracotta pots with drainage holes and oversized saucers, which permit airflow and prevent waterlogging. Water from below, filling the saucer and allowing the soil to wick moisture upward, then discard excess after twenty minutes to protect roots from rot. You’ll need to prune aggressively, pinching stems above leaf pairs when plants reach six inches tall, and remove flower buds immediately to redirect energy into leaf production. Keep a backup supply by rooting stem cuttings in water, since indoor basil faces constant threats from whiteflies, mold, and sudden decline. The difference between a thriving windowsill herb and a wilted disappointment comes down to these specific interventions, and the first one determines everything that follows.
Give Indoor Basil 6–8 Hours of Light or Strong Grow Lights
Where should you position your basil so it thrives rather than merely survives? You must meet basil light requirements by providing 6–8 hours of bright light duration daily, which forms the foundation of successful indoor basil care. You’ll find a south-facing window ideal, though many gardeners supplement with grow lights when natural light proves insufficient.
For optimal results, you should select grow lights combining cool and warm bulbs, creating a balanced spectrum that mimics natural conditions. Position your plant close to the light source, as light intensity diminishes rapidly with distance. You’ll need to rotate the plant periodically, ensuring even exposure on all sides and preventing leggy, uneven growth. Watch for pale leaves or stretched stems, signals that you’re not meeting the 6–8 hour threshold. Increase duration or adjust your setup, and you’ll maintain compact, flavorful foliage throughout the growing season.
Recommended Products

Premium Quality: These terra cotta pots are constructed of high-quality clay, which allows more water and air to circulate freely within the pots while yet maintaining their structural integrity. It's an excellent choice for cactus, succulents, and other plants that thrive in dry soil, and it's also appropriate for areas with lower temperatures. The high air permeability of the pot walls helps the soil to dry out more quickly

Plant Pots / Flower Pots - Invest in a beautiful garden to harvest the seeds of love, with the set of 5 pots for indoor or outdoor plants
Bottom-Water to Prevent Root Rot and Overwatering
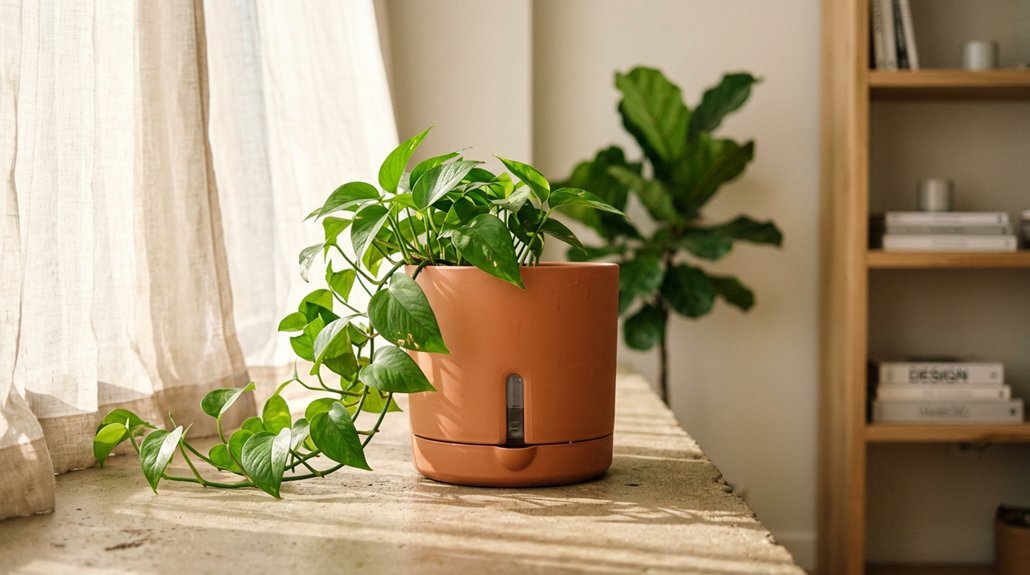
After you’ve initially potted your basil in a container with adequate drainage holes, you’ll need to establish a careful rhythm. Bottom-watering protects your plant from root rot, which thrives when soil stays soggy near the surface. You’ll pour water into the saucer instead of over the leaves, letting the roots drink upward through the drainage holes.
This method gives you precise moisture balance without guesswork. Always check that the top inch of soil feels dry before saucer watering again, since overwatering kills more indoor basil than underwatering. Watch for white, fuzzy mold, remove it promptly, and let the surface dry for several days before resuming your schedule. With consistent bottom-watering, you’ll keep roots healthy and oxygenated.
Recommended Products
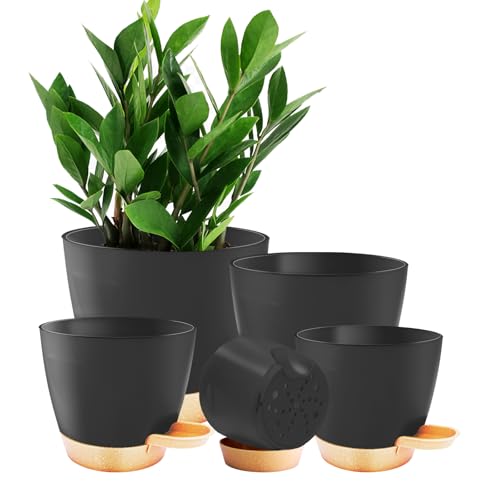
SELF-WATERING MADE SIMPLE: Water from the bottom tray and let the soil wick up exactly what it needs - so even first-time plant parents can water less often and avoid overwatering or root rot.

【PlANT SAUCER VLUE】Bleuhome plant saucer 6 inch small, 6 packs black plant drainage tray, The tray size of each Flower pot trays is 6.3" at the top and 4.7" from bottom and it is 1.1" deep, suitable for planters with bottom diameter less than 4.7 inches. Plant Trays for Planter 4"/5"/6". Under plant water drip tray for planter pot.

Measure Before Buying: Top: 15" x 6.12"; Bottom: 14" x 5.4"; Height: 1.18". Please measure your planter's bottom dimensions before buying for the best fit. Ideal for windowsills, narrow planters, and small pots
Pick a Terracotta Pot With Drainage and Oversized Saucer
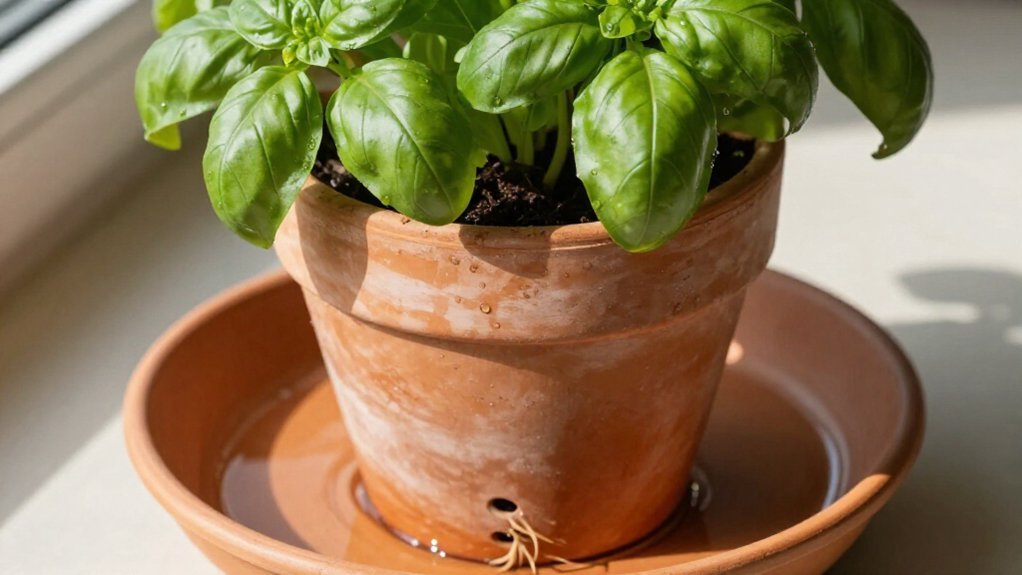
Why does your basil keep wilting despite faithful watering? You’ve likely trapped the roots in soggy soil, and proper water management demands the right container from the start. Select a terracotta pot with a drainage hole, because this porous material breathes, allowing roots to access oxygen while preventing the saturation that kills indoor basil care attempts. Pair this with an oversized saucer, two to three sizes larger than your pot, crafted from water-impermeable material, not terracotta itself, which would wick moisture away. Keep that saucer filled with water daily, and after your basil establishes roots, you’ll bottom-water exclusively, letting the plant drink what it needs. This drainage system eliminates guesswork, protects against root rot, and creates the steady hydration that keeps Genovese and Thai basil thriving through dry winter air.
Recommended Products

NOTE: The product stand needs to be pressed down by the flower pot to be stable. Not wireless style. 2 Installation Methods: Specially designed plant light for indoor plants, which can be inserted in the soil or stand for lighting.Unique and easy to assemble and disassemble.

FULL SPECTRUM & NATURAL LIGHT: A19 full spectrum grow light appears 4000K white to eyes but has a red/blue light spectrum. Same as natural sun shine, perfect for tomatoes, cucumbers, peppers, leafy greens and herbs at all growth stages.

214 Full-Spectrum LEDs: Featuring one light head with 214 high-performance LEDs, this grow light delivers a broad 380–780 nm full spectrum that closely mimics natural sunlight. It provides bright, uniform illumination to support efficient photosynthesis and healthy plant growth. Especially suitable for seed starting and seedling development, it is an ideal supplemental light source for indoor plants.
Pinch and Prune Early for Bushy, Full Growth
How do you transform a spindly seedling into a dense, harvest-ready plant? You master basil pruning from day one, because pinching transforms lanky stems into thriving, bushy growth that fills your kitchen with fragrance and flavor.
Start pinching when your plant reaches 4–6 inches tall. Grab sharp kitchen scissors and snip the topmost stems just above a leaf pair. This single cut redirects energy sideways, forcing dormant buds to explode into new branches.
For successful indoor care, follow this routine:
- Pinch stem tips at 4–6 inches to trigger side shoots and fuller form
- Practice harvesting leaves from stem tips, never single leaves, to sustain continuous branching
- Prune regularly through late summer, using clean scissors to prevent stem damage and staining
You’ll extend productivity and enjoy abundant harvests all season.
Recommended Products
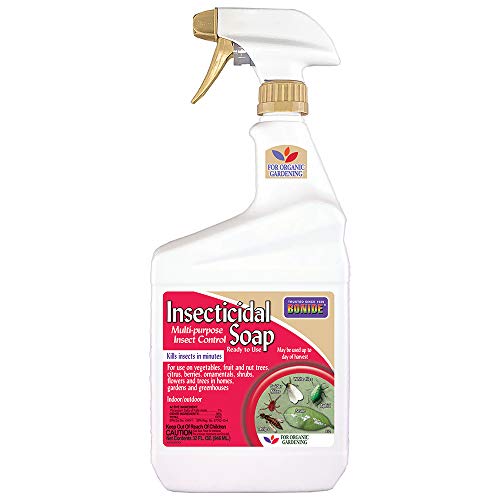
Captain Jack's Insecticidal Super Soap controls species of adelgid, ant, aphid, borer, caterpillar, spider mite, cricket, chinch bug, weevil, fly, thrip, and more

INDOOR & OUTDOOR HOUSEPLANT CARE: Houseplant Insect & Mite Control provides insect control, plant mite control, and disease control all in one; Use to protect houseplants, flowers, and herbs indoors and outdoors

KILLS INSECTS FAST: Organics Brand Houseplant Insect Killer provides quick control of pests in minutes, including Aphids, Mealybugs, Scale Insects, Whiteflies, Spider Mites, and other listed pests
Remove Flower Buds Immediately to Extend Leaf Production
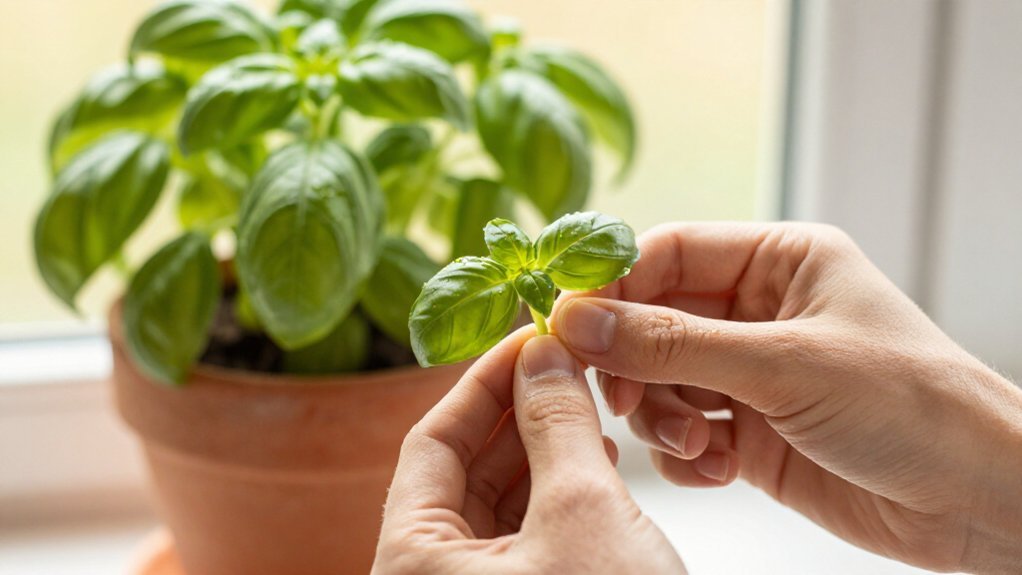
You’ve mastered the art of pinching for bushy growth, but your basil still faces one inevitable threat that can undo all your careful work. Flowering signals your plant’s shift toward seed production, which diverts energy away from leaf growth and shortens your harvests. You must remove flower buds immediately when they appear, pinching them off at the stem before they open. This simple act keeps your basil focused on producing the flavorful leaves you want. Combine this with regular pruning just above a leaf node, and you’ll encourage two new stems to emerge from each cut. Harvest leaves from top stems once they reach six to eight inches tall, sustaining vigorous production. Stay vigilant, checking your plant every few days, and you’ll extend your indoor basil’s productive life significantly.
Recommended Products

✨ Unique Artistic Design & Complete Set: Each set includes two beautifully embossed planters featuring charming forest animal scenes (Fox with Rabbit, Owl with Bear). They tell a story and add a touch of nature's magic to your home or garden decor.

【What You Get】 6 pack of 6 inch high-fired terracotta pots, 6 plastic saucers, and 6 pot meshes. Terra cotta pot dimensions: 6” (top diameter) x 5.3” (height) x 3.8” (base diameter). Saucer dimensions: 5.2” (top diameter) x 1” (height) x 4.6” (base diameter). Flower pot hole conical mesh pad: 2.9”(diameter )* 2.1”(height) – all designed for seamless compatibility.
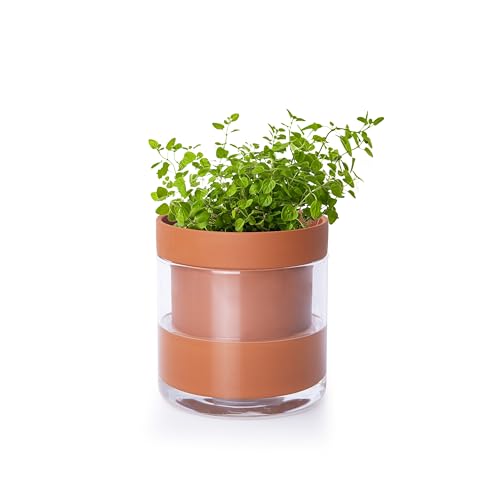
Self-Watering System: The bottom quarter of the terracotta pot is unglazed, allowing plants to absorb water through the pot walls.
Propagate Basil Cuttings as Insurance Against Loss
You can safeguard your indoor basil collection by mastering two foundational propagation techniques: water rooting and strategic stem cutting selection. First, you’ll snip 4 to 6 inch sections from healthy, non-flowering Genovese or Thai basil stems, ensuring each cutting retains at least four nodes where leaves emerge, then you’ll position these cuttings in clear glass containers filled with room-temperature water, maintaining levels above the lower nodes while refreshing every 72 hours to prevent bacterial colonization. Within 7 to 14 days, when white roots reach 2 inches in length, you’ll transplant these water-rooted specimens into 4 inch pots containing well-draining potting mix, thereby establishing redundant plants that insulate you against sudden losses from pests, disease, or environmental stress.
Recommended Products

Plant Saucer Value - The plant tray are specially made of thick and strong plastic. This package includes 6 pack of 5 inch plant saucers, Each flower pot saucer measures 5.2" at the top and 4.2" at the bottom, it is 1.0" deep great for multiple different uses.

🌿 【Self-Watering Feature】The Fielda 8/7/6.5/6/5 Inch Plastic Planter comes with a built-in self-watering system that uses absorbent cotton wicks to draw water from the bottom tray into the planter. This ensures your plants stay hydrated with less effort, saving you from frequent watering. Whether you're a busy gardening enthusiast or away for long periods, you can easily maintain your plants' moisture balance, ensuring they get the right amount of water and nutrients.
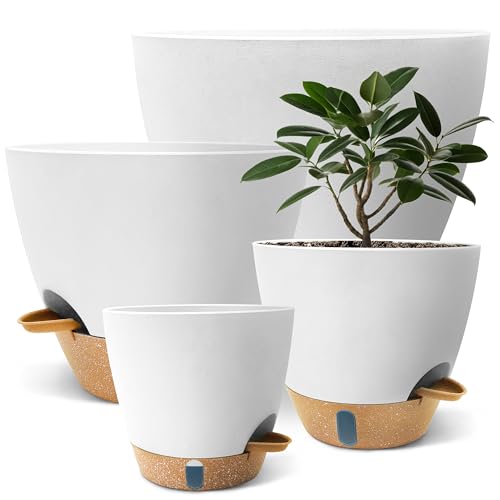
【Visual Water Window】Our unique visual water level window can display accurate water levels without lifting the flowerpot, and check the moisture level within 3 seconds, bidding farewell to water anxiety.
Water Rooting Method
Where might you turn when your indoor basil begins to falter during the stressful transition from outdoor summer abundance to heated winter rooms? You turn to water rooting, a reliable technique that transforms healthy basil cuttings into rooted insurance against total loss.
This method of rooting in water requires minimal equipment, yet delivers maximum security for your indoor basil care routine. You’ll select vigorous stems, place them in clean containers, and watch nature work.
Follow these essential steps for success:
- Refresh water every two to three days to prevent stagnation and encourage robust root development.
- Maintain consistent water levels, ensuring stems remain submerged without drowning emerging growth.
- Begin transplanting rooted cuttings once roots reach two inches, moving them into quality potting soil.
Your expanded basil supply awaits.
Taking Stem Cuttings
How might you safeguard your indoor basil against the inevitable setbacks of winter growing conditions? You’ll take basil cuttings from healthy, non-woody stems, snipping just below a leaf node to encourage rooting. This propagation method preserves your original plant while providing insurance against loss during indoor transition or stress.
Place your cuttings in water under a grow light, where they’ll root within days to weeks. Once established, transplant them into well-drained soil, either individually or grouped with other cuttings. This approach expands your basil supply and prepares plants for the next growing season. Note that parsley roots similarly, though coriander proves less reliable through this method. With consistent indoor care, your propagated basil cuttings ensure continuous harvests regardless of seasonal challenges.
Rescue Drooping, Pest-Infested, or Moldy Basil
Why does your once-vigorous Genovese basil suddenly slump over its pot, its leaves speckled with tiny invaders or fuzzy with gray mold? When you’re growing basil indoors, drooping basil often signals inadequate light, so you’ll want to provide 6–8 hours of bright direct sun or supplement with a cool plus warm spectrum grow light.
- Check your watering habits, since excess moisture causes root rot; you’ll keep a saucer for bottom-watering, but let topsoil dry before refilling from below.
- Combat pests and mold by manually removing insects, deploying sticky traps or insecticidal soap, and increasing airflow to suppress whiteflies and fungal pressure.
- Initiate recovery propagation by cutting healthy stems, rooting them in water, and adjusting light and moisture to establish vigorous new plants while you monitor soil diligently.
Recommended Products
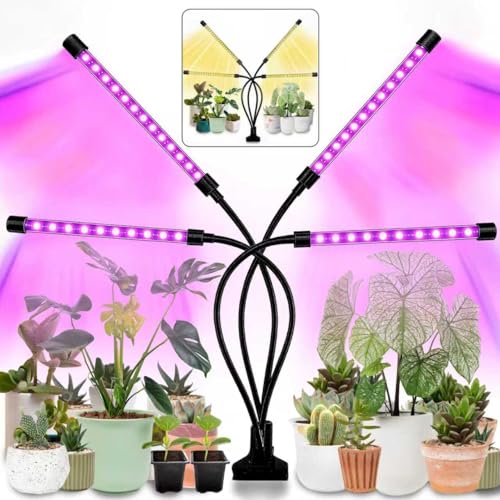
🌻Efficient LED Combination: This LED lamp has grow lights made up of 80 efficient growing LEDs ( 32 red lights, 12 blue lights,20 yellow lights and 16 white lights). It meets the conditions of plant growth without sunlight. 1--Full Spectrum(380nm-800nm): Suitable for all plants to root and sprout. 2--Red(660nm)+BLUE(460nm) Spectrum: for blooming and fruits. 3--Red+Blue+Full Spectrum: A mix of Red+Blue+Warm White is best to fuel the growth of your plants.
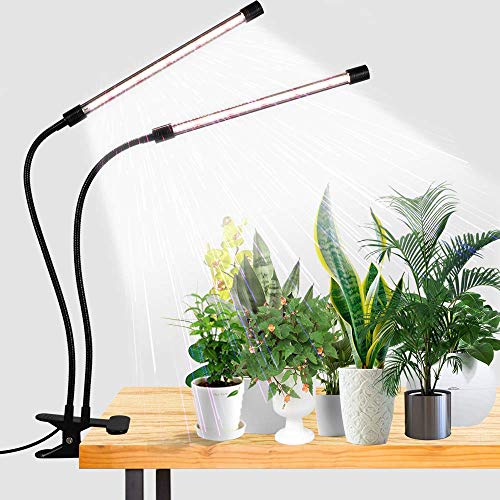
6000K White Light - equipped with 10 Red + 74 White LEDs, this growing Lamp is similar to the full-spectrum sunlight at noon,that is professionally designed for indoor garden plants.Moreover, its color rendering index is as high as 95, the light is soft and flicker-free, which is very suitable for reading lamp

Built-In Auto Timer & 4-Level Dimmer, No External Timer Needed. DOMMIA smart controller: 6/12/16H auto cycle timer, 4 brightness levels (25%-100%), power-loss memory resumes your last setting. Unlike typical T5 tube lights needing separate timers with one brightness, everything is built into one USB-powered controller. Set it and forget it