


Like Daedalus fastening wings with wax and feather, you face a choice that demands both daring and precision when anchoring timber to your home’s bones. You’ll need to weigh structural loads, drainage planes, and local code before a single screw turns. The ledger board, that critical spine spanning your wall studs, must seat flush yet breathe, for trapped moisture rots even pressure-treated southern yellow pine rated for ground contact in USDA zones 5 through 8. Three measured phases stand between you and shade: waterproofing and bolting, post anchoring and beam setting, then bracing against wind shear. Each step carries consequences you cannot undo without scarred siding or worse, so the question isn’t whether you can build this, but whether you’ll build it right before the first storm tests your work.
Should You Attach a Pergola to Your House?
Why attach a pergola to your house when you could build it freestanding? You gain seamless indoor-outdoor flow and superior shade coverage, yet you must weigh the trade-offs carefully.
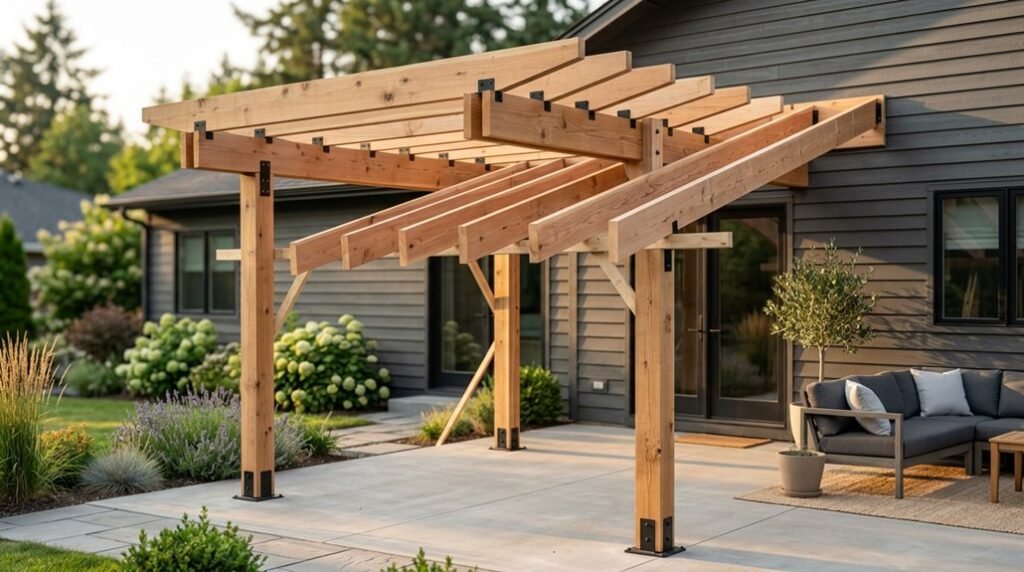
An attached pergola leverages your house wall for structural support, reducing beam spans and post locations while cutting material costs. You’ll secure a ledger board directly to wall studs with structural screws, creating rigid, wind-resistant framing that freestanding units cannot match. However, you face critical waterproofing demands: flashing integration, sealant application, and weatherproofing at the roof-wall junction prevent costly leaks.
Before committing, verify local permits, as many jurisdictions require engineered plans for house-attached structures. You must also confirm your wall studs align with load calculations, since masonry or inadequate framing compromises safety. The complexity rewards you with permanence, but only if you respect the details.
Recommended Products

Ledger Tape "Super Grip" rubberized asphalt adhesive is a self-sealer around deck screws that blocks a primary pathway for water infiltration into deck joists For use on...
Waterproof and Bolt the Ledger to Studs
Position your ledger board with precision, marking the bottom edge 105 inches up from your deck surface and locating every wall stud for secure fastening, because this horizontal beam will carry your entire pergola load while bridging the critical junction between house and outdoor structure. You’ll drive ½-inch lag screws through neoprene washers and shims into each stud, creating both stability and essential airflow clearance behind the ledger for moisture control. Mark a 13/16-inch notch on either side of center to guide rafter placement later. Once secured, apply silicone sealant along the wall-ledge interface, then cover with exterior sealing tape for complete waterproof protection. These layered barriers ensure water intrusion prevention, preserving both your home’s envelope and your pergola’s structural integrity for years of outdoor enjoyment.
Recommended Products

RUGGED AND DURABLE - SG TZH Outdoor Wood Screws made of Thickened rod by, high quality low carbon alloy steel special heat treatment process,which has higher corrosion resistance and anti-rust effect than ordinary screws, longer service life, not easy to damage, more solid, excellent mechanical properti.

Quantity & Size: You will get 1lb box (approx. 45pcs screws) #14 x 2-1/2" long lag screws concstruction wood screws, black, a T30 star bit
Quantity & Size: You will get 1lb box (approx. 38pcs screws) #14 x 3" long lag screws concstruction wood screws, black, a T30 star bit
Anchor Posts, Set the Beam, and Brace the Frame
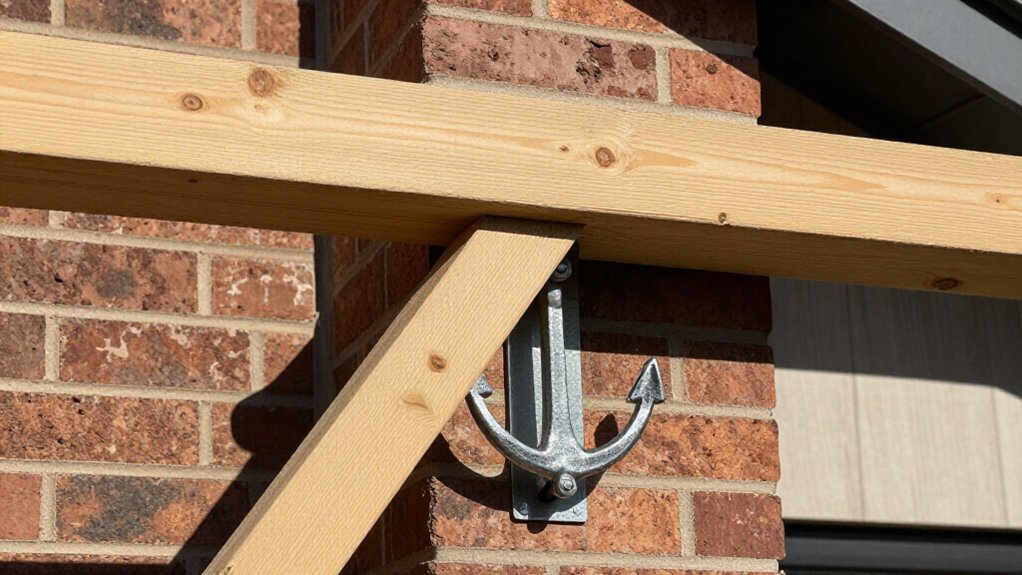
Where exactly should you place your posts so they’ll shoulder the full weight of your pergola without shifting, settling, or heaving through freeze-thaw cycles? You’ll anchor posts by digging holes at least 24 inches deep, deeper where frost penetrates, then set concrete posts and wait 24 hours for curing while keeping everything plumb.
Once your concrete sets, you’ll set the beam atop the posts, aligning centers before drilling ⅝-inch holes five inches deep, filling with epoxy, and inserting ½-inch threaded rod for unyielding connection. Meanwhile, you’ve already secured your ledger to the house using ½-inch lag screws spaced up to 16 inches apart with neoprene washers behind shims for drainage.
Finally, you’ll brace the frame with metal brackets at every rafter, centered over ledger notches, driving six galvanized nails each for superior wind resistance.
Recommended Products

CARBON STEEL MATERIAL: Our black joist anchor connectors are crafted from high-quality carbon steel Q235B, featuring a black powder coating for enhanced durability and corrosion resistance. This ensures that the connectors maintain stable performance over time and extend their service life, even in harsh environmental conditions.

Length: 2-3/8", Width: 2", Height: 5-1/4", Thickness: 5/32"

Engineered for USA Climates - ORIGLE pergola brackets are crafted with heavy-duty, corrosion-resistant steel and a premium black powder coating to withstand harsh weather conditions. Designed to snugly fit 4x4 post brackets (actual inner dimension: 3.58"x3.58"), these brackets eliminate gaps and ensure a rock-solid hold for your pergola’s structural integrity. Ideal for pergola kit projects in gardens, patios, or backyard retreats.