
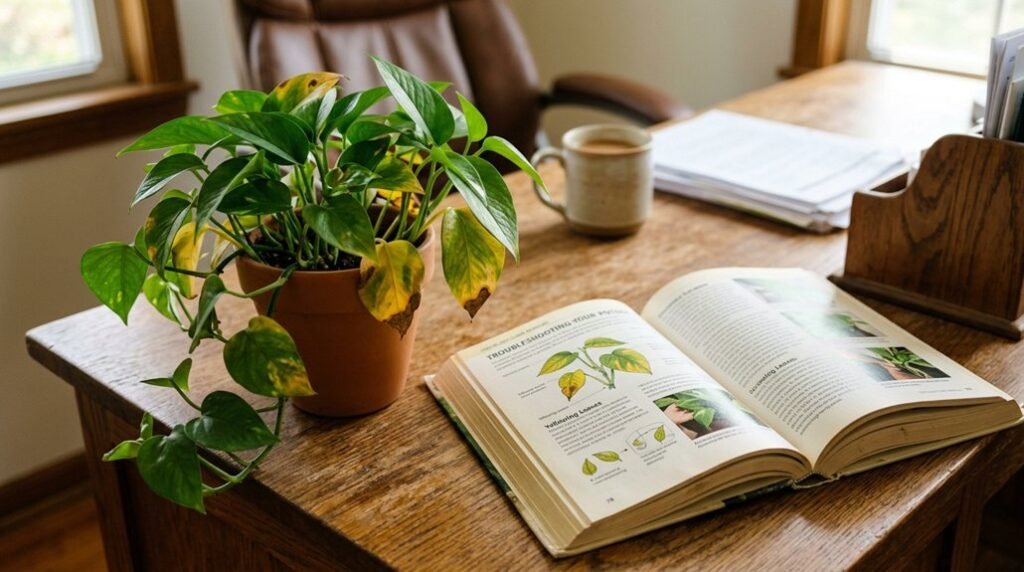


Your plant’s yellow leaves aren’t a death sentence, they’re diagnostic signals. You’ll need to check four critical systems: soil moisture, root health, light intensity, and nutrient availability, each revealing distinct patterns you can learn to read. When you spot pale, chlorotic foliage on your Monstera deliciosa or Ficus lyrata, start with the finger test, insert your index finger to the second knuckle, if you hit wet, sour-smelling soil at 2 inches depth, you’ve found your culprit. Root rot from overwatering claims more houseplants than any pest, yet underwatering produces nearly identical symptoms through salt accumulation, so you’ll distinguish them by texture, roots should be firm and white, not brown and mushy. pH imbalances between 5.5 and 7.0 lock out iron and nitrogen even when fertilizer sits in the pot, which explains why your weekly feeding hasn’t fixed the problem. The real question isn’t what’s wrong, it’s which of these eight interconnected factors you’ve actually checked, and whether you’re treating symptoms or causes.
Diagnose First: 4 Patterns That Explain Yellow Leaves
Why do your indoor plant’s leaves turn yellow? You’re witnessing your plant’s distress signal, and decoding the pattern saves you from guesswork. You’ll spot overwatering when older leaves yellow uniformly in wet soil, a warning that roots suffocate without oxygen. You’ll recognize lack of light through leggy, pale new growth with whole-leaf yellowing, especially in winter months when daylight drops below 10–12 hours. You’ll identify interveinal chlorosis when tissue between veins turns yellow while veins stay green, pointing to iron or manganese deficiency or pH lockout between 6.0–6.5 for most tropicals. Pattern 4 reveals mobile nutrient deficiencies, nitrogen chief among them, where yellowing starts on older leaves but advances to young growth despite otherwise healthy development. You’ll match symptoms to causes precisely, then intervene with confidence.
Recommended Products

Accurate Soil Moisture Detection: The XLUX Soil Moisture Meter can tell you if the soil deep inside your pot or garden is dry, moist or wet; whereas your eyes and fingers can only determine the moisture level of the soil surface. The probe is 5.5 inches (14 cm) longer than regular styles, allowing it to measure the soil moisture at the bottom of larger and deeper flower pots.

Accurate Soil Moisture Detection: The XLUX Soil Moisture Meter can tell you if the soil deep inside your pot or garden is dry, moist or wet; whereas your eyes and fingers can only determine the moisture level of the soil surface. The probe is 5.5 inches (14 cm) longer than regular styles, allowing it to measure the soil moisture at the bottom of larger and deeper flower pots.

【4 in 1 function】This is a 4-in-1 multifunctional soil tester.Our soil tester fastly to measure soil moisture, pH, temperature and sunlight to help you take better care of flowers and plants.You can know when you need to water your soil by measuring moisture and pH & Temperature value of the soil and sunlight level of plants with it.
Watering Mistakes: Over vs. Under and the Finger Test Fix
You’re likely watering incorrectly if your plant’s leaves are turning yellow, and distinguishing between overwatering and underwatering requires careful observation of specific symptoms. Overwatering suffocates roots, causing lower leaves to yellow and turn soft or limp, often accompanied by a sour, musty odor from the soil and potential rot at the plant’s base, while underwatering produces crispy brown edges on leaves that feel dry and papery, with the plant wilting despite bone-dry soil. Before adding any water, you’ll stick your finger 1–2 inches into the soil, or use a moisture meter, to confirm dryness, ensuring your container has drainage holes and contains a premium potting mix formulated for containers to prevent the waterlogging that kills root systems.
Recommended Products

【With Drain Holes and Mesh Pad】:Large drain holes are good for draining, and with leak-proof mesh pads, it keeps soil from running away, suitable for orchids, succulents, cacti, other flowers and green plants, perfect for home decoration.

【VERSATILE 3-POT SET 】- Includes large (6.75"D X 5.6"H), medium (5.6"D X 4.6"H), and small (4.2"D X 3.5"H) pots to accommodate various plant sizes, such as orchids, Iilies, bamboo, african violets, snake plants, peppermint plants, cactus, aloe and succulent plants.
【Exquisite Vintage Aged Design】This planters for indoor plants features rustic ice crack glaze patterns and hand-made brown smudges--unique distressed craftsmanship, which gives it such a unique, antique look, like something you’d find in an old times but it still feels fresh and modern. Due to the production process, the crack and brown smudges of each ceramic flower pot is unique.
The Overwatering Risk
Although you might assume yellow leaves mean your plant needs more water, overwatering is actually the most frequent culprit behind this distress signal, and recognizing it early can save your specimen from irreversible damage. You will notice constant damp soil moisture, a sour or musty smell, and soft, limp leaves that may show base stem rot when overwatering occurs. Your yellow leaves typically start on lower, older foliage and spread uniformly as root rot develops from saturating conditions.
Wilt can appear despite wet soil, signaling root oxygen deprivation that demands you halt watering immediately and inspect for damage. To remedy this, stop all irrigation, trim away rotted roots, and let the medium dry completely. Resume watering only when the top 1 to 2 inches of soil feel dry to your touch. Ensure your containers have proper drainage holes and use a well-draining potting mix to prevent persistent soggy conditions that promote further harm.
Underwatering Warning Signs
Where precisely does underwatering differ from its overwatering counterpart, and how can you distinguish one silent threat from another before lasting damage sets in? You will notice bone-dry soil pulling away from the pot’s edge, and your plant’s leaves yellowing from the edges inward, turning crispy and brown rather than soft and translucent.
When underwatering strikes, your plant wilts even though the pot feels light and parched. The soil moisture plummets, leaving the root zone unable to absorb nutrients. Quick-drying potting mixes, small containers, and arid indoor conditions accelerate this top-dry crisis.
Adjust your watering frequency before severe dehydration sets in. Soak thoroughly until water drains freely, or submerge the pot in a basin for 30 minutes to rehydrate stubborn, compacted soil. Check regularly, and you will prevent recurring yellowing leaves.
Finger Test Method
The difference between overwatering and underwatering often stumps even experienced growers, yet your fingertip holds the answer. You perform the finger test by inserting your index finger 1–2 inches into the potting mix, feeling for drainage/soil moisture that guides your next move.
When you detect consistently damp soil with a musty smell, you’re witnessing overwatering that suffocates roots and triggers yellow leaves. Stop watering immediately, and let the root health recover before the next irrigation.
Conversely, dry, crumbly top layers signal underwatering, where older leaves yellow first and edges turn crispy brown. You water only when the finger test confirms dryness, preventing root rot while maintaining adequate hydration.
If soil feels barely moist yet yellow leaves persist, examine drainage holes and consider pH imbalances beyond watering frequency.
Root-Bound or Rotting? Container Root Problems Explained
Why do your indoor plant’s leaves turn yellow despite proper watering and light? You’re likely dealing with a root-bound plant or rotting roots, two container problems that choke your plant’s ability to thrive. When roots circle tightly or compact, they block water, oxygen, and nutrients from reaching your foliage.
To diagnose, gently remove your plant from its container and examine the root system. Healthy roots appear pale to whitish-yellow and firm, while rotting roots turn mushy, dark, and emit a foul odor requiring immediate attention. For root-bound conditions, prune unhealthy sections and proceed with repotting into a larger container with adequate drainage holes. Select a fresh, well-draining potting mix containing wetting agents and water-holding crystals to prevent future compaction. These steps restore root function and stop yellowing.
Recommended Products

Focused on What You Need: Unlike liquid iron or ferrous sulfate 325mg supplement diluted with unnecessary vitamins, NexFerrous' vegan high potency iron supplement for women & men provides 150mg of pure, targeted iron to effectively address iron deficiency, your core health concern
CORRECTS IRON DEFICIENCY FAST – Provides 11% chelated iron (FeDTPA) to help restore healthy green foliage and address common iron deficiency symptoms such as yellow leaves, interveinal chlorosis, and reduced plant vigor.

20% Soluble Iron Plus 12% Sulfur: Single-ingredient ferrous sulfate heptahydrate (FeSO4-7H2O) delivers iron in the Fe2+ form plants take up directly, supporting chlorophyll production and green, vigorous foliage
Yellow Leaves Despite Fertilizer? Check Your Soil pH
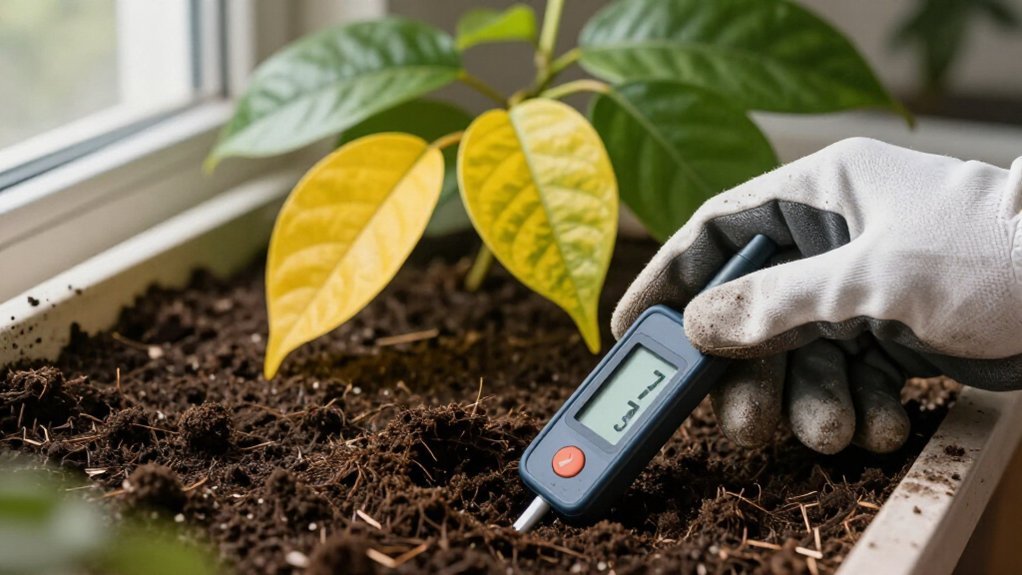
Your fertilizer won’t help if your soil pH is locking nutrients away, so you’ll need to understand how pH between 5.5 and 7.0 governs whether iron, manganese, and other essentials actually reach your plant’s roots. Grab a simple pH meter or test kit, since confirming your substrate’s acidity or alkalinity prevents you from wasting time and money on unnecessary feedings. Once you’ve identified a drift toward alkaline conditions, perhaps from hard tap water or aging potting mix, you can apply sulfur to lower pH or lime to raise it, then wait several weeks to see if that interveinal yellowing fades into healthy green growth.
Recommended Products


APPLICATION: RectorSeal root destroyer is formulated to kill growth of roots entering sewer systems through pipe joints
The pH-Nutrient Connection
One frustrating scenario every indoor gardener eventually faces is watching your pothos, fiddle-leaf fig, or peace lily develop yellow leaves even though you’ve been faithful with fertilizer applications. When pH drifts outside 5.5–7.0, nutrient availability plummets regardless of how much fertilizer you’ve added.
Your water quality plays a hidden role, as hard or bore water raises soil pH and salt buildup, locking out iron, manganese, and phosphorus. Inconsistent pH mimics multiple deficiencies simultaneously, creating confusing symptom patterns like interveinal chlorosis or tip burn that persist despite feeding.
Grab a soil pH test or meter to distinguish pH problems from true deficiencies. Once you’ve corrected pH through appropriate amendments, your subsequent fertilizer applications will finally deliver visible results.
- Test soil pH monthly, especially using alkaline water sources
- Flush salts monthly with distilled or rainwater to prevent pH creep
- Apply chelated iron only after confirming acidic pH range
- Expect 2–3 weeks for green growth after pH correction completes
Testing Your Soil pH
When yellow leaves persist despite your faithful fertilizing, the culprit often hides beneath the surface in your potting mix’s chemistry. You need pH testing to uncover what’s really happening, because a soil pH outside the ideal range, 6.0–7.0 for most indoor plants or 4.5–6.0 for acid-loving species like African violets or gardenias, locks out essential nutrients and triggers yellowing leaves even when fertilizer is present.
Grab a simple soil test kit or digital pH meter from your garden center, insert it two to three inches into moistened potting mix, and read the results within minutes. If you’re using hard tap water or bore water, you’re likely raising soil pH and salt content, which mimics deficiency symptoms and worsens nutrient uptake problems. Remember, pH fluctuations occur naturally as organic matter breaks down, so annual testing prevents surprises. Identifying pH imbalance through proper soil test procedures gives you the foundation for restoring access to locked nutrients and finally stopping that frustrating yellowing.
Fixing Imbalanced pH
Once you’ve confirmed your soil pH sits outside the 5.5–7.0 sweet spot, you’re ready to correct the chemistry that’s locking out nutrients and keeping those leaves yellow.
- Run a reliable soil pH test with a dedicated meter, since inaccurate readings waste your time and money
- Flush pots with distilled water to counter hard water impact, which raises pH and salt buildup
- Adjust acidic soil with dolomite lime, or lower alkaline soil with sulfur or diluted vinegar
- Re-test after two weeks, because pH imbalance masks true nutrient deficiencies and stalls fertilizer effectiveness
You’ll restore nutrient uptake and green foliage by fixing pH before dumping more fertilizer on the problem.
Read the Leaves: Pattern-Based Nutrient Deficiency Diagnosis
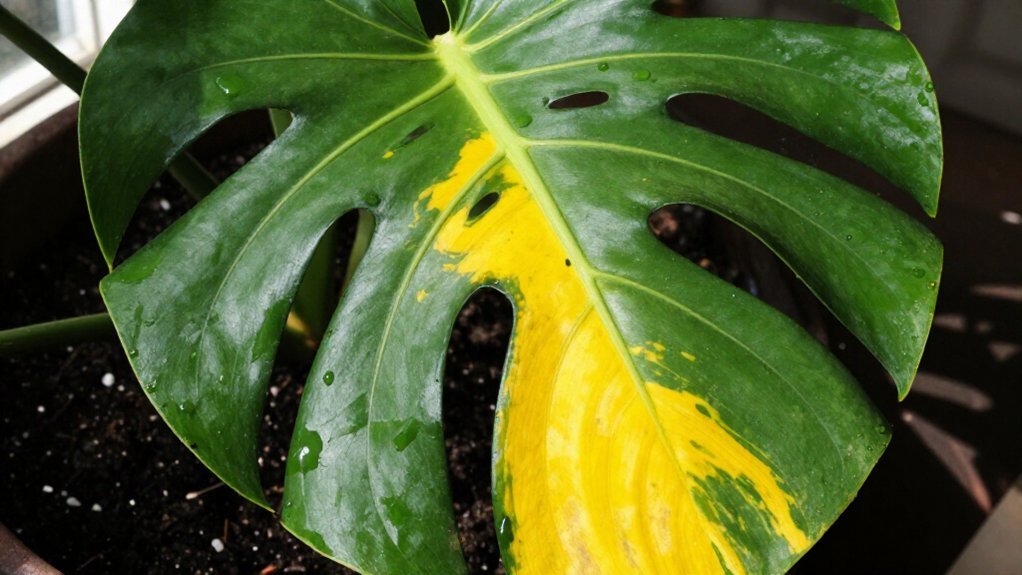
Where exactly do your plant’s leaves first turn yellow, and what does that pattern reveal about what’s missing from its diet? You’ll decode deficiency mysteries by tracking which leaves signal distress first, since nutrient mobility determines where symptoms appear.
Nitrogen, a mobile nutrient, abandons older leaves to fuel new growth, so you’ll spot uniform yellowing starting at the base. Contrast this with iron deficiency: you’ll see interveinal yellowing in young leaves while veins stay stubbornly green, a classic leaves pattern that screams immobile nutrient trouble.
Don’t rush to fertilize without checking pH, since locked iron mimics true deficiency even when nitrogen levels read adequate. You’ll confirm your diagnosis by testing soil pH, reviewing recent feeding schedules, and considering fresh potting mix when nutrients remain unavailable despite your corrections.
Recommended Products

NOTE: The product stand needs to be pressed down by the flower pot to be stable. Not wireless style. 2 Installation Methods: Specially designed plant light for indoor plants, which can be inserted in the soil or stand for lighting.Unique and easy to assemble and disassemble.
Elegant Faux Woodgrain Design: This halo grow light has a unique faux woodgrain design that complements any interior space. Compared with other plant lamps using bamboo materials, ours will not crack or fall off. Whether it’s used as a light for indoor plants or adding a stylish content to your home decor, this plant lamp is both practical and beautiful
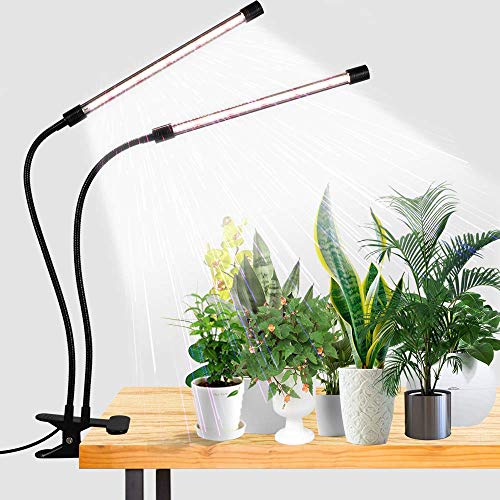
6000K White Light - equipped with 10 Red + 74 White LEDs, this growing Lamp is similar to the full-spectrum sunlight at noon,that is professionally designed for indoor garden plants.Moreover, its color rendering index is as high as 95, the light is soft and flicker-free, which is very suitable for reading lamp
Stop: Don’t Cut That Leaf (Unless You See This)
Your nutrient diagnosis is complete, but now you’re staring at those yellow leaves and wondering whether to grab your pruning shears. Don’t cut them yet. Those yellowing leaves still provide temporary life support while you correct the Nitrogen deficiency and restore nutrient balance.
- Keep yellowing leaves intact; they maintain photosynthetic surface area during recovery from overwatering or watering schedule adjustments
- Preserve foliage unless you spot disease signs like brown, mushy spots indicating infection
- Avoid premature removal, which creates wounds that invite pathogens and slow healing
- Use sterile snips only on infected tissue, cleaning tools between cuts to prevent cross-contamination
Wait for new growth before trimming. Your patience lets the plant redirect resources naturally while you address root causes.
Recommended Products

Accurate Soil Moisture Detection: The XLUX Soil Moisture Meter detects deep soil moisture in pots or gardens (dry/moist/wet), unlike eyes or fingers that only sense surface soil.
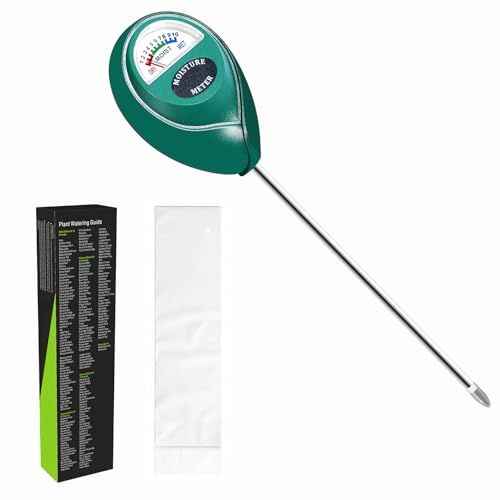
Trusted Since 2015: Become one of the many plant lovers who rely on the proven accuracy of XLUX. Established in 2015, our soil moisture meter has earned over 60,000+ verified ratings for its consistent performance. While many many newer brands come and go, we provide the long-term reliability and quality that American households have trusted for over a decade.
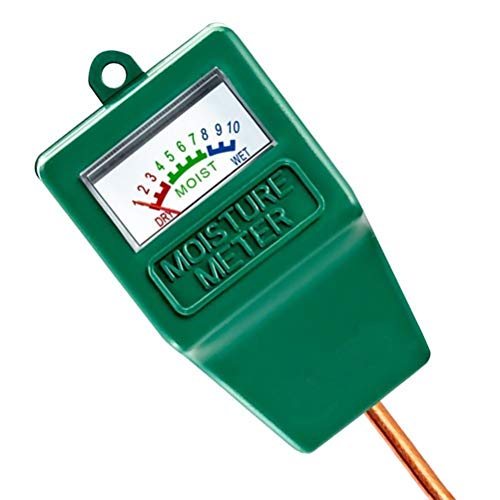
Soil Moisture Meter: This single probe soil moisture meter is specially designed for testing the moisture level in the soil, helps you decide whether the plants need water or not, helps to keep plants alive.
New Growth Is Talking: Here’s What It’s Saying About Fertilizer
Why does fresh foliage suddenly appear while those older leaves stay stubbornly yellow? You’re witnessing a classic mobile nutrient deficiency, specifically nitrogen, which moves from older tissue to fuel new growth.
When green new growth emerges alongside yellowing older leaves, your plant’s telling you fertilization is needed. Nitrogen’s mobility means your plant sacrifices mature leaves to prioritize developing ones. Don’t prune those yellowing leaves yet; they’re still photosynthesizing while you restore nutrient balance.
Apply a light, targeted fertilization and watch closely. If new leaves deepen in color within one to two weeks, you’ve correctly diagnosed the issue. However, if you suspect pH problems or root disease, address those first before feeding. Your plant’s new growth speaks clearly: when it arrives green, fertilize promptly, but always verify you’re solving a nutrient gap, not masking deeper trouble.
Recommended Products

Durable Ceramic Material: The ceramic pots for plants are made of high temperature firing, not easy to break and can be used for a long time. With good air permeability, it helps plant roots breathe and promotes healthy plant growth
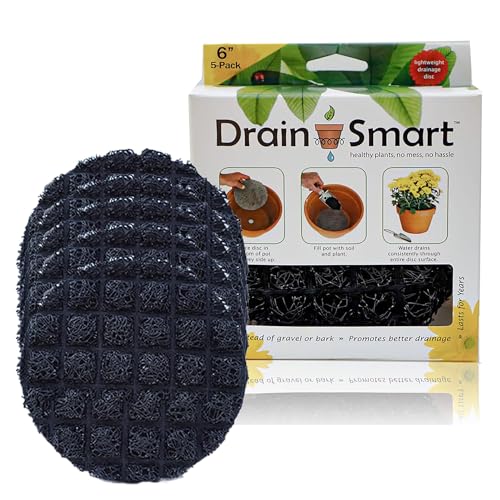
PLANT POT FILLER THAT REPLACES ROCKS & GRAVEL - Skip drainage rocks, gravel, and bark. Drain Smart is a clean, lightweight pot bottom filler that keeps drainage clear without the mess or added weight—so planting, repotting, and cleanup are easier.

【Multi Size Self Watering Planters for Indoor Plants】 Includes 12 inch, 10 inch, and 8 inch plant pots, perfect as large indoor planters for monstera, fiddle leaf fig, ZZ plant, and other houseplants.
Fast Results or Lasting Health? Choose Your Recovery Speed
How quickly do you want your plant back to full health, and are you willing to trade speed for stability? Fast recovery demands you tackle the most urgent threat first, usually overwatering that’s suffocating roots and causing yellowing. You restore oxygen flow by letting the top 1–2 inches of soil dry completely before watering again. If root health looks compromised, repot immediately into a well-draining mix to prevent further decline.
Speed or stability? Fast recovery means tackling overwatering first—let soil dry, then repot if roots are compromised.
For rapid visible improvement, you can:
- Flush accumulated salts with plain water to address potential nutrient deficiency
- Switch to lower-salt fertilizers that won’t stress damaged roots
- Position your plant in brighter, indirect light to stimulate new growth
- Verify drainage holes remain unobstructed to protect against future rot
Lasting health requires deeper fixes: adjusting pH, rebuilding soil structure, and establishing consistent moisture routines. Track your plant’s response over 2–4 weeks, watching for fresh green growth as your true indicator of recovery rather than temporary color shifts in older leaves.
Dead or Dormant? Signs Your Plant Won’t Recover
When you’re staring at yellowing leaves that refuse to perk up despite your best efforts, you need to determine whether your plant is simply resting or truly finished, because this distinction will save you from wasting time on hopeless cases or, worse, discarding a perfectly viable specimen.
Understanding dormant vs dead requires patience and observation. Dormant plants store energy in their roots and will resprout when you provide cooler temperatures, reduced watering, and minimal fertilizer. Scratch the stem gently; green tissue beneath indicates life.
However, persistent yellowing across multiple growing cycles signals trouble. Signs your plant won’t recover include completely brown, brittle tissue that feels hard and woody, with no green under the bark at leaf nodes. No new growth for 6-8 months after corrective care confirms irreversible decline.
Recommended Products

Fast-Acting Calcium: Provides a rapid calcium spray to plant tissues, ensuring stronger cell walls and healthy fruit development; Quick absorption formula helps stop...