


Most gardeners underestimate how much emitter spacing affects root development, yet this single decision determines whether your tomatoes thrive or struggle in July heat. You’ll map your beds with grid precision, spacing emitters at 12 inches for sandy soils, 18 for loamy, and 24 for clay, then calculate precise tubing runs from main lines to each plant’s root zone. Your backflow preventer becomes the critical gatekeeper between municipal supply and your irrigation network, protecting both from contamination while you branch lines with tees, punch holes, and secure 1/8-inch feeder tubing with clamps and end caps. The final test awaits: flushing debris, hunting leaks, and adjusting flow as plants mature, but one persistent error in this sequence will waste thousands of gallons annually.
Map Your Drip Irrigation Garden and Space Your Emitters
Where exactly does your garden need water, and how do you guarantee every tomato, blueberry bush, and zucchini plant receives precisely what it requires without waste? You map your drip irrigation garden first, marking each plant that needs watering.
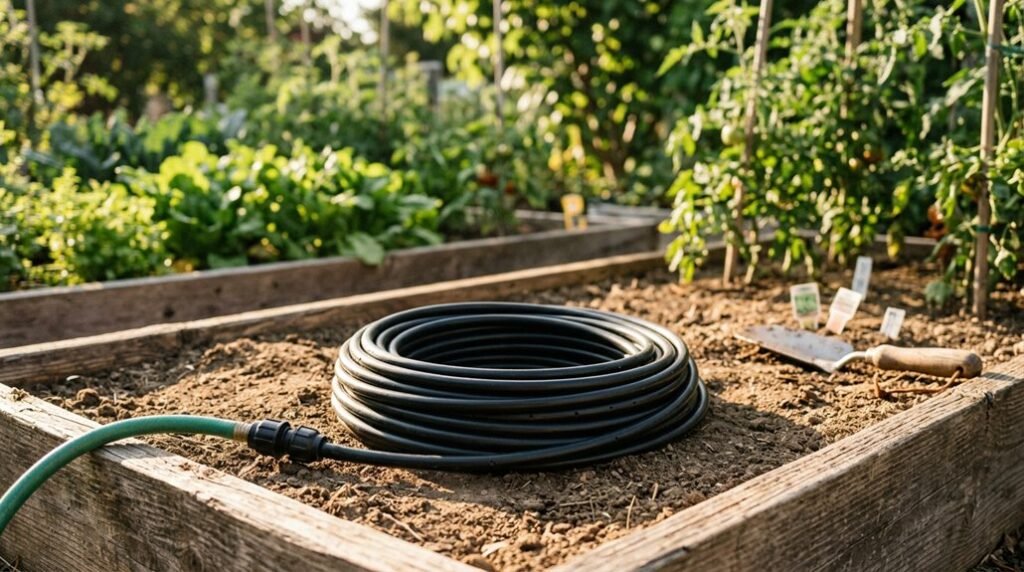
Plan hoses meticulously before installation, noting spacing between plants so every specimen gets its own emitter. You use a grid plan to position emitters correctly, adjusting for soil type: 12 inches apart in sandy soil, 18 inches in loamy soil, and 24 inches in clay. Determine hose lengths from plant distances, then network main hoses to create centralized flow paths through the drip lines.
Punch holes near each root zone, install feeder lines from branch lines to emitters, and ensure even distribution around every dripline. Every four to six months, flush your system by removing end caps and running water until clear, maintaining uniform emitter operation throughout your growing season.
Recommended Products

Works like soaker hose only better because it doesn’t clog and requires no maintenance
Works like soaker hose only better because it doesn’t clog and requires no maintenance
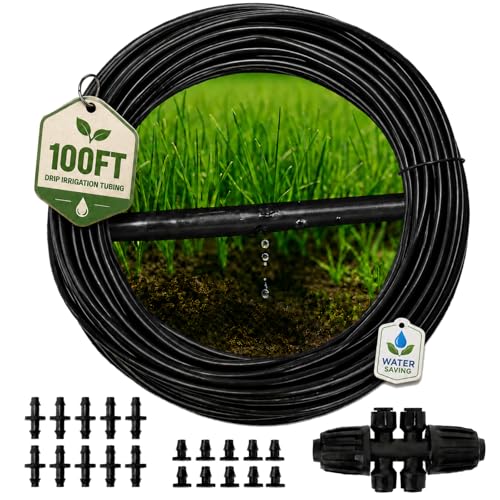
【Built-In Emitters, Less Assembly】 This 100 ft roll of 1/4" irrigation dripline tubing has 0.5 GPH emitters pre-installed every 6 inches, so separate drippers do not need to be added along the line. Cut, connect and route the tubing to build watering zones around your planting layout.
Connect Your Water Source With Backflow Protection
Your drip irrigation system begins at the faucet, where you’ll install a backflow preventer valve to safeguard your household drinking water from potential contamination. You’ll attach a hose adapter to your main line diameter, then connect the backflow preventer directly to the water source, establishing a reliable flow path into your irrigation system. Consider adding a 4-way hose splitter to manage multiple destinations and simplify turning water on or off to different lines. You’ll ensure the backflow preventer is wired securely into the main line before extending your distribution tubing toward the garden area. Inspect the assembly regularly for leaks and debris, maintaining proper protection and consistent flow throughout your growing season.
Recommended Products

SECURE TUBING IN PLACE: Secures supply tubing where you want them; keeps emitters near the root of plant for optimal growth and health; Ideal for use in flower and vegetable gardens; around trees and shrubs, and container plants

1/4 INCH IRRIGATION TUBING: Create a feeder line that supplies water to a low-flow, drip-watering device, or use as a main line in a small drip irrigation system; for trees, shrubs, flower beds, groundcover, vegetable gardens, and planters

【PVC Tube】- 1/8"(3mm) ID x 5/32"(4mm) OD, 33ft length, 0.5mm Wall Thickness
Run Branch Lines and Check Water Flow to Every Plant
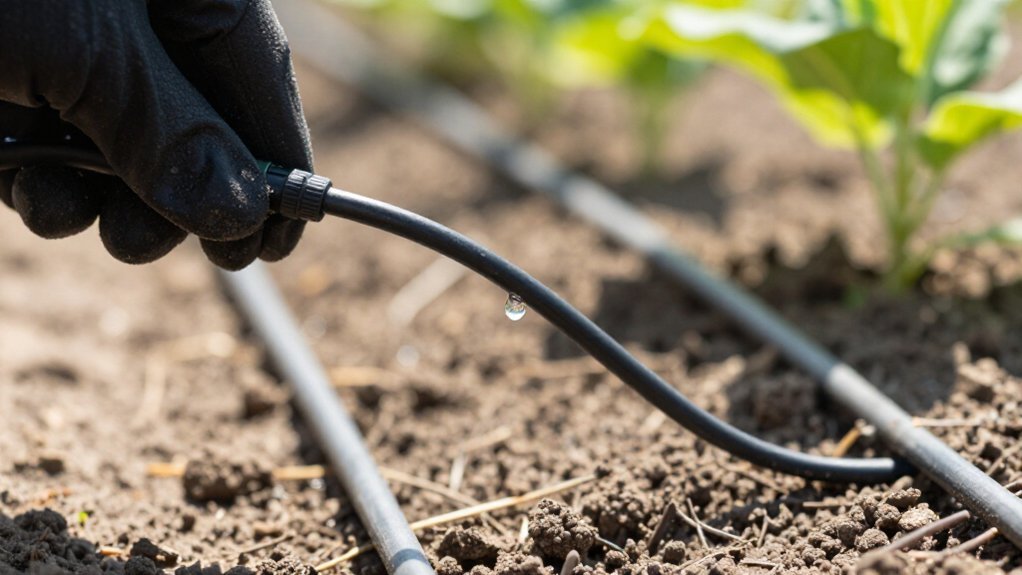
How do you guarantee every tomato, pepper, and zucchini in your garden receives precisely the hydration it needs? You run branch lines and verify water flow to every plant.
- Install tees in the main line to create branch lines, securing each with band clamps, and cut line extensions long enough to reach every tee.
- Punch holes in the drip line at each plant location and place emitters near the plant base to ensure targeted watering.
- Use 1/8-inch emitter tubing as feeder lines connected to branch line emitters, ending with emitters to deliver water to each plant.
- Cap the ends of drip lines with end caps and secure with band clamps, then flush the system every 4–6 months by removing end caps and running water until clear.
After setup, regularly inspect ends and fittings for leaks, replace clogged emitters, and plan adjustments as plants grow to maintain uniform distribution.
Recommended Products

#1 commercial-grade irrigation spray head brand in the world

Prevent impure water from flowing in reverse and contaminating the clean water supply; Connect to the water source such as a hose bibb or faucet

Connects 1/2" Dip tubing to any 3/4" male pipe threaded faucet or garden hose