
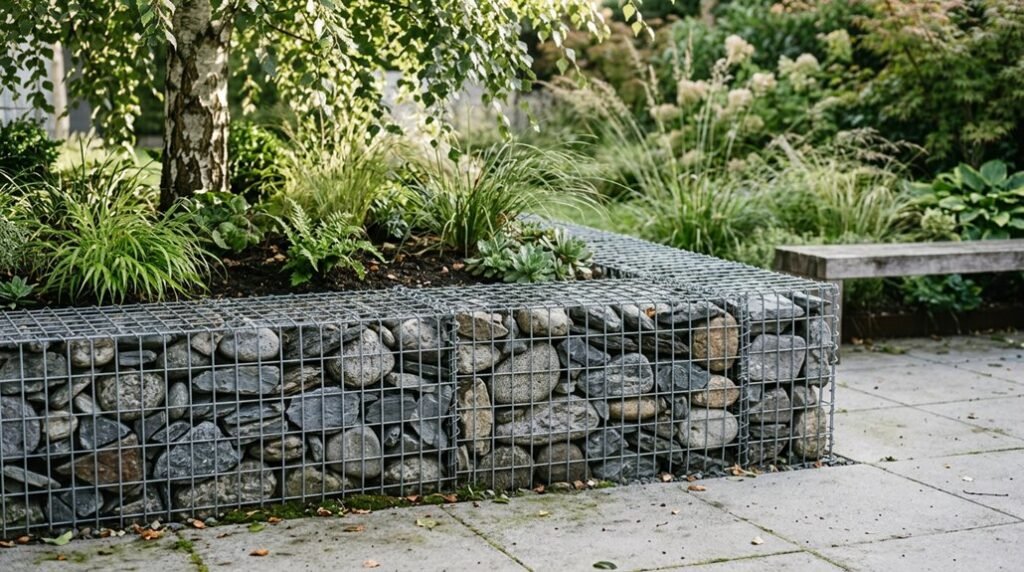


Most gardeners underestimate how critical soil structure is to rock garden success, yet sandy, sharply drained substrates prevent the root rot that kills 60% of alpine plantings in their first season. You’ll select a site with six hours of full sun and natural slope, then excavate 12–18 inches deep, incorporating one part grit and one part sharp sand to native soil for that essential porous texture. Source stones from local quarries—limestone for alkaline-loving Saxifraga, granite for acid-preferring Dianthus—so your palette harmonizes with regional geology and existing hardscaping. Your keystones anchor the composition; bury one-third of their mass below grade, angling strata lines toward the slope’s fall line for geological authenticity and frost heave resistance. Smaller rocks bridge gaps between these anchors, forming pockets 8–12 inches wide where you’ll place compacted soil mixes behind retaining stones. Top edges deserve natural crevices, those narrow fissures where Sempervivum arachnoideum colonizes vertical faces. After planting grouped specimens—you’d cluster three to five identical cultivars for visual impact—mulch with 3–8mm horticultural grit to reflect heat and deter slugs. Water thoroughly at establishment, then allow sharp dry-downs that mimic alpine scree conditions, knowing you’ve built a system that outlives trendier garden fashions.
Choose the Right Site for Your Rock Garden
Where exactly will your rock garden thrive? You’ll want to scout an open site, one that stays sun-exposed until at least 3 pm, since alpine and drought-tolerant plants demand sustained light and air circulation. Avoid spots where trees or buildings cast shadows, as limited sun weakens compact cultivars like ‘Blue Star’ juniper (Juniperus squamata, USDA zones 4-8).
Next, you’ll assess drainage and slope together. A natural incline, even a modest 5-10 degree slope, channels water away from plant crowns and creates pleasing viewing angles from below. If your yard lacks topography, you’ll build bermed beds 12-18 inches high. You’ll also integrate the site with its surroundings, positioning rocks so they appear native to the landscape rather than imposed upon it.
Recommended Products

Improves the look of house plants by covering soil.

Improves the look of house plants by Covering soil.

TOPZEA 12 lbs tiny natural black lava gravel feature porous surface, allows water and air running through, solves the drainage problem, prevents house plants rot while maintaining slight moisture and necessary nutrition to supply plant growing
Clear Weeds and Amend Soil for Drainage
You’ll need to thoroughly clear your chosen site of all perennial weeds, including persistent invaders like ground elder, which may require digging out root systems and relocating existing plants over a growing season or even a full year to guarantee complete eradication. Once your bed is weed-free, you’ll improve drainage by digging deeply to expose any clay layers at 3–4 feet, then incorporating generous quantities of sharp grit and sharp sand to create the gritty, aerated soil structure that alpine plants demand for healthy root development. Consider shaping your bed into a slope or raised formation to encourage water movement away from planting pockets, and you’ll finish by mulching with smaller stones or gravel to suppress future weed competition while maintaining the free-draining conditions essential for success in USDA zones 5–8.
Recommended Products

Natural & Reusable Coarse Sand: Our river sand in 3-5mm sizes, made of durable natural silica with no dyes or artificial additives. Washes clean without fading, perfect for long-term use in potting, crafts, and decor.

【Premium Quality】Our gold sand is made of sand gravel full of silica and oxygen, natural and odorless. Safe to use in planting, fish breeding and home decoration.

Perfect Drainage: Mix with potting soil to aerate the soil, the silica grit is great for increasing the draining properties of compacted soil. It also help lock in water and other nutrients in the succulent soil and help stabilize the newly planted succulent pots.
Remove Perennial Weeds
Before you lay a single stone, you must commit to the unglamorous work of eradicating perennial weeds, a process that demands roughly one full year of vigilance, particularly if you’re contending with aggressive spreaders like ground elder (Aegopodium podagraria), which will resurge from root fragments no larger than a fingernail. You’ll need to relocate existing plants temporarily and extract any buried obstacles, such as old tree stumps, to establish your weed-free bed properly. Your weed removal strategy must incorporate intensive digging, systematically breaking apart the soil to expose and extract every viable root section, since incomplete removal guarantees resurgence within weeks. Once you’ve achieved bare soil, you’ll introduce soil amendments, working compost and grit into the top 12 inches to create favorable conditions for subsequent planting.
Improve Soil Drainage
With your bed cleared of perennial weeds and root fragments, you’re ready to address the single greatest threat to alpine plant survival: poor drainage.
Dig deep to expose any clay layers lurking beneath your site, then craft your solution through strategic amendment. You’ll transform heavy earth into the friable, fast-draining medium these plants demand.
- Excavate 3–4 feet to assess underlying clay and design your slope for optimal water movement
- Blend copious grit and sharp sand throughout the profile to shatter compaction and accelerate drainage
- Pack the base with sandy soil, ensuring water never pools around vulnerable roots
- Install raised beds where clay persists or grade changes prove insufficient
- Engineer soil pockets that anchor rocks securely yet remain light enough for delicate root systems
Find Local Stones That Match Your Garden’s Colors
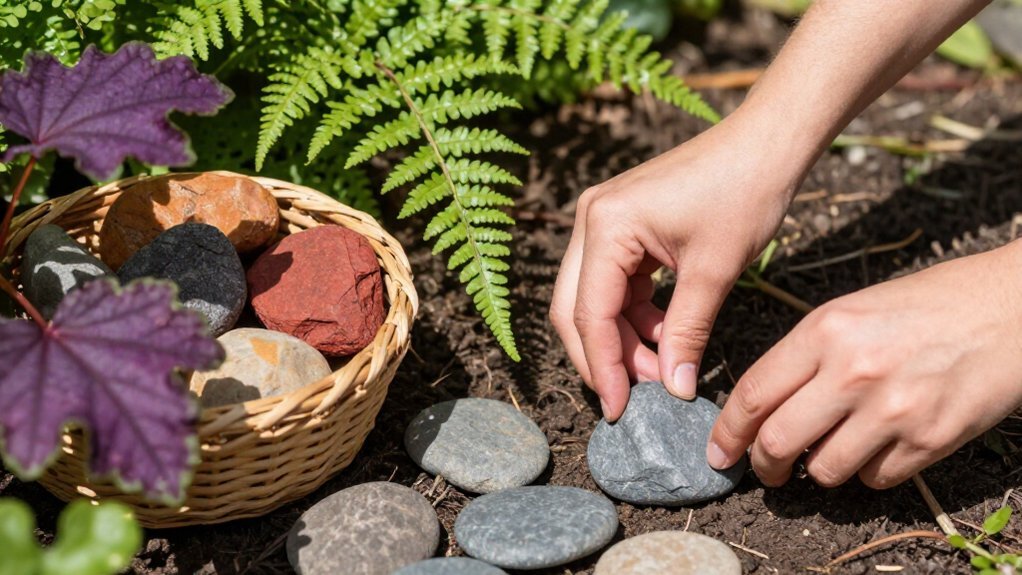
Where should you look for stones that won’t clash with your garden’s existing character? You’ll want to source local stones that mirror your garden’s established palette, particularly greyish limestone if that’s what defines your walls and steps. This tonal reference creates seamless color harmony between new and existing features.
When you select rocks, aim for varied sizes and shapes to build natural-looking connections throughout your design. You’ll find stones available as both large pieces and bags of smaller rocks, giving you flexibility while maintaining consistent coloring. Purchase from regional suppliers who understand your area’s geology, and coordinate delivery logistics with your contractor to position materials efficiently. By prioritizing local sourcing, you ensure your rock garden feels organically integrated rather than artificially imposed upon your landscape.”
Recommended Products

OOLITIC LIMESTONE | Oolitic limestone is a carbonate rock formed from the cementation of thousands of ooids. Ooids are tiny nodules formed from the accumulation of carbonate material around a nucleus. When cemented together and lithified, these ooids can form rock.

Majority of Stones Average 1/2" - (Sizes may range from 3/8" to 3/4)
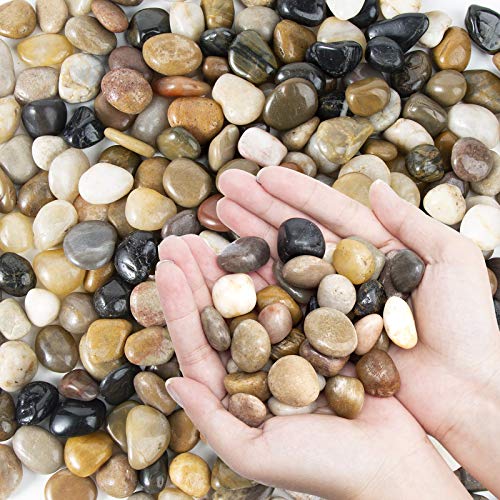
Natural Stones: This river rocks are natural lightly polished for smooth effect, comes in a variety of natural colors, Resists fading for long-lasting beauty. The color of this river rock is natural so it may include a variety of different shades of browns, whites and black rocks. (rocks are natural and as a result some may be broken or out of shape, oval or round, thick or thin.
Anchor Your Design With Properly Placed Keystones
How do you transform a loose collection of stones into a cohesive, grounded landscape feature? You anchor your design with properly placed keystones that establish visual weight and directional flow throughout your rock garden.
- Clear the ground and partially submerge each keystone, ramming soil into gaps to prevent rocking and create a gravity-stabilized appearance.
- Position keystones first at the base and along the slope to establish foundational weight before adding smaller elements.
- Ensure thorough ground preparation by removing debris and stabilizing the area around each stone.
- Use keystones as focal points that guide eye movement from bottom to top of your design.
- Test your layout from multiple vantage points, ground level, upper floors, and garden ends to confirm your keystone placement supports balanced sightlines.
Recommended Products

100% PERMEABLE ROCK GLUE FOR LANDSCAPING AT AN UNBEATABLE VALUE: Our 100% permeable stone glue covers up to 200 sq ft, securing rocks, pea gravel, pebbles & decomposed granite with lasting strength, while staying permeable to support soil hydration & nutrient flow

Product Specifications: MIGHTY109 Granite Gravel 3/4" Size, 40 LBS per Bag

【High Strength & Thick Formula】Teexpert rock glue for landscaping delivers a high-viscosity formula (10,000 mPas) that is thick like honey. Even when diluted, it packs 5X More Particles, creating a high-strength bond to lock every rock securely. This powerful gravel glue for landscaping is designed to keep the gravel in place, ensuring your yard remains clean, tidy, and free of scattered stones.
Connect Large Stones With Smaller Rocks to Create Planting Niches
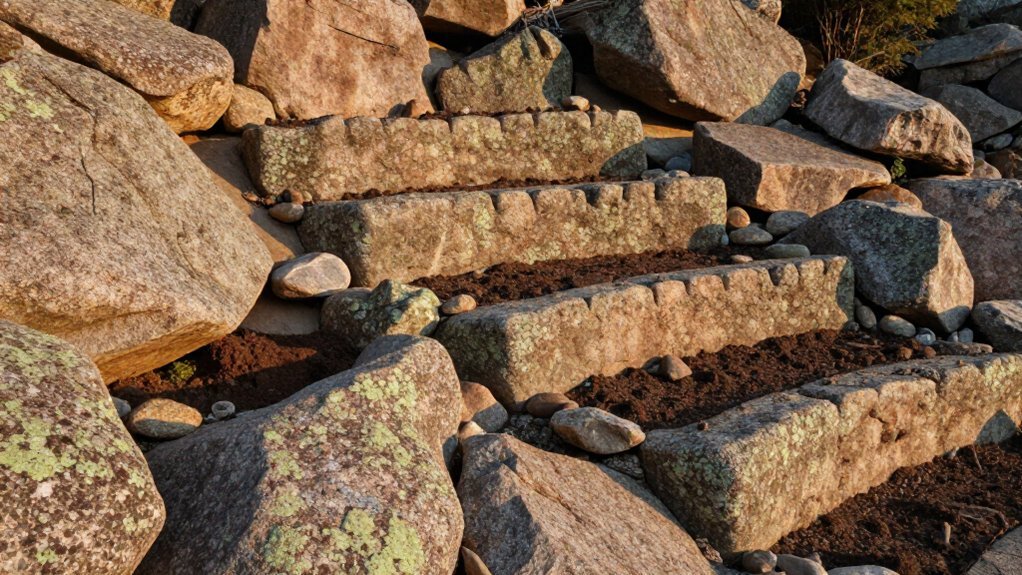
You’ll weave smaller rocks between your keystones to craft elevated planting pockets that cradle alpines like Saxifraga ‘London Pride’ or creeping thyme, checking sightlines from ground level, your upper windows, and both garden ends to ensure balanced visual density across the slope. As you work, you’ll partially submerge each stone, ramming soil into crevices to eliminate wobble while preserving that weathered, settled look that distinguishes professional rock gardens from amateur piles. You’ll adjust placements repeatedly, removing or adding stones until every niche offers adequate depth for soil, sharp drainage, and root expansion, knowing that this patient refinement transforms individual rocks into a cohesive, plantable terrain.
Recommended Products

【Well Drainage】This succulent gritty mix is super well in water drainage, best for drought tolerant succulents and cactus, help your plants grow beautiful colors and also effective prevent rover water
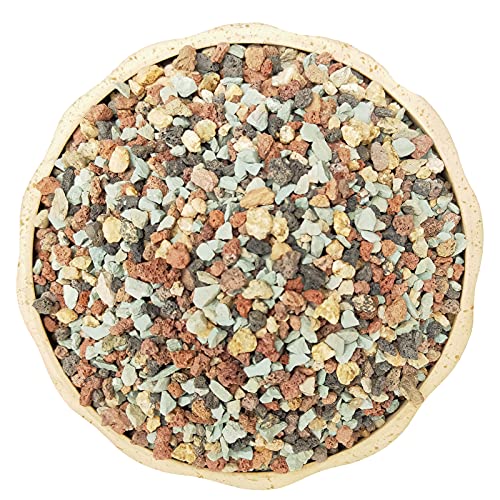
【Superior Drainage & Aeration】Our lava rocks’ porous structure prevents soil compaction, stops overwatering, and promotes robust root growth. Ideal for succulents and cacti, this gritty mix gravels maintain good airflow around plant roots for healthier plants

Pure Natural Silica Sand: A durable, nature-sourced base material that retains its appearance. Its color richly deepens when wet yet rinses clean without fading. Made from pure natural silica with no dyes, it's the reusable base for potting plants, aquarium setups, landscaping, and creative projects
Rock Placement Strategy
Why do some rock gardens look effortlessly natural while others resemble scattered debris? The difference lies in deliberate rock placement that mimics geological processes.
Begin by positioning large keystones at the base and along your slope, anchoring the design before adding top stones to draw the eye upward. Partially submerge each keystone, ramming soil into gaps to eliminate rocking and establish stability. Connect these anchors with smaller stones, forming linked platforms that create your crevice garden structure.
- Nestle keystones two-thirds below grade for authentic embedding
- Pack soil firmly between all contact points to prevent shifting
- Bridge large rocks with hand-sized stones to build continuous platforms
- Sculpt planting niches where alpine plants will colonize naturally
- Verify your layout from ground level, elevated vantage points, and both garden ends
This interconnected framework supports delicate root systems while weathering seasonal freeze-thaw cycles.
Balancing Visual Density
What separates a cohesive rock garden from a jumbled pile of stone is the deliberate interplay between anchor rocks and their smaller companions, a balance you’ll achieve by connecting your keystones with fist-sized to head-sized stones that bridge gaps and sculpt deliberate pockets for planting.
You’ll establish visual balance by first positioning large keystones at your slope’s base, then inserting smaller rocks to link them and form natural crevices. Step back frequently to assess your rock garden layout from multiple angles, removing or repositioning stones where density feels uneven. Your stone placement should guide the eye deliberately toward planting niches.
Pack soil firmly into gaps to stabilize keystones and create secure pockets for alpine plants like thyme or woolly groundcovers. These deliberate planting niches, softened by creeping vegetation over time, transform rigid stone arrangements into living, integrated compositions that withstand freeze-thaw cycles without shifting.
Finish the Top Edge With a Natural Crevice Design
How do you bring a rock garden to its proper conclusion without that jarring, artificial edge that betrays all your careful work below? You’ll finish your rockery’s top edge with a natural crevice design that integrates seamlessly with your stone placement, creating depth and shadow where alpines will thrive.
- Set old paving slabs on end to form an informal wall that sandwiches additional stones between the wall and your first large rock
- Ram stones and gravel tightly to secure slabs upright, ensuring stability through careful packing
- Blend the crevice with surrounding rocks, avoiding any harsh transitions that look manufactured
- Tie the top edge to adjacent stone walls and steps, maintaining visual continuity across your garden
- Position slabs to create microhabitats, filling gaps with rubble and grit for plant pockets that remain accessible
This finishing treatment rewards your patience with an organic, established appearance.
Recommended Products

Natural & Reusable Coarse Sand: Our river sand in 1-3mm sizes, made of durable natural silica with no dyes or artificial additives. Washes clean without fading, perfect for long-term use in potting, crafts, and decor
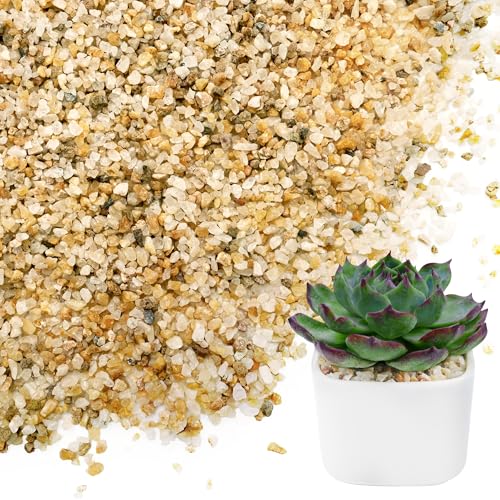
Natural & Reusable Coarse Sand: Our river sand in 1-2mm sizes, made of durable natural silica with no dyes or artificial additives. Washes clean without fading, perfect for long-term use in potting, crafts, and decor.

11 Pounds Black Horticultural Lava Rocks: Boost your plants’ growth with all-natural horticultural lava rocks, perfect for drainage and aeration. Their porous nature allows roots to breathe, promoting healthier, more robust growth.
Plant Alpines and Top With Grit Mulch
With your rockery’s top edge now settled into the landscape like it’s always belonged there, you’re ready to populate those carefully constructed crevices and pockets with plants that’ll transform stone into living garden. You’ll prepare each hole with sandy, well-drained soil amended with coarse grit, ensuring the tilth suits these demanding mountain natives. Create planting groups of three to seven alpine specimens, positioning them where larger rocks cast pockets of shade or catch morning sun according to each variety’s exposure needs.
Avoid shady north-facing pockets for sun-loving alpines: instead, place them on southern or western faces where they’ll receive six hours of direct light. Once you’ve firmed each root ball into its crevice, you’ll water thoroughly, then spread a 1-inch layer of grit mulch across all exposed soil. This final dressing blends visually with your stone while maintaining surface drainage and preventing compaction around delicate crowns.
Recommended Products

NATURAL SLATE - 100% real Slate stone will add beauty and realism to your creations. Because these are natural stones, each bag is a mix of stones from 1/2 to 1 inch. They are safe to use in your scenery and will last much longer than resin stones. Product of the USA.

【Note】The stone surface may exhibit irregular cracks and micro-pores. The color is not pure white, as it contains a small amount of grayish-brown and yellow pebbles. Pebbles are natural rocks polished and waxed and processed, we do not recommend placing it in a fish tank, if you need to put it in a fish tank, first wash the wax off the surface with hot soapy water or detergent, then rinse with clean water
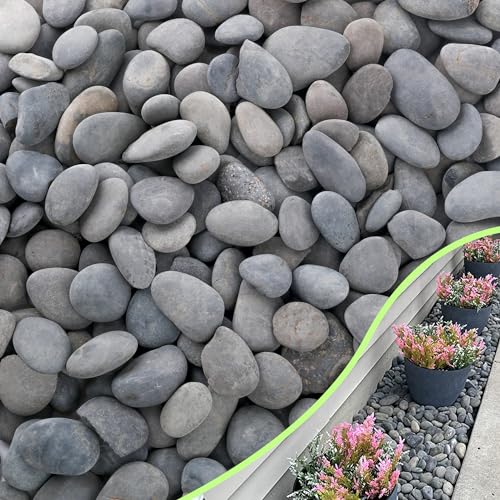
🌑【SIZE & PARAMETERS】Weight:18pounds. Rocks range in length approx from 1" to 2"